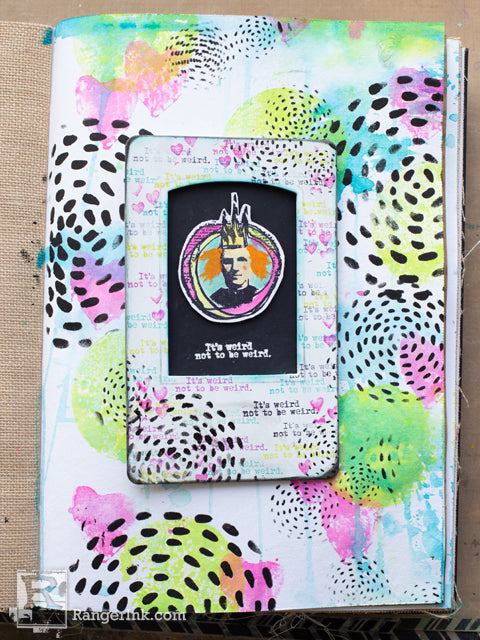
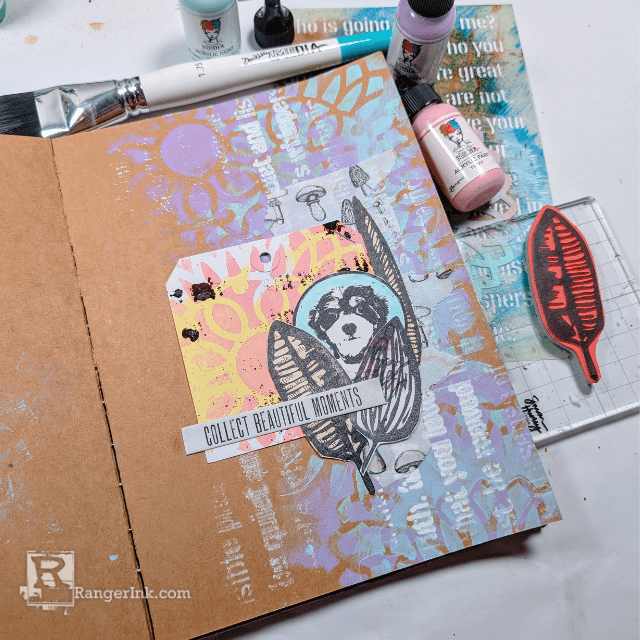
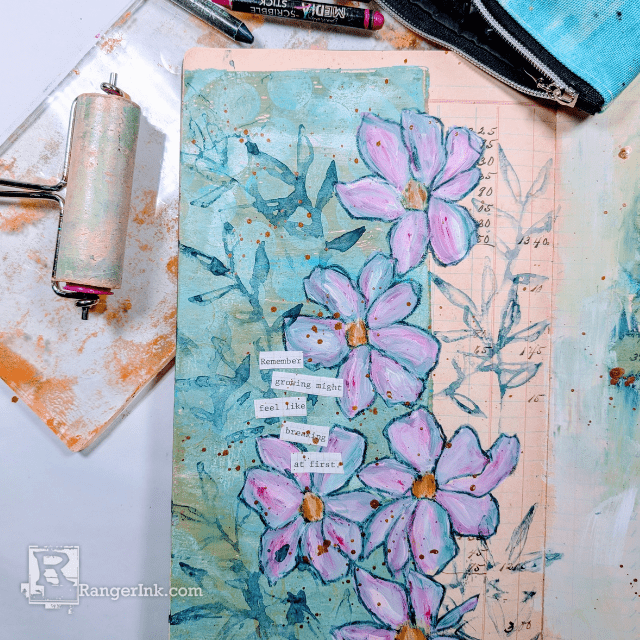
Hi there! I’m thrilled to be back on the Ranger Blog today with this bright and fun journal page that I have created in the Dina Wakley Large Media journal. Let me walk you through how I created it.

Weird Not to be Weird Journal Page by Cheiron Brandon
- Materials
- Instructions
- Dina Wakley Media Journals
- Dina Wakley Media Stamps: Weird is Good, Friends to the End
- Dina Wakley Media Stencils & Masks: Swirling Dashes, Medieval Crosses
- Dina Wakley Media Mediums and Gessoes: White Gesso, Ultra Thick Gel Medium
- Dina Wakley Media Acrylic Paints: Buff, Cheddar, Lemon, Ocean, Magenta, Lime, Black
- Dina Wakley Media Brushes
- Archival Ink™ #0 Pads: Jet Black, Vibrant Fuchsia, Paradise Teal
- Wendy Vecchi Archival Ink™: Prickly Pear
- Ranger Mini Blending Tool and Foam
- Ranger Embossing Powders: White
- Gel Plates
- Tim Holtz Idea-ology Collage Frame
- Tim Holtz by Tonic Studios Travel Stamp Platform
Instructions

Step 1: To begin I took out my Large Media journal, and my Dina Wakley Weird is Good stamps.

Step 2: I was looking for something to help create a focal point for one of the stamps, and I thought one of the Tim Holtz Idea-ology Collage Frames would be the perfect thing.
I wanted to alter the collage frame, so I painted it with two coats of Dina Wakley Media White Gesso.

Step 3: While the gesso was drying, I stamped the focal image using my Tim Holtz Travel Stamp Platform.

Step 4: I used Dina Wakley Media Paints in Buff, Cheddar, Lemon, Ocean, Magenta, and Lime that had been mixed with a bit of water to color in my image.

Step 5: When my collage frame was dry, I stamped the sentiment all over my panel using Archival Inks in Jet Black, Prickly Pear, Vibrant Fuchsia and Paradise Teal. I inked the edges of the panel using Paradise Teal and a Mini Ink Blending Tool with foam.

Step 6: I felt like the panel needed a bit more interest; so I used the mini hearts from the Friends To The End set to stamp some all over the panel.
Then I stamped the sentiment and embossed with white embossing powder on black paper and adhered it underneath the panel. I also added my painted image with foam tape.

Step 7: Now onto the Large Journal Page. I wanted to create a bright and fun background, so I used the round Gel Plate from the Gel Plate 3 assortment pack as a stamp with some watered down Lime Paint.

Step 8: I love the texture you get when using watered down paint instead of rolling it onto the gel plate.

Step 9: I also used some watered down Ocean paint and dripped it onto my page. Then I used some watered down Magenta paint with the large heart stamp in the Friends To The End set to stamp a pattern over the Lime Circles and Ocean drips.
The background now has a fun watercolor look, but I felt that it needed a bit more pop.

Step 10: To finish up your card set, spray each card front with a bit of Distress Mica Spray in Tarnished Brass, add the stamped Media Tape and some of the funky faces from the turquoise cardstock. Finish the cards off with a few Tim Holtz Idea-ology stickers. Layer the panels onto a notecard.

Step 11: The page is now coming together, now it’s time to finish it and adhere the panel.
I added the Swirling Dashes stencil to the panel as well and then adhered it to the page with Dina Wakley Media Ultra Thick Gel Medium.
I hope you enjoyed this page and can incorporate some of these techniques into your own journal making!


