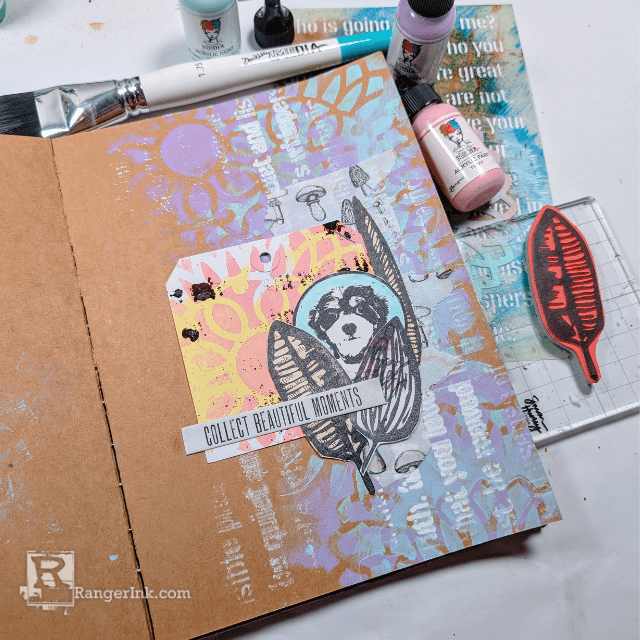
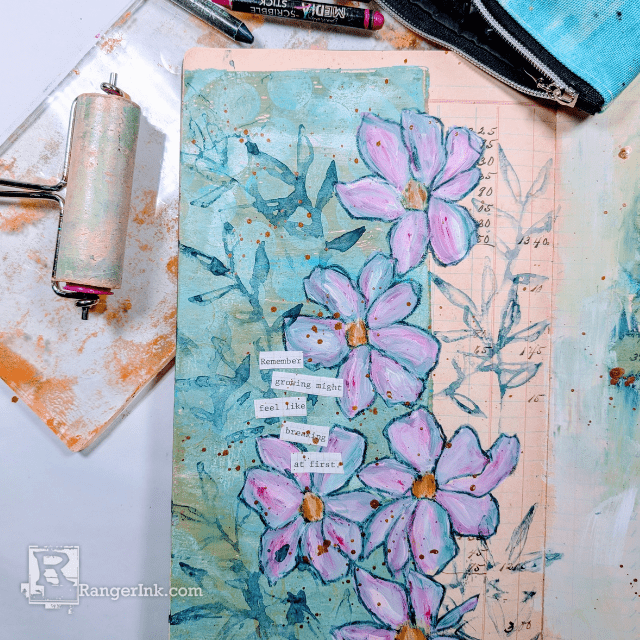
Renae Davis shares how she makes abstract backgrounds using Dylusions Ink Sprays and Foam Shaving Cream! These colorful inky backgrounds are perfect for adding to your art journals and other mixed media projects.

Dylusions Ink Spray Shaving Cream Backgrounds by Renae Davis
- Materials
- Instructions
-
Dylusions Ink Sprays
Foam Shaving Cream
Large Tray with lip
Paper (any kind will work)
Plastic Ruler
Plastic or silicone spreader / spatula
Instructions
Making abstract backgrounds for projects can sometimes be more fun than making an actual project. That is certainly the case with this one! If you like gel printing and making a plethora of backgrounds at once- then this is for YOU. If you haven’t quite figured out gel printing and all the layering that goes with it- then this is for YOU too! With only two ingredients, you’ll be making a ton of inky backgrounds in no time.

Step 1: Dispense a generous amount (at least an inch deep) of foam shaving cream into the pan. Be sure to choose a shaving cream that you can tolerate the scent because your paper will smell like the shaving cream. With a spatula or other plastic spreader, spread the shaving cream to the size of the paper you will be using making sure that the cream is fairly level. The bottom of the pan should not be visible.

Step 2: Choose 3-5 colors of different Dylusions Ink Sprays and spray at least three sprays per color onto the shaving cream. If you want a less saturated look one generous spray will do. The ink spray colors demonstrated here are Bubblegum Pink, Blue Lagoon, and Crushed Grape.

Step 3: Place the paper face down onto the shaving cream. Press slightly on the top of the paper with your fingertips to ensure that the ink touches every part of the paper. You should see the ink being saturated into the back of the paper. Lift the paper out of the tray and place it face up onto your work surface.

Step 4: Hold down the top of the paper with one hand and with your other hand using a plastic ruler, scrape the shaving cream off the paper in a downward motion. Spread your fingers wide to ensure even pressure across the ruler. Remember not to press too hard to prevent rips and tears in the paper.

Step 5: Check out your first print pull. Notice the saturation and the spray texture. Do you like it? How did the colors mix? What colors do you want to add next? The first couple of prints may turn out a bit blocky but they will become more abstract and fluid in design as more prints are pulled the shaving cream blends together. The paper prints will be wet for a while as the ink absorbs into the paper but feel free to stack your prints on top of each other- it won’t hurt them!

Step 6: Scrape the leftover shaving cream on the ruler onto a blank piece of paper. Keep scraping until there is no shaving cream left on the ruler OR until there is no pigment left. You can come back to this piece of paper and add more layers until you're satisfied with the result. The colors aren’t as vibrant but they create beautiful and magical pastel backgrounds.

Step 7: Continue to pull prints from your pan. Add variation to the mixture by supplementing more similar colors, swirling around the cream with a popsicle stick to add lines and swirls or even add some spritzes of alcohol for an interesting look (just don’t go too crazy or the shaving cream will disappear).

Step 8: From this one pan of shaving cream, it’s easy to pull and scrape together 30+ prints of luscious inky backgrounds. Some will be pure eye candy and some will be just some simple backgrounds to be used for various projects.

Step 9: When you feel like you can’t pull any more prints from the pan and the shaving cream is starting to turn into one muddled color, use a paint brush to paint the rest onto some scrap paper to get one last background from your session. Then, feel free to start all over again! Making backgrounds like this is definitely addicting!

On my next blog post, we will dive in on how to put a few of those inky backgrounds to good use in making this simple few-step art journal page process.
 Renae Davis.
Art Journaler. Photographer. Daydreamer.
Art journaling is my jam. I started out Bible Journaling a couple of years ago that has now evolved into 20+ active luscious art journals of all sorts, sizes, and themes. I love making my own recycled art supplies and using every bit of scrap paper and pigment that I can get my inky hands on. You can visit Renae's website at www.splendiferossity.com or follow her on Instagram @redhedtm and on YouTube.


