By Annette Green
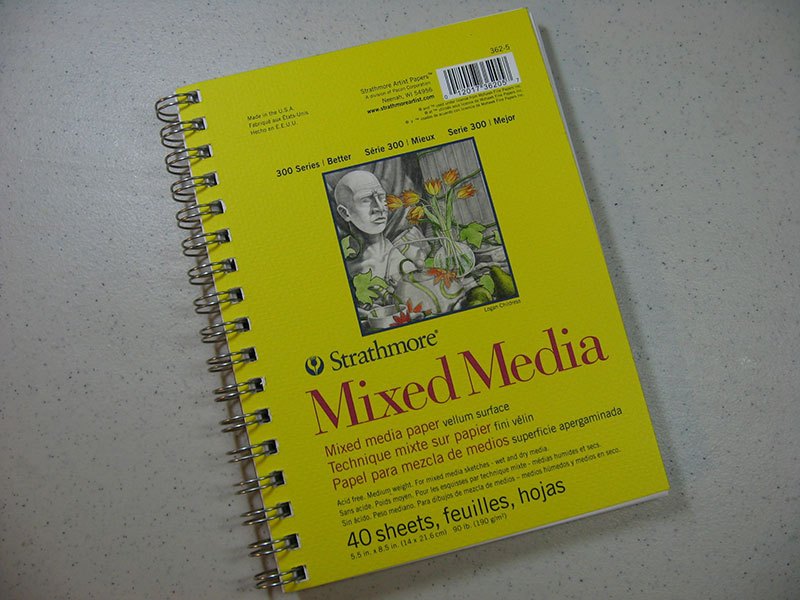
Dylusions Altered Sketchbook
- Materials
- Instructions
- Dylusions Ink Sprays
- Archival Ink™ #0 Pads: Jet Black
- Tim Holtz® Distress Ink Pads: Faded Jeans
- Ranger Non-Stick Craft Sheet™
- Ranger Ink Blending Tool & Foam
- Ranger Mister
- Tim Holtz by Stampers Anonymous Layering Stencils Eye Chart, Burlap, Bubble, Schoolhouse, Splatters
- Tim Holtz Idea-ology Elements Tissue Tape
- Small Sketchbook (6-1/4 x 8-1/2)
- Matte Board
- Cinch binding machine
Instructions
1. Select a small sketchbook to alter. Cut a piece of matte board the size of the actual cover This will be the new cover.
2. Cut eight manila tags using the Tag & Tie Alterations die to create small tags. (I did this instead of purchasing the smaller tags because I wanted to eliminate the reinforced hole while working with inks and stamps.)
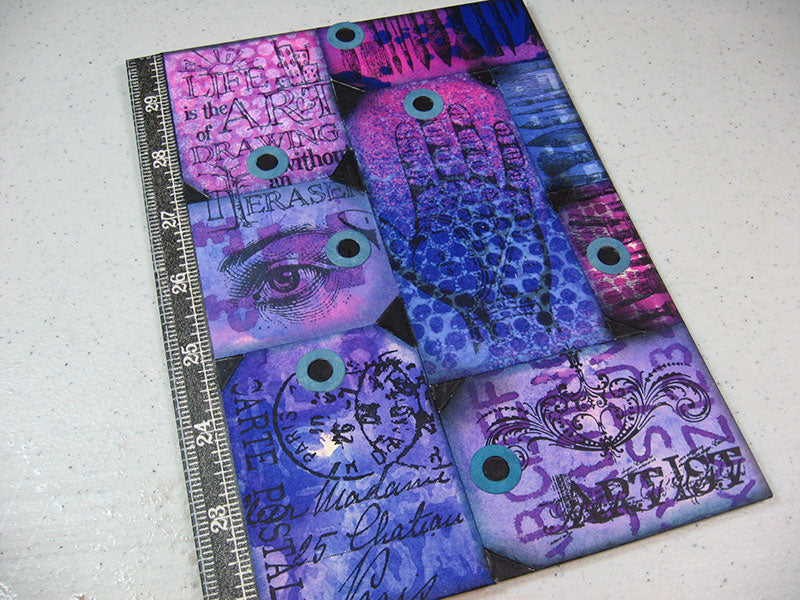
3. On the matte board base, plan out the configuration of the tags.
4. Trace the configuration with a pencil. Leave a 1/2 inch margin on the left edge.
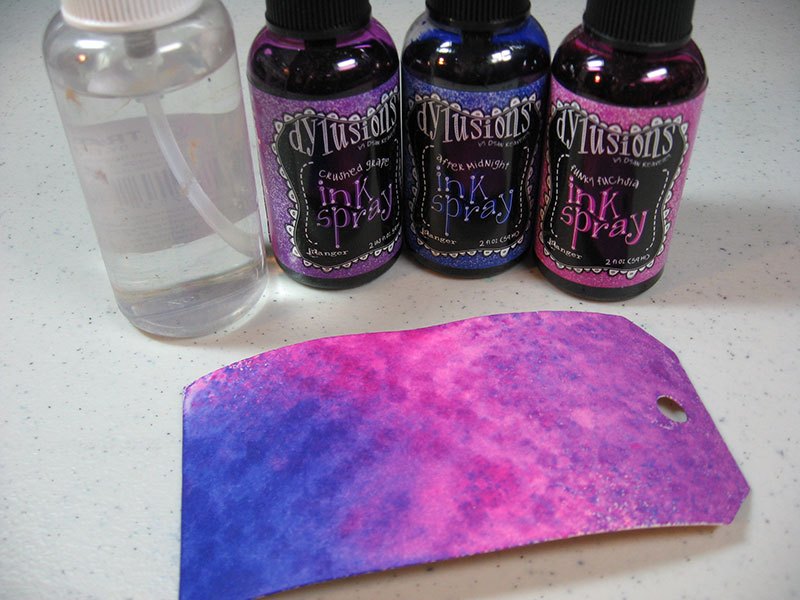
5. Color the first manila tag with Dylusions sprays of your choice by first spraying the tag with water, then spraying the colors.
6. Lay down a stencil and spray White Linen Dylusions spray. The first tag is done.
7. While the stencil is still wet with White Linen, press it face down onto your second tag. Let dry. Then spray with colors as desired. Color another tag using the same color sprays, then add more water to help the colors flow and marbelize. Grab another tag and run it through the colors on your non-stick craft sheet.
8. Create a ghosting effect on the darker tag by spraying through a stencil with water. Let it set a minute for the water to react with the inks.
9. Lift stencil away and blot tag.
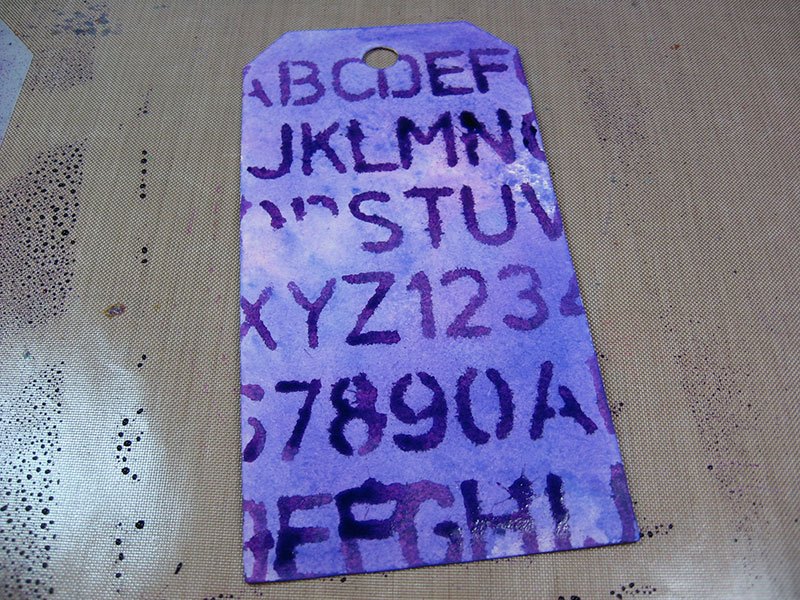
10. On the lighter tag, simply spray a dark color through a stencil.
11. Lift stencil away and blot tag.
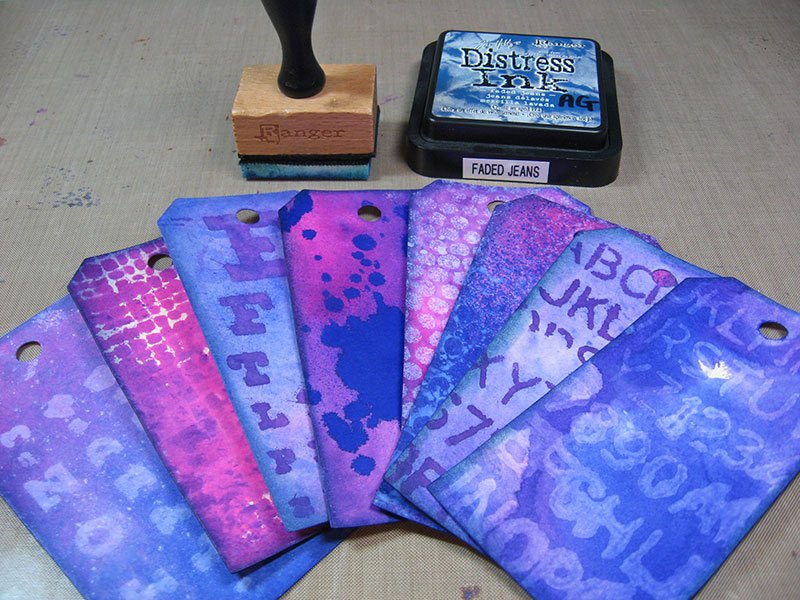
12. Continue using stencils and sprays on remaining tags.Ink the outer edges of each tag using a blending tool and Faded Jeans Distress Ink
13. Assemble the tags onto your matboard base, trim excess, then fill in open spaces with a black permanent marker. Apply tissue tape to left margin.
14. Using Faded Jeans Distress Ink, color the reinforcers for your tags’ holes.
15. Stamp images across the tags using Jet Black archival ink. Then add reinforcers to tags.
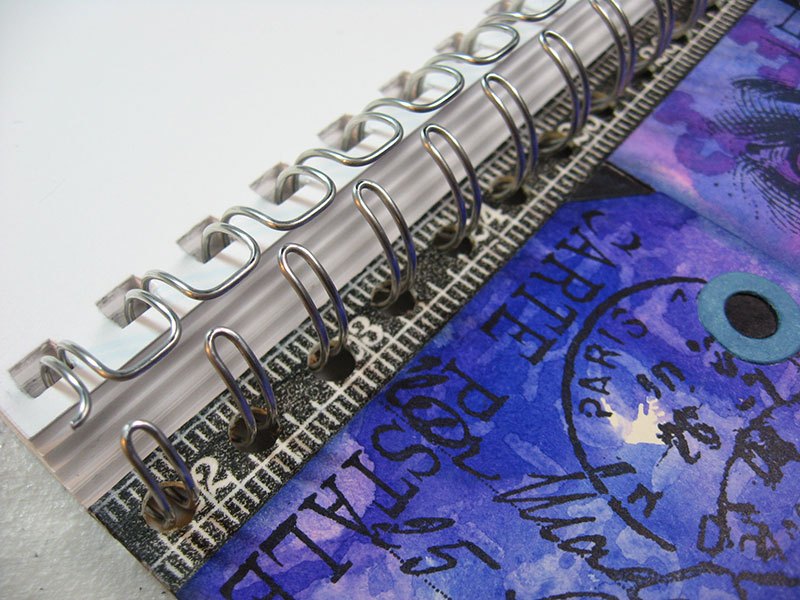
16. Punch holes in matboard base using a binding machine or strong hole punch to match the number of holes in the bound sketchbook.
17. Remove the sketchbook’s original cover by spreading open the coils slightly.
18. Add your new cover
19. Final sketchbook.


