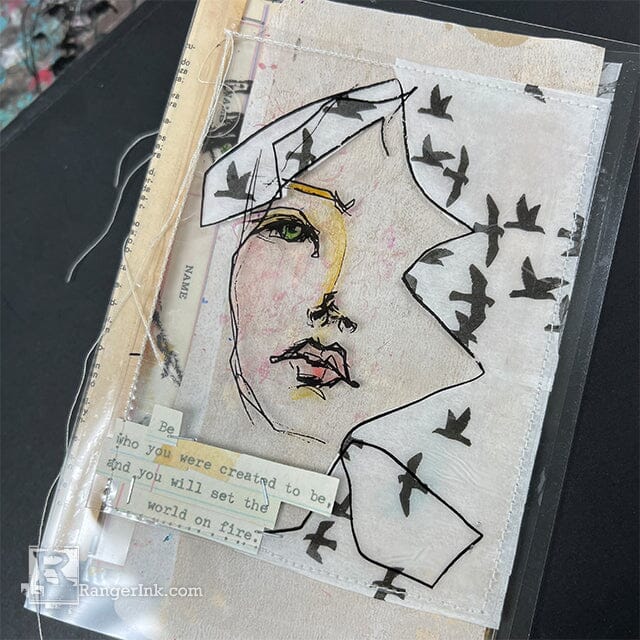
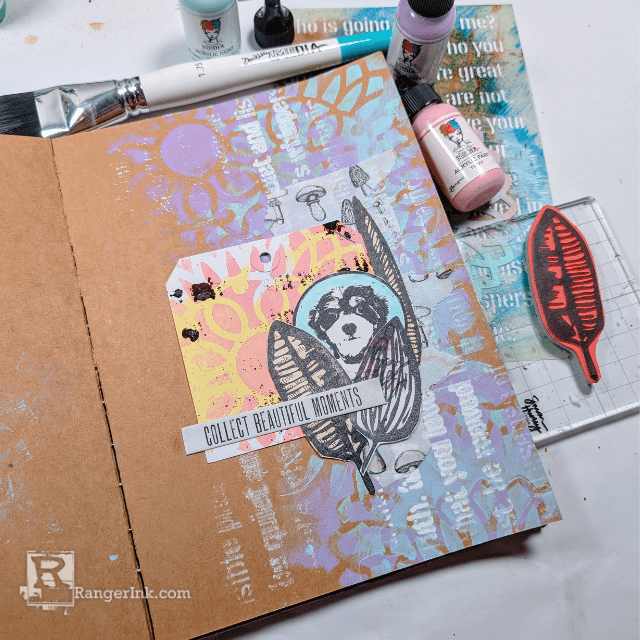
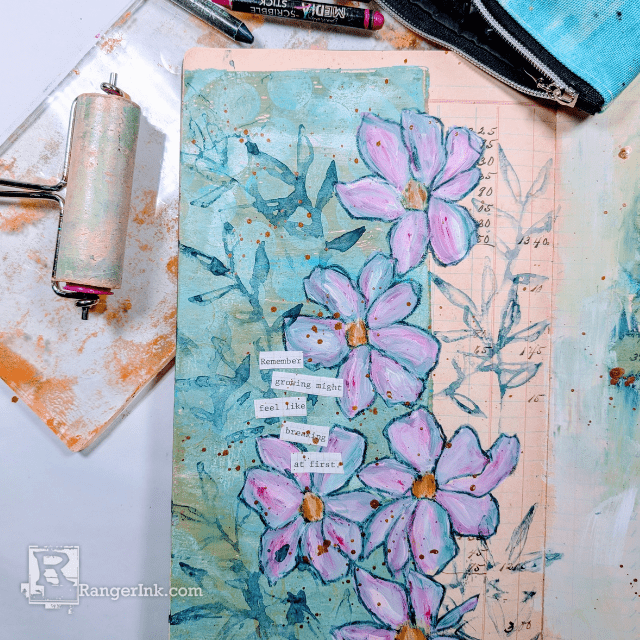
Follow along as Milagros Rivera creates this uplifting journal using Dina Wakley Media Transparencies and Collage Papers.

Dina Wakley Transparency Journal by Milagros Rivera
- Materials
- Instructions
Dina Wakley MEdia Collage Tissue- Flying things
Dina Wakley MEdia Gel Medium
Dina Wakley MEdia Gloss Spray- Blushing
Dina Wakley MEdia Gloss Spray- Fir
Dina Wakley MEdia Gloss Spray- Syrup
Gel Plate
Dina Wakley MEdia Acrylic Paint- White
Dina Wakley MEdia Typed Ledgers- Set 2
Tim Holtz® Idea-ology Tools- Tiny Attacher
Other:
Sewing machine
Paper trimmer
Scoring tool
Double-sided tape
Dictionary paper
Are you like me swooning over Dina Wakley’s new transparencies and collage papers? Here’s a way to put them together to get your fix!
Check out the finished journal here
Instructions:

Step 1: Use a paper trimmer to cut Abstract Portraits.

Step 2: The biggest piece is 4.5 x 6.75; this will determine the size of your journal.

Step 3: To create the journal cover, cut a clear transparency to 7” wide, score at 4.75” flip, and score at 4.75.

Step 4: Carefully place collage paper around a portrait transparency silhouette. Glue from behind using Gel Medium.

Step 5: Once you glue the collage paper, use a paintbrush and Gloss Sprays to add some color to the portrait transparency on the back. Use the Tiny Attacher to add a Typed Ledger sentiment to the transparency, if desired (refer to image in step 11). Set aside.

Step 6: Score a piece of dictionary paper or typed ledger sheet to make the inside of the spine; this will hold your journal pages.

Step 7: Once you score, fold in an accordion-like fashion and you should have 4 mountain folds (circled in black). Tape each end (circled in red) to the outside of the score lines on the inner journal cover spine.

Step 8: Use a sewing machine to secure the portrait transparency from step 5 to the front of your journal cover.

Step 9: This is the finished front cover with the spine in place to hold the journal pages.

Step 10: This is a piece of fodder I created by cleaning my gel plate on a scrap of paper.

Step 11: Secure the fodder to the back of the front cover.

Step 12: This is the inside of the front cover. Repeat steps 4-5 using another portrait transparency and collage paper to create this look. Attach to fodder on the inside of the front cover.

Step 13: Use transparencies, white cardstock, and gloss sprays to decorate your back cover. Secure those to back cover with sewing machine.

Step 14: To create your first page, attach a portrait transparency to a Typed Ledger sheet using the Tiny Attacher. Attach a Typed Ledger sentiment on top of the transparency. Once your page is finished, use double-sided tape to secure it to the first mountain fold of the spine.

Step 15: Apply Gloss Sprays to a transparency and place a tag on the transparency to pick up the ink for a negative effect. Make 3 tags in total.

Step 16: (Next spread) To create the left page of this spread, swipe a piece of white cardstock onto excess gloss spray from a transparency for a splash of color. Use the Tiny Attacher to secure a portrait transparency and Typed Ledger sentiment to the cardstock. For the right side, secure a portrait transparency and typed ledger sentiment to a negative tag. When finished, secure your pages to spine mountain folds using tape.


Step 17: Create more pages using transparencies, negative tags, cardstock and typed ledger sheets. Secure to mountain folds using tape.


