by Miranda van den Bosch

Winter Wonderland Journal Page by Miranda van den Bosch
- Materials
- Instructions
- Dylusions Large Creative Journal
- Dylusions Paint : White Linen, Calypso Teal, After Midnight, London Blue, Crushed Grape
- Tim Holtz® Waterbrush : Detailer Brush
- Ranger Mini Blending Tool
- Dylusions Stencils : Stars, Fresh Dots
- Dylusions Dear Santa Stamp and Stencil Set
- Dylusions Cling Mount Stamps : Holly Days, Puddy Cats, Always, Oh Deer!
- Dylusions Paint Pens
- Dylusions Mixed Media Archival Ink Palette
- Archival Ink™ #0 Pads : Jet Black
- Ranger Pigment Ink Pads : Glacier White
- Ranger Collage Glue Stick
- Dylusions Journal Block
- Colored Pencils
- Scissors
- Ruler
Instructions

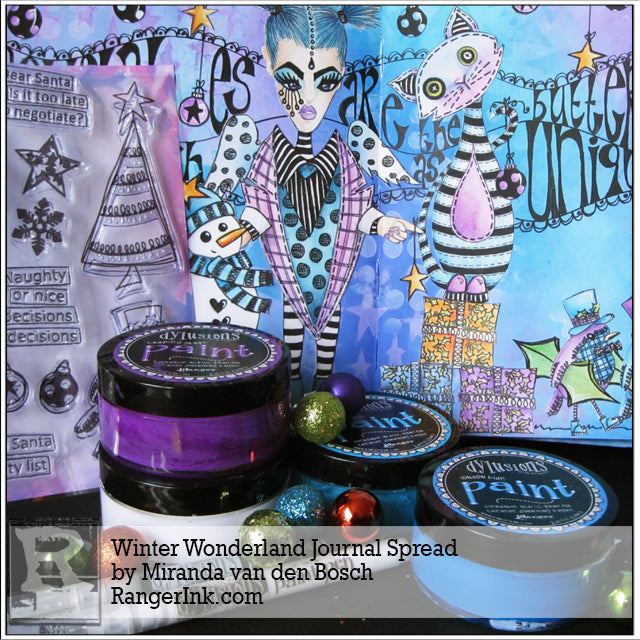
Step 1: I have made a spread in my large Dylusions journal. I started with creating the background using the Dylusions Paints. The theme of my spread will be Winter Wonderland, so I choose some cool colours like London Blue, Calypso Teal, After Midnight, Crushed Grape and White Linen. Add the paints to the page using a Mini Ink Blending Tool.

Step 2: After applying the paints, I start blending them together by adding some more paint, going back and forth to the colours that are next to each other.

Step 3: After the first layer is finished I’ll start on the second layer. I pick out some nice Dylusions stencils from my stash and the cute stencil from the new “Dear Santa” stamp and stencil set.
Just take some of the colours you have used before for layer 1 and apply a little through the stencil using the Mini Ink Blending Tool. Just use the paint that is still on the Blending Tool (that will be quite enough), if you use too much paint it will smudge your page.

Step 4: After using the stars and the fresh dots stencils, the page will look like this.

Step 5: At this stage I decided to add some stamps. I used the holly background stamp from the “Holly Days” stamp set and the snowflake stamps from the “ Dear Santa” stamp and stencil set. I stamped with Calypso Teal from the Mixed Media Archival Ink Palette and the Glacier White Ranger Pigment Ink. Choose the same colours as the paints you’ve used before, because if you add a new colour (beside white or black) it will draw too much attention. White and black work differently, they will make the colours pop.

Step 6: For decorating my pages I used a variety of stamps: Dear Santa stamp and stencil set, Puddy Cats, Holly Days, Always and Oh Deer! I stamped all the images on smooth watercolour paper using the Jet Black Archival Ink.
I have coloured all images with Waterbrushes filled with Dylusions Ink Sprays and coloured pencils.
With a ruler and the Dylusions Black Marble Paint Pen I drew a few lines so the bulbs hang down from the trees.

Step 7: The journal block is one of my favorite items to use (what would I do without it?). So this time I used it to make a few guidelines for my quote (which I found on the internet).

Step 8: I wrote a few basic letters first and start filling them to make them look bolder. I’ve used the Dylusions Paint Pens for my lettering. The Dylusions Paint Pens are another favorite item to use.

Step 9: Glue down all the images to your page with the Ranger Collage Glue Stick and my page is finished.


