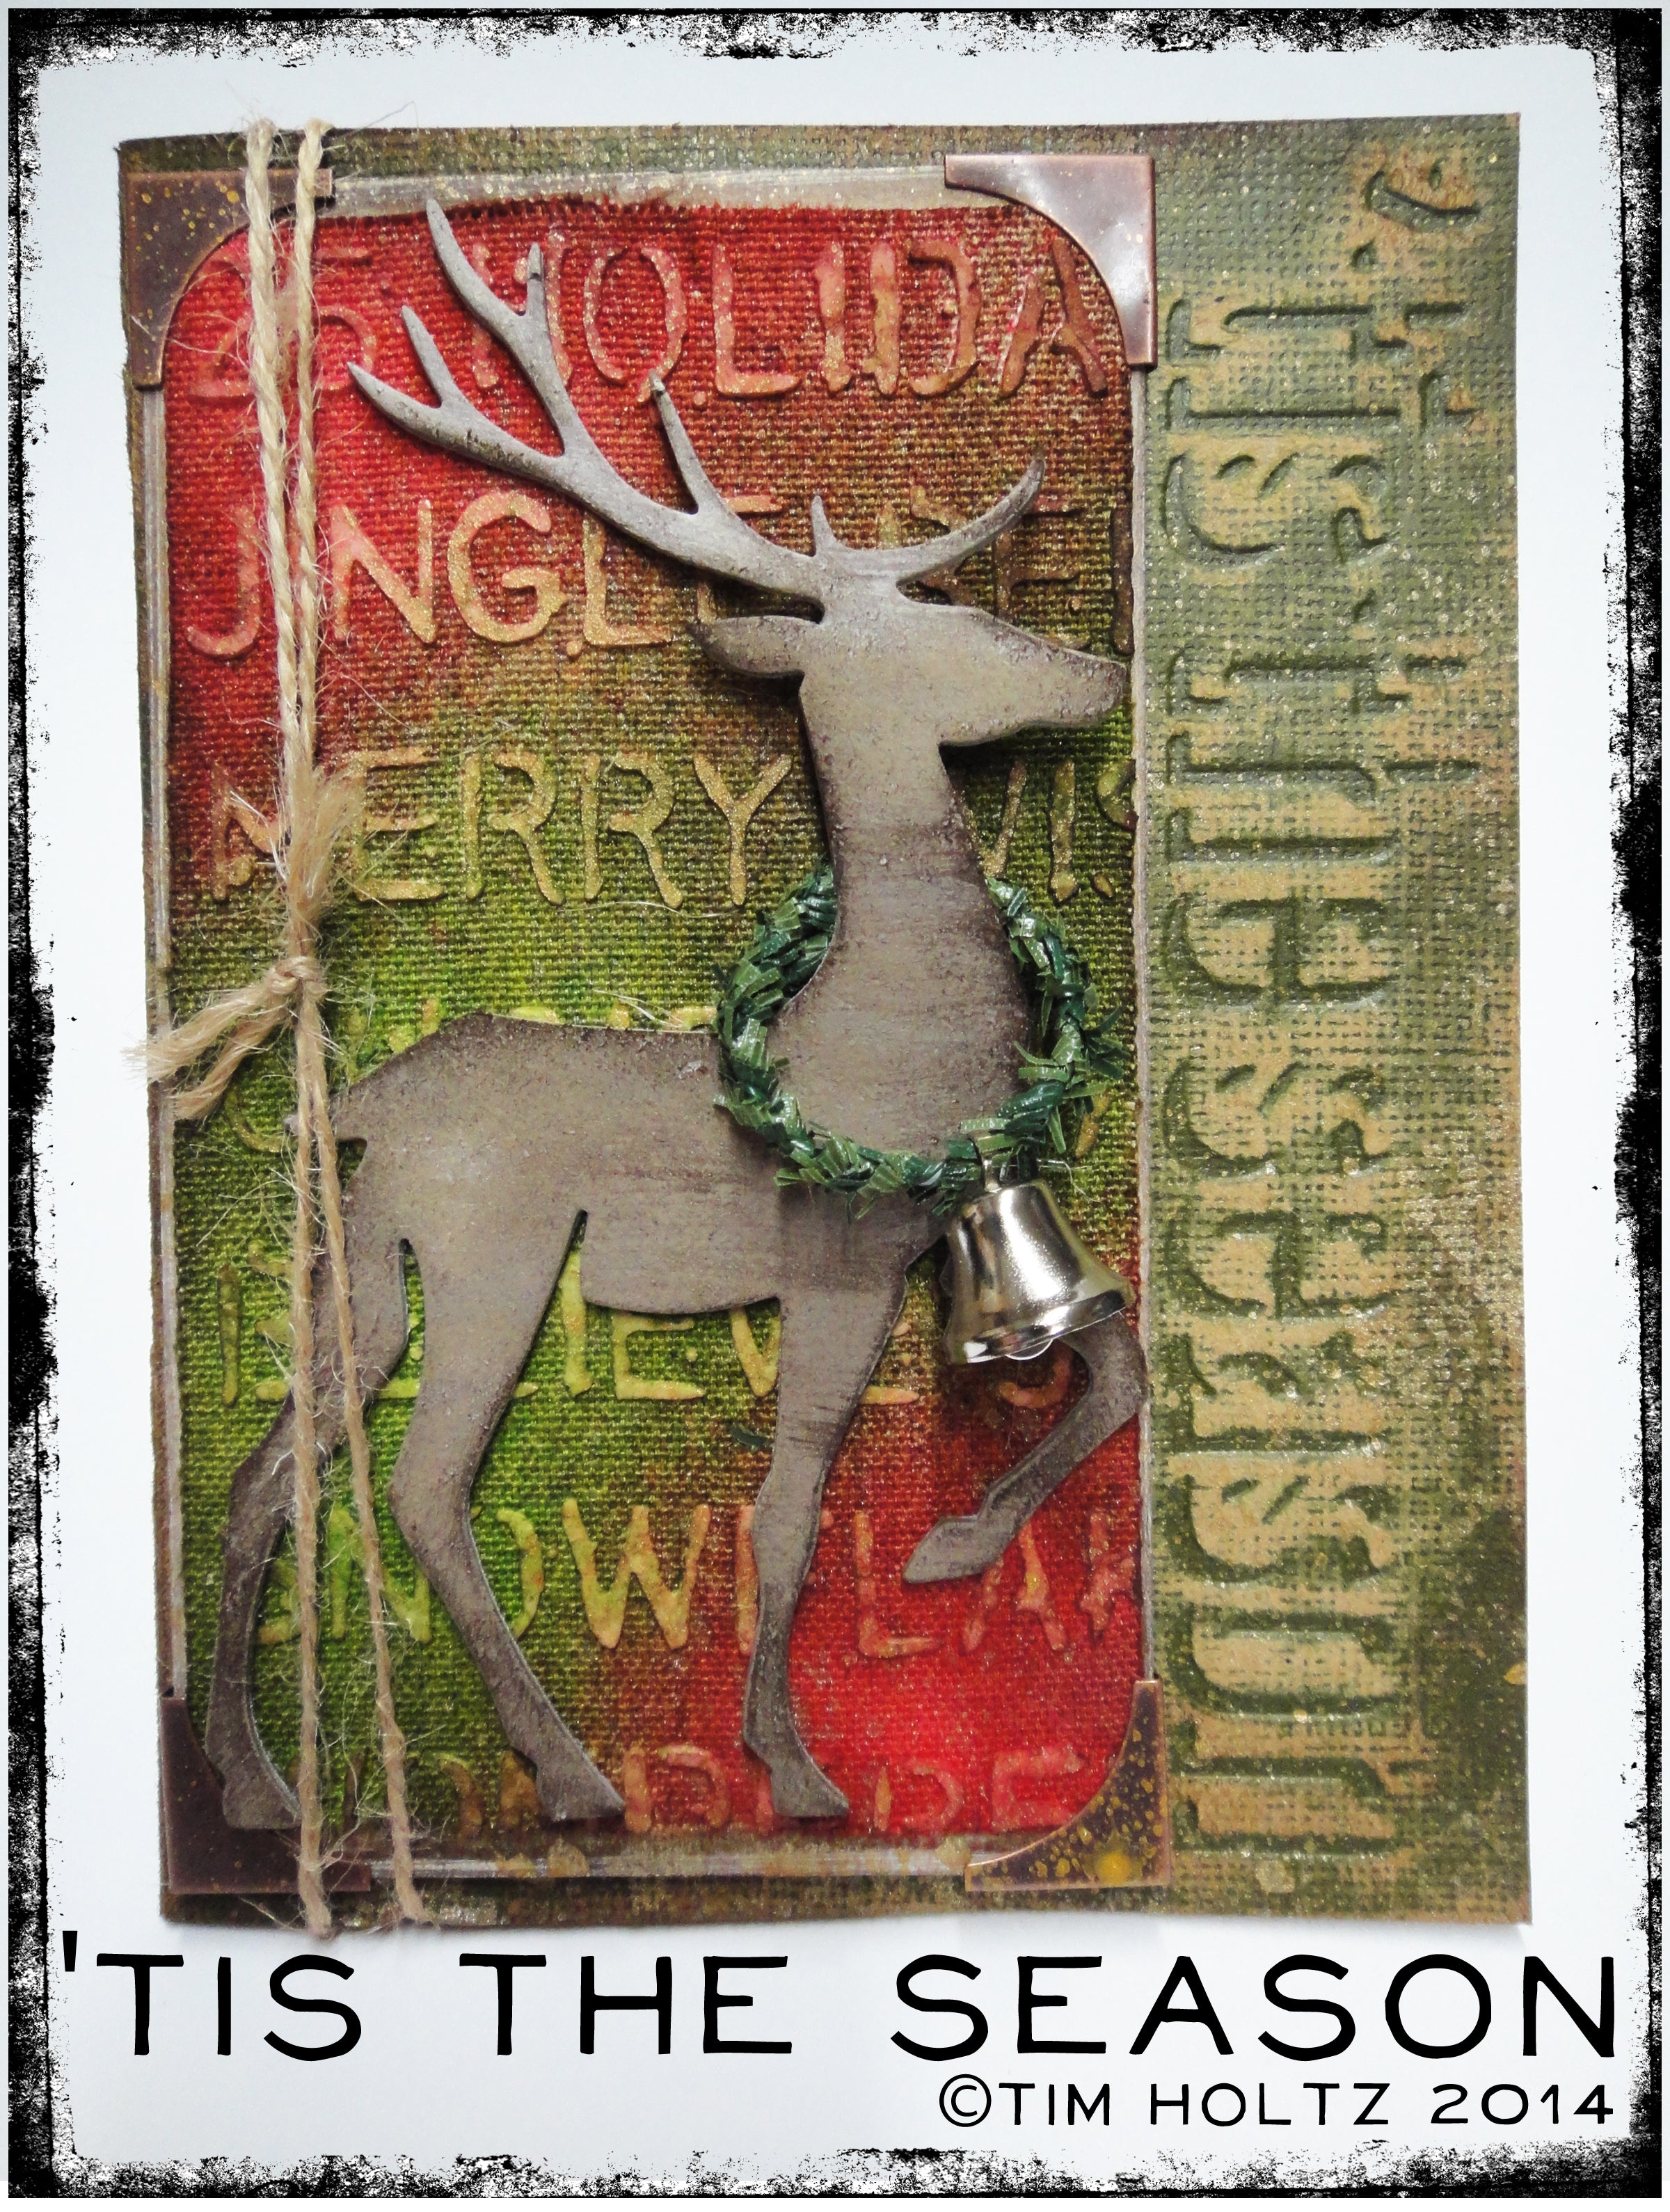
Ranger Ink Signature Artist Tim Holtz celebrates the season with this festive holiday card tutorial.

’tis the Season with Tim Holtz
- Materials
- Instructions
- Ranger Mini Blending Tool
- Dina Wakley Media Palette Knife
- Ranger Mister
- Ranger Heat it™ Craft Tool
- Ranger Non-Stick Craft Sheet™
- Ranger Adhesive Foam Rolls
- Ranger Glossy Accents™
- Ranger Texture Paste
- Tim Holtz® Distress Spray Stains: Barn Door, Mowed Lawn, Tarnished Brass
- Tim Holtz® Distress Ink Minis Walnut Stain
- Ranger Sticky-Back Canvas
- Tim Holtz Idea-ology Grungepaper
- Tim Holtz Sizzix Prancing Deer Bigz Die
- Tim Holtz Sizzix ShadowPress- Christmas Set 1
- Tim Holtz Idea-ology Embellishments: Pine Twine, Mini Corners, Jute, Bell
- Sanding Grip
- Tim Holtz® Layering Stencil Christmas
Instructions
I love this time of year filled with holiday crafting and today i’m excited to be on Ranger’s blog sharing a fun tutorial using Ranger’s Texture Paste and Distress Spray Stains. Learning how products work is the key to getting the most out of the things we have. So if you’re ready to spark your creativity with a little festive distressing let’s get started…
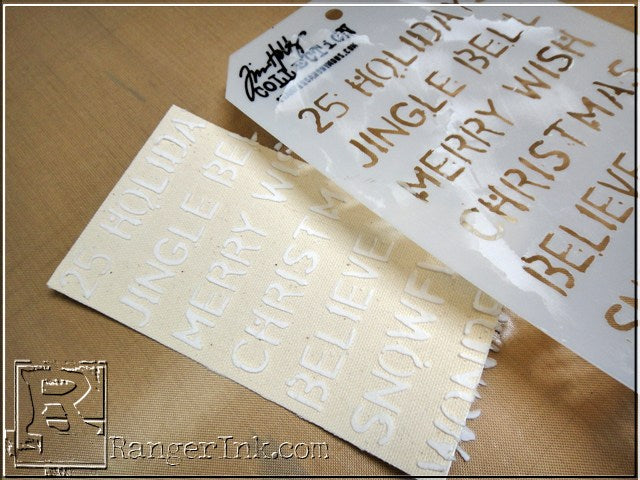
 Step 1: Cut a piece of Sticky-Back Canvas 3”x5” and gather a Layering Stencil, Palette Knife, and Texture Paste.
 Step 2: Place the stencil over the canvas and apply paste using a Palette Knife by spreading a thin layer of paste through the stencil.
 Step 3: Carefully lift the stencil from the canvas while past is still wet and set aside to dry. *Note: Drying time for Texture Paste is usually 15-30 minutes depending on thickness.
 Step 4: Once the paste is dry, remove the paper backing from the Sticky-Back Canvas.
 Step 5: Apply the canvas directly to the Craft Sheet to secure the canvas in place allowing you apply wet mediums without the canvas curling up. (neat trick)
 Step 6: Mist the canvas with water from a Mister to lightly dampen the canvas.
 Step 7: Spray the top and bottom portions of the canvas with your first color of Distress Spray Stain.
 Step 8: Spray the middle section of the canvas with a second color of Distress Spray Stain.
 Step 9: Dry the Spray Stain with a Heat Tool. Because the canvas was damp before spraying the inks, the colors blend together to create a nice gradation.
 Step 10: Peel canvas from Non-Stick Craft Sheet and adhere to a piece of cut cardstock.
 Step 11: Ink the edges of card and canvas with Distress Ink using a Mini Ink Blending Tool.
 Step 12: Attach Mini Corners using pliers.
 Step 13: Emboss the edge of cut card using ShadowPress.
 Step 14: Sand over the embossed area to reveal the words.
 Step 15: Cut deer from a piece of Grungeboard and paint with Distress Paint – let dry.
 Step 16: Sand and scuff the edges of deer.
 Step 17: Ink the edges of deer and card with Distress Ink.
 Step 18: Cut a small piece of Pine Twine and slide a bell on to the twine.
 Step 19: Bend the twine around the neck of the deer to create a wreath.
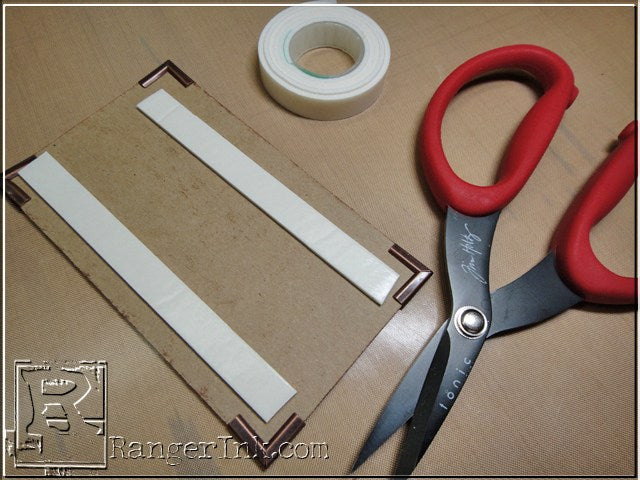
 Step 20: Apply strips of Foam Tape to the back of the canvas covered cardstock.
 Step 21: Secure the background to the base card.
 Step 22: Place card on to a paper towel and lightly spritz with Tarnished Brass Distress Spray Stain. Tip: The slower you press down on the sprayer the more “splattery” the ink will dispense.
 Step 23: Dry the Spray Stain with a Heat Tool.
 Step 24: Adhere the Grungeboard deer using Glossy Accents.
 Step 25: Tie on a piece of jute around the card for a finishing touch.
I hope you enjoyed this fun idea to colorize Ranger’s Texture Paste with Distress Spray Stains. Ranger makes so many different products that work great to colorize the paste to have fun exploring your creative options and happy holidays…


