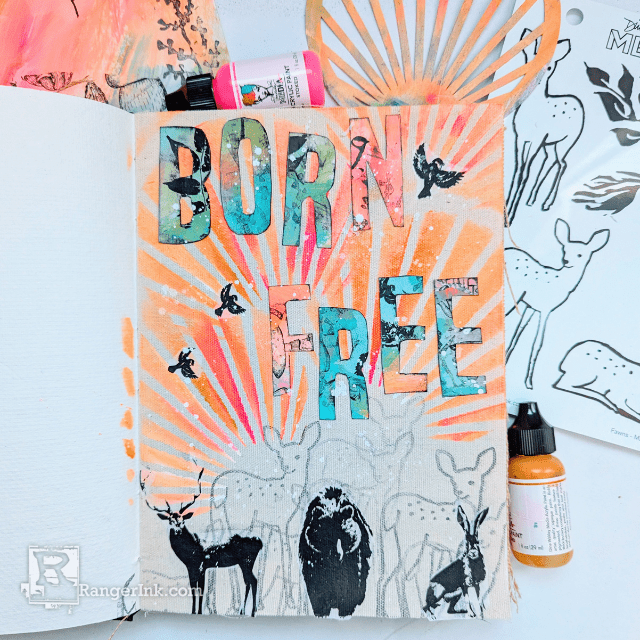
by Tracy Scott
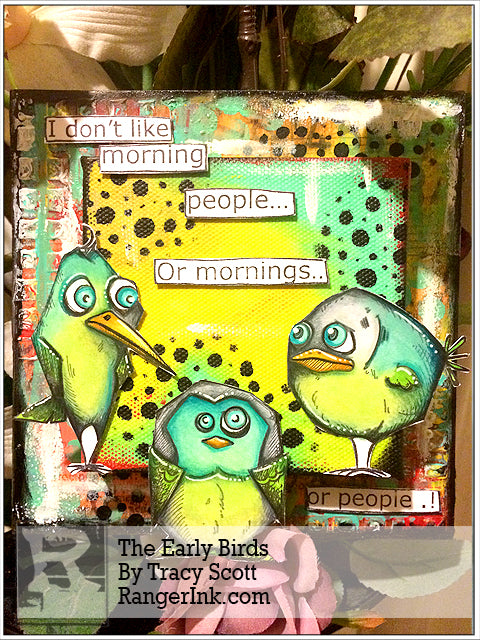
The Early Birds by Tracy Scott
- Materials
- Instructions
- Tim Holtz® Distress Markers: Weathered Wood, Cracked Pistachio, Twisted Citron, Peacock Feathers, Fossilized Amber
- Dylusions Paint Black Marble
- Dina Wakley Media Heavy Body Acrylic Paints: Ruby, Lemon, Turquoise, White
- Dylusions Stencils: Bubble, Squares
- Archival Ink™ #0 Pads Jet Black
- Ranger Mini Blending Tool
- Dina Wakley Media Palette Knife
- Ranger Texture Paste
- Ranger Multi-Medium Matte
- Tim Holtz by Stampers Anonymous – Tim Holtz Crazy Birds
- Caran D’Ache – Pablo Pencils
Instructions

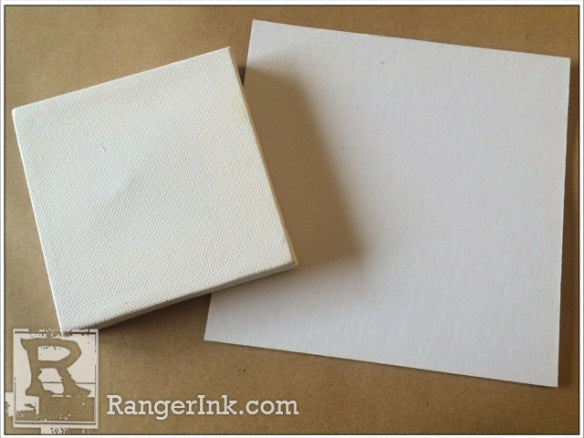 Step 1: For my project I chose a 6×6 inch acrylic board and a small 3×3 inch box canvas.
 Step 2: Using Ranger’s Gel matte medium, I covered the acrylic board with the fabulous Tim Holtz tissue paper.
 Step 3: I love Ranger’s fabulous distress paints and for this project chose Abandoned Coral, Fossilized Amber, Mustard Seed, Ripe Persimmon and Ground Expresso, rubbing each colour in randomly with my fingers to create a mottled effect.
 Step 4: I chose the Dylusions Basic Background stamp set and using the numbers stamp and a Ranger Jet Black Archival Ink Pad I stamped randomly onto my background.

 Step 5: I applied Texture Paste through the Dylusions Square Stencil with a pallet knife to opposite corners and allowed to dry.
 Step 6: I then took Dina’s amazing Heavy Body Paints in Ruby, Lemon & Turquoise and my absolute favourite Distress Paint in Cracked Pistachio and then lightly rubbed the colours over the canvas board with my fingers giving a distressed paint look.
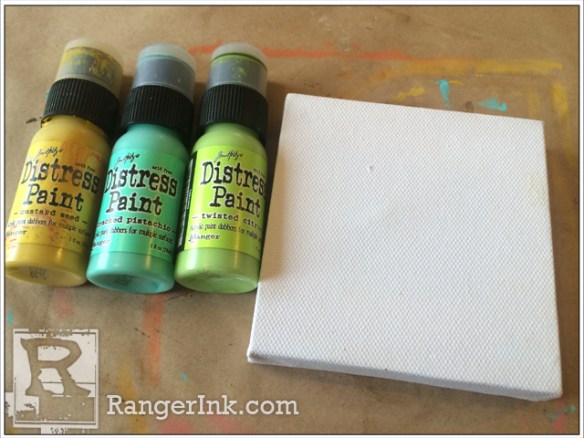 Step 7: Moving on to the small mini canvas, I chose Distress Paints in Twisted Citron, Cracked Pistachio and Mustard Seed and again blended them onto the canvas with my fingers.
 Step 8: I then took a little of Dina’s Ruby Acrylic Paint and rubbed it on with my fingers around some of the edges and corners of the small canvas giving a distressed look.
 Step 9: Now working on both pieces at the same time, I used the Dylusions Bubbles Stencil, Black Dylusions Paint and a blending sponge, I applied the stencil to both canvases randomly and then added some paint around the edges of both canvases to distress and tie them together.
 Step 10: I set the canvasses to one side and stamped 3 of the Tim Holtz Crazy Bird stamps onto good quality smooth white card using Ranger Jet Black Archival Ink.
 Step 11: For the next stage I decided to colour with a mix of the cool distress markers and then later I would finish with coloured pencils. I chose Twisted Citron, Weathered Wood, Cracked Pistachio, Peacock Feathers and Fossilized Amber for my Distress colours. I took an acrylic block and added my colours directly from the pens onto the block (using it as my pallet) then with a slightly wet brush I picked up the colours from the block and applied to my images. I dried with a heat gun between layers and continued to build up the colours until I was happy with the result.
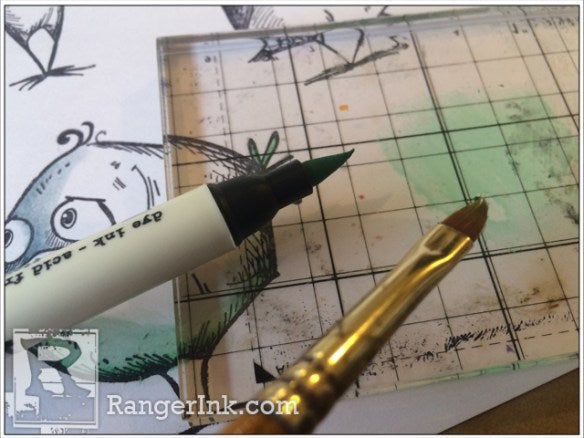


 Step 12: Using a mix of coloured pencils which coordinated with my distress colours I then continued to add finer detail to the shading of the images. I am using the Caran D’ache Pablo pencils for this but your favourite coloured pencils will work perfectly well.

 Step 13: Ok. So now it’s time for the final stage and to assemble all our finished pieces together. I glued the small canvas to the centre of the canvas board using a large amount of Matte Medium and allowed to dry into place. I then cut all my bird images out and using a 3D foam attached them to my smaller canvas so they were slightly coming over the edges. I stamped one of Dyan’s Dylusions fabulous sayings onto smooth white card, cut out and attached with 3D foam and then to finish off I added a small amount of white paint onto both canvases as a finishing touch and to tie them both together.


