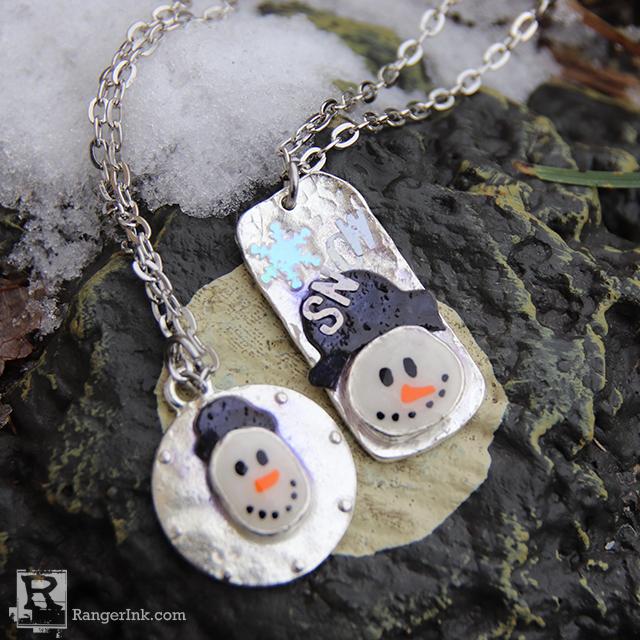
Bring a little snow everywhere you go with this adorable charm by Melissa Winters. Learn how to tint ICE Resin® with white to create the base for these little snowman bezels, then create faces with paint pens, making a great snowy pendant.

Snow! by Melissa Winters
- Materials
- Instructions
Instructions
I watched “White Christmas” recently and I love all the songs. One that has been playing on a loop in my head is “Snow”. With a spade of snow, I’ll build a man of snow. So, I built my own snowman.

Step 1: Begin with the Cabby Round Silver and Cabby Rectangle Silver Bezels from Ice Resin. Next mix Resin according to package instructions. After mixing, add a small amount of white acrylic paint. Only a small amount is needed and if you add too much, the Resin will not cure properly. Pour white resin into bezels and allow to sit overnight.

Step 2: The next day use an acrylic paint pen and draw on your snowman face.

Step 3: While this is drying, take Tim Holtz paper dolls and cut the hat off the man. The curve on this hat will fit perfectly against the bezel.

Step 4: I decided to darken my hat with a marker.

Step 5: Use an orange paint marker to add a carrot nose. Next, mix another small batch of ICE Resin. Once mixed, use a disposable paint brush to seal the snowman face with a layer of resin.

Step 6: For extra sparkle, brush on another thin layer of resin to the bezel and add a glitter snowflake and small mylar letters that spell “SNOW”. Allow to cure for three days.

Step 7: I added a stainless-steel jump ring and chain to complete the look. This cute snowman faces makes my heart sing.


