by Jenn Shurkus

Nautical Mixed Media Card by Jenn Shurkus
- Materials
- Instructions
- Tim Holtz Distress® Watercolor Cardstock
- Archival Ink: Jet Black
- Tim Holtz Distress Ink Pads: Scattered Straw, Spiced Marmalade, Rusty Hinge
- Tim Holtz Distress Spray Stains: Peacock Feathers, Mermaid Lagoon, Crushed Olive
- Tim Holtz Distress Marker: Walnut Stain
- Tim Holtz Distress® Rock Candy Crackle Paint
- Tim Holtz Distress Glitter: Antique Linen
- Tim Holtz Distress® Marker Spritzer
- Tim Holtz Distress® Sprayer
- Ranger Adhesive Foam Rolls
- Ranger Artist Brush Set
- Ranger Glossy Accents™
- Ranger Heat it™ Craft Tool
- Ranger Non-Stick Craft Sheet™
- Tim Holtz Stampers Anonymous Nautical Blueprint, Graph & Croc
- Tim Holtz Idea-ology: Tiny Attacher, Small Talk Stickers
- May Arts Ribbon WQ09, 2” Webbed Weave Ribbon
- Sinamay
Instructions
 Hello Everyone! It’s Jenn Shurkus again from Shurkus.com. I am wicked exited to be sharing on the Ranger Blog again!
Today I am sharing with you a Nautical Mixed Media Card. I love all things ocean! And I’m excited to share with you these techniques so you can achieve your own underwater scene!
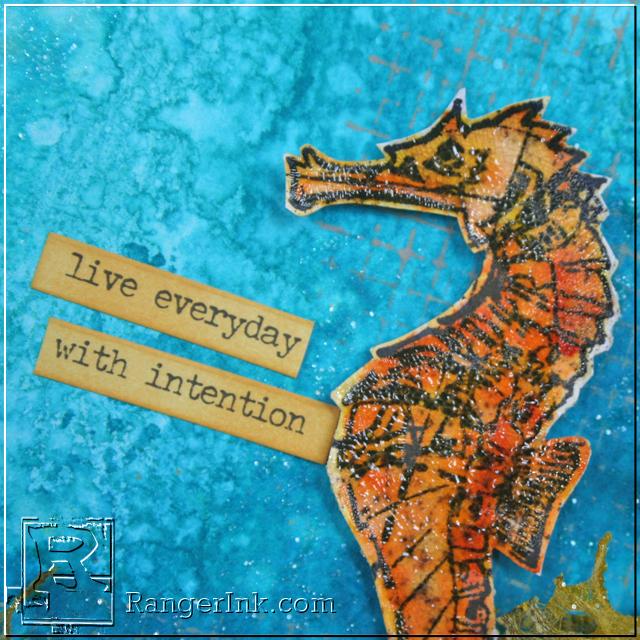
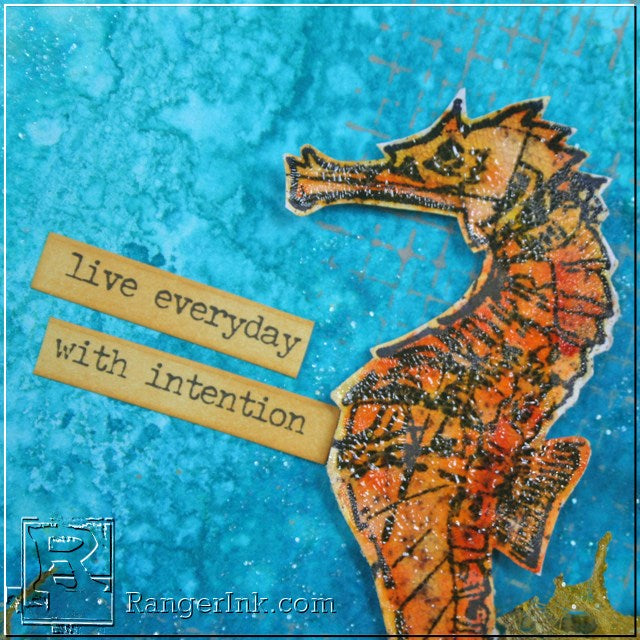
 Step 1: Start by stamping the seahorse in Archival Black ink on Distress Watercolor Cardstock. Taking your Distress Ink Pads (Scattered Straw, Spiced Marmalade, and Rusty Hinge) and squish some of each ink onto your Ranger Craft to create your palette. I started by wetting the seahorse with water using a wet paintbrush. Then I went in with scattered straw.
Step 2: Then dab in some Spiced Marmalade, starting to create shadow and dimension. If my image is getting too wet I will heat set it a bit with my heat tool. I then went in with some Rusty Hinge Distress Ink to add even more shadow.
Step 3: Sprinkle some water droplets on the colored seahorse and let them sit, “bleaching out” the ink. Then blot dry and you will have some lighter splotches, adding even more texture.
Step 4: Using the Distress Marker Spritzer, and Walnut Stain Distress Marker spritz a little ink over your seahorse. Fussy cut out the seahorse and the text block “seahorse” and set aside.
 Step 5: Using the Distress Sprayer, wet a sheet of Distress Watercolor Cardstock. Be generous.
Step 6: Spritz a little bit of Distress Spray Stain in Peacock Feathers. You will see the ink move around the pools of water.
Step 7: Spritz a little bit of Distress Spray Stain in Mermaid Lagoon. You will see the ink move around the pools of water.
Step 8: Fill in the whole sheet of Distress Watercolor Cardstock with Spray Stain, and then spritz it again with water to blend the color.
 Step 9: Heatset your background and then spritz some water, letting it pool. Flick some water droplets as well (you will see in the upper left corner). Let it sit a minute.
 Step 10: Then heatset your background. You will see the layers and dimension that are created by heating in between the layers of ink. You can also see those fabulous splatters as well.
 Here is a close up of the background before we continue on with this project.
 Step 11: This ribbon from May Arts is the perfect “seaweed” ribbon! Using Crushed Olive Distress Spray Stain, spritz your ribbon, and spritz some water as well to move the color around.
Note: I gently heat set this so I can continue to work on my project, but watch for smoking.

Step 12: Ink up the graph stamp in the Tim Holtz, Stampers Anonymous Graph & Croc background stamps. I inked it with Pumice Stone Distress Paint.
Note: Yes paint, it won’t harm your stamp. I actually rinse it in the sink when I am done. It will however give you a different look then just using an inkpad. You will see more transparency and an organic look when it doesn’t stamp perfectly everywhere.
So swipe the paint dabber across the stamp, rubber up as seen and then I take my background and press it onto the stamp. Much easier then getting a huge block out etc. You can also choose to press right where you want the stamp to be. I stayed away from the upper left corner of my background.
 Step 13: Using the Tiny Attacher I worked on adhering the seaweed and sinamay. Especially with the seaweed I twisted it, and let it stay bulky.
 Step 14: To adhere the seahorse I used black foam adhesive, but because I hate when things fall apart I also use glossy accents to make sure it is never going anywhere. For the word “seahorse” I just used Glossy Accents.
 Step 15: I wanted to adhere some real shells I have collected this summer at Narragansett Beach in Rhode Island. I love these little shells and the detail they have in their coloring. I built up a few layers of foam adhesive and then added glossy accents and held it in place for a few minutes (while I scrolled through instagram with the other hand
 Step 16: Apply glossy accents generously to the seaweed and bottom of your card.
Step 17. Apply Antique Linen Distress Glitter generously to where the glossy accents is .
 Step 18: Apply Distress Crackle Paint: Clear Rock Candy generously to the seahorse with a paintbrush.
Note: be sure to rinse your paint brush right away.
 Step 19: Apply Distress Stickles: Rock Candy generously to the edges of your card and parts of your seaweed. This is going to add a great underwater sparkle once dry!
 Step 20: Choose a phrase from the Tim Holtz Small Talk stickers. Stick it to your Ranger Craft Sheet and add a little color to it. I used Spiced Marmalade Distress Ink. Then adhere to your card.
 Step 21: Once dry I adhered this Distress Watercolor Cardstock panel to an A-2 Card.
Your Cart
- Choosing a selection results in a full page refresh.


