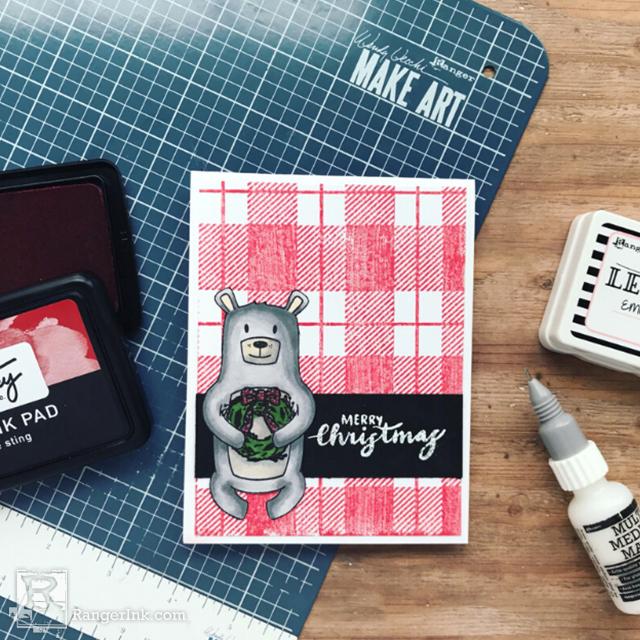
In this tutorial, Jess Francisco shares a quick Christmas card tutorial featuring Simon Hurley create. products and Simon's signature bear, Artie!

Merry Christmas, Artie Card by Jess Francisco
- Materials
- Instructions
Instructions

Step 1: Who says Christmas cards have to take forever to be special? This card is quick and easy and is sure to make the recipient smile. Start by creating an A2 (4.25" x 5.5") sized card base from Simon Hurley create. Stark White Cardstock. Cut an additional card panel to 4" x 5.25".

Step 2: Choose a background color for your card from the Simon Hurley create. Dye Ink Pad collection. For this card, I chose Bee Sting, but you could use any color you’d like! Ink up the Classic Flannel background stamp with your ink and stamp with firm and even pressure.

Step 3: Stamp the bear (Artie) from the Bestest Friends stamp set and the wreath from Caroling Squad. You can use masking tape to create your images or, if you prefer not to mask, you can always stamp each image individually and then fussy cut them and layer them together. Color your images using your favorite coloring medium. For this project, I chose alcohol markers.

Step 4: After your bear and wreath are fussy cut and layered together, create the sentiment strip. Cut a piece of black cardstock to 1.25" x 4". Treat the cardstock with the Anti-Static Powder Pouch. On the right side, use Letter It Embossing Ink to stamp out ‘Merry Christmas’ from the Caroling Squad Stamp Set. Pour on Superfine White Embossing powder and tap off the excess. Melt the embossing powder with the Heat It Craft Tool.

Step 5: Finish off your card by adhering the card panel to your card base. Then attach the black strip of cardstock with your sentiment. Finally, attach the bear and wreath with Multi Medium Matte and you’re done! Just like that, you’ve got a completed Christmas card to add to your pile!


