


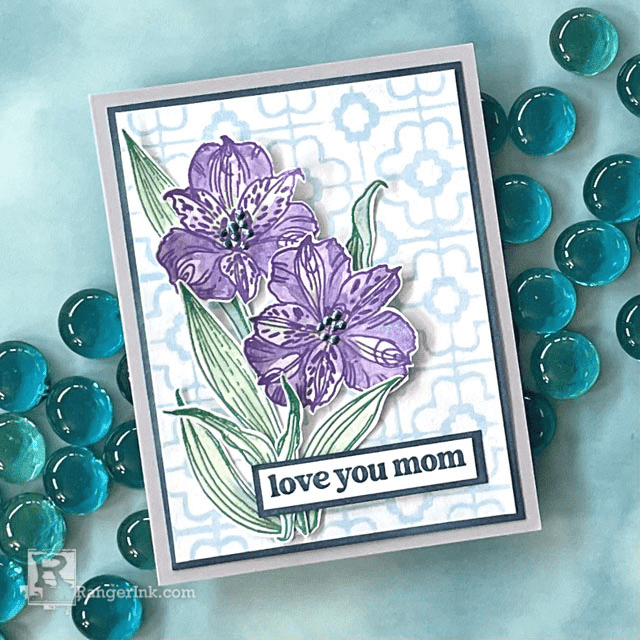
This gorgeous Mother's Day card by Lauren Bergold is full of shimmer, texture, and creativity. She used Liquid Pearls in an innovative way—using them as a resist and painting with a diluted mix to create soft, pearlescent layers of color. The floral design feels both delicate and bold, making it a perfect handmade piece to show mom just how much she means.
Liquid Pearls Mother's Day Card by Lauren Bergold
- Materials
- Instructions
Liquid Pearls™: White Opal, Robin's Egg, Hydrangea, Sage, Deep Water
Simon Hurley create. Stencil The Loo!
Simon Hurley create. Stamp Set Heartfelt Blooms
Spellbinders Simon Hurley create. Dies Heartfelt Blooms
Simon Hurley create. Acrylic Stamping Blocks
Simon Hurley create. Stark White Cardstock
Wendy Vecchi MAKE ART Stay-tion
Wendy Vecchi MAKE ART Stay-tion Craft Sheet 9"
Wendy Vecchi Perfect Cardstock Grey A2 Cards
Ranger Mini Ink Blending Tool Domed Replacement Foams
Instructions
Having recently discovered that dried Liquid Pearls act as a fabulous "resist" for painting with diluted Liquid Pearls, I wondered if stenciling with White Opal Liquid Pearls would create an interesting and shimmery effect as well as highlighting the "negative" space of the stencil. Spoiler Alert: It totally does!!!

Step 1: Gather Materials: Liquid Pearls in White Opal, Robin's Egg, Hydrangea, Sage, Deep Water and Bisque; Clear Embossing Ink; Embossing Powder in Purple and Green; Heat It Embossing Tool; Cobalt Archival Ink; Simon Hurley create Heartfelt Blooms Stamp Set, The Loo Stencil and Stark White Cardstock.

Step 2: Place Simon Hurley's create The Loo! stencil over a 3.75 x 5" panel of Stark White Cardstock and apply an even coat of White Opal Liquid Pearls using a Mini Ink Blending Tool and a clean Domed Foam. Remove the stencil and set the panel aside to dry completely. Clean the stencil immediately using Isopropyl Alcohol.

Step 3: Dispense a small amount of Robin's Egg Liquid Pearls onto your craft sheet or a palette and dilute with a few drops of water. Use a large flat brush to paint the panel from Step 1 with the diluted Pearls. Note that the dried Liquid Pearls act as a resist and the color will only appear in the blank spaces. Set aside and allow to dry.

Step 4: Stamp the two large flower outlines in the Heartfelt Blooms Clear Stamp Set in Emboss It Clear Ink on Stark White Cardstock and emboss with on Purple Embossing Powder. Melt with the Ranger Heat It Craft Tool and allow the images to cool before proceeding.

Step 5: Paint the embossed blooms with slightly diluted Hydrangea Liquid Pearls; mixing in a tiny bit of Deep Water towards the center of the flowers. Set aside and allow to dry completely; then cut out using the coordinating die set or scissors.

Step 6: Stamp the three leaf outlines from the same set in Emboss It Clear Ink on Stark White Cardstock and emboss with Green Embossing Powder. Melt with the Ranger Heat It Craft Tool and allow to cool before proceeding.

Step 7: Paint the embossed leaves with slightly diluted Sage Liquid Pearls; mixing in a tiny bit of Deep Water towards the bottoms and edges of the leaves. Set aside and allow to dry. When dry, cut out using the coordinating die set or scissors.

Step 8: Place the "Love You" and "Mom" stamps side by side on an acrylic block and stamp in Cobalt Archival Ink on a scrap of white cardstock. Trim into a neat strip and set aside.

Step 9: Trim a piece of Stark White Cardstock to 4 x 5.25" and apply Cobalt Archival all around the four edges.

Step 10: Assembly: Add the White Opal/Robin's Egg panel to the Cobalt mat. Affix the two large blooms to the righthand side of the card with foam tape and cluster the leaves beneath the blooms. Add the sentiment, and adhere the completed design panel to a Grey A2 card.

Step 11: Use the other stamps in the Heartfelt Blooms set to add an interior sentiment, sign the card and mail it to your Mom!
 My name is Lauren Bergold, and I live in central New Jersey with my husband of 30+ years and A LOT of art supplies! My favorite medium is paper, and I especially love making cards. I teach papercrafting classes, as well as collecting and compiling vintage and found papers. You can find me on my blog, All the Good Blog Names Were Taken, and on Instagram as @llaurenb where I love to connect with other artists and makers!
Related Posts
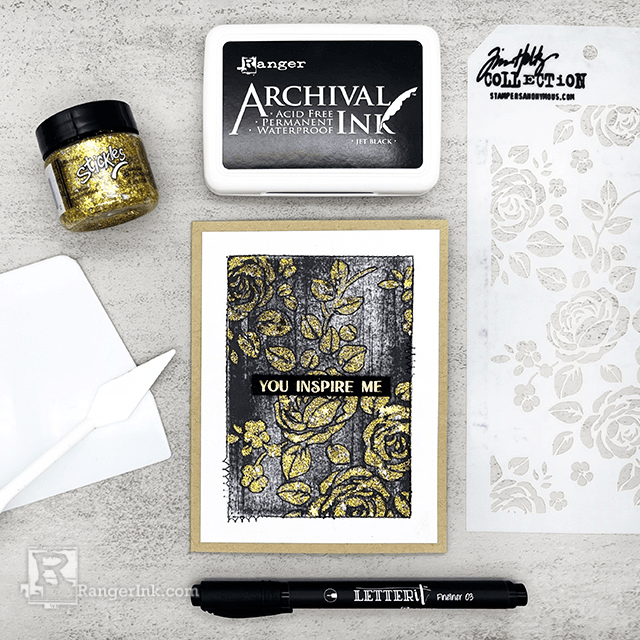
Product Play: Archival Inks, Stickles, and Doodling with Miriam Prantner
Add eye-catching texture and shimmer to your cards like Miriam Prantner did with this stunning floral design! In this tutorial,...
Read More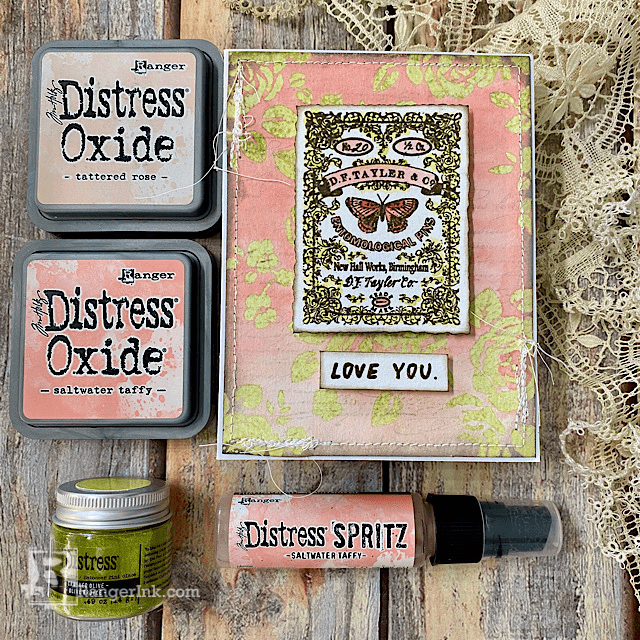
Distress Embossing Glaze Iron-off Resist Card by Tami Bastiaans
In this tutorial, Tami Bastiaans is sharing one of her go-to techniques — using Distress Embossing Glazes with the...
Read More