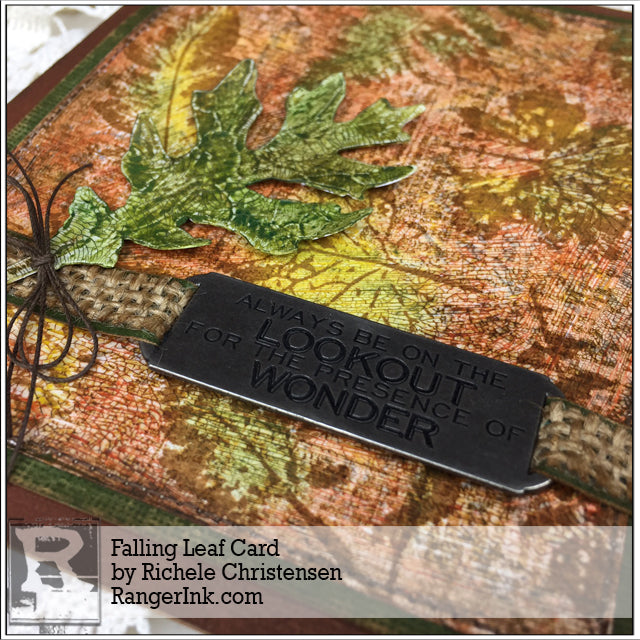
by Richele Christensen

Falling Leaf Card by Richele Christensen
- Materials
- Instructions
- Tim Holtz® Distress Mixed Media Archival Ink Palette : Vintage Photo Reinker
- Ranger DIY Dye Ink Pad
- Tim Holtz® Distress Collage Mediums : Crazing
- Tim Holtz® Distress Collage Brushes
- Tim Holtz® Distress Crayons : Fossilized Amber, Lucky Clover, Peeled Paint, Rusty Hinge, Vintage Photo
- Tim Holtz® Distress Watercolor Cardstock
- Ranger Adhesive Foam Rolls : Black
- Tim Holtz® Idea-ology Quote Bands
- Tim Holtz® Idea-ology Textured Surfaces
- Tim Holtz® Idea-ology Mini Corners
- Tim Holtz® Sizzix Tattered Leaf Bigz Die
- Tim Holtz® Sizzix Vagabond Machine
- Tim Holtz® Stampers Anonymous Leaf Print Set
- Tim Holtz® Stampers Anonymous Newsprint & Type Set
- Cardstock
- Sewing Machine
Instructions

Step 1: Stamp Leaf Prints onto Watercolor Cardstock with Vintage Photo Archival Distress Ink. Tip: You can create your own pad using a DIY Archival Ink Pad and Reinker or use the Tim Holtz Distress® Archival Mixed Media Palette.

Step 2: Apply a thickish coat of Distress Collage Medium Crazing with a Distress Brush.

Step 3: As the Crazing dries small cracks will appear. Let dry completely.

Step 4: Work in small sections and color the background using the Distress Crayons. Draw the Crayon on the background, add a tiny bit of water to your finger, blend the color on the surface and let dry. Think fall colors like Rusty Hinge, Fossilized Amber, and Peeled Paint. Darken the outer edge with Vintage Photo Distress Crayon.
 >
>
Step 5: Randomly stamp over background areas with the Newsprint stamp using Vintage Photo Archival Ink and before the ink dries wipe off the leaves with a dry cloth. Tip: Do not mount the stamp on a block and use your fingers to press down in a small area. Turn the stamp different directions to make it more interesting.

Step 6: Die cut the leaf from the Tattered Leaf Bigz Die using Watercolor Paper. Repeat steps 1-4 to color the leaf.
 >
>
Step 7: Add stitching around the edge, assemble card by adhering layers together, embellish with Quote Band, Textured Surfaces and Mini Corners.

Step 8: Tie twine around die cut leaf with a bow and adhere with foam tape.


