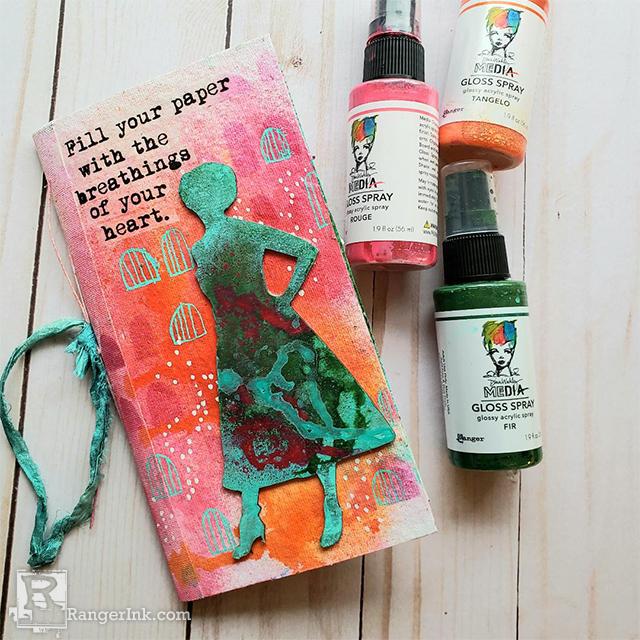
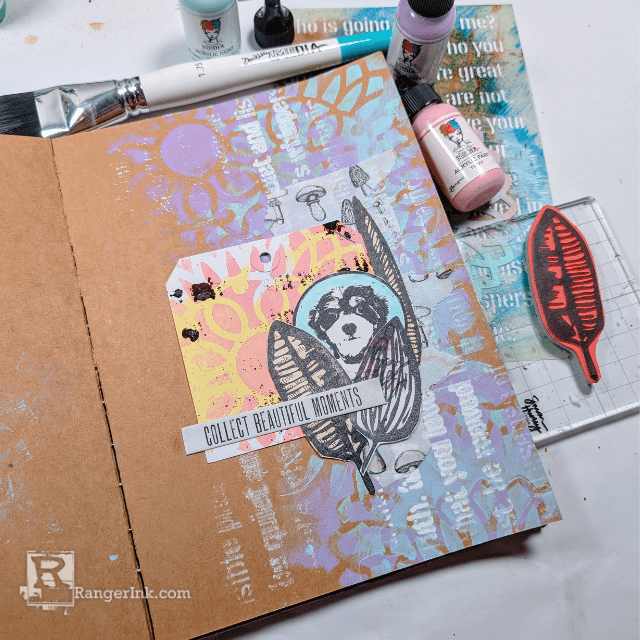
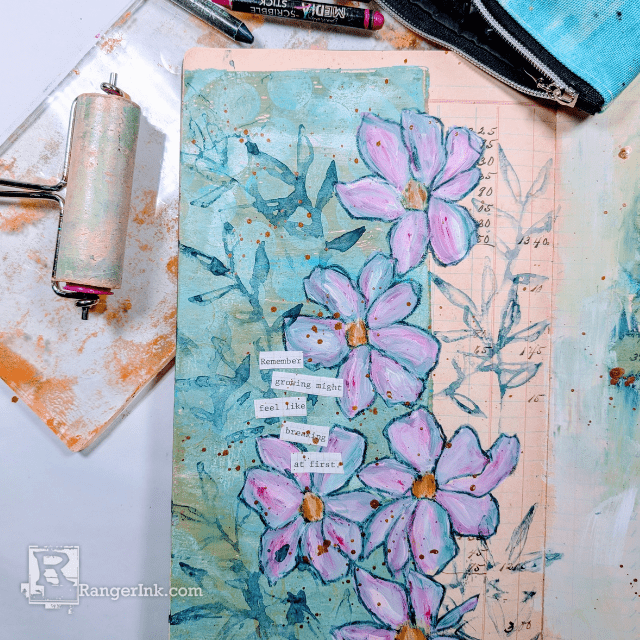
Create this fun mixed media book made of Dina Wakley MEdia Heavyweight Watercolor Paper and follow along as Megan Whisner Quinlan shows you an inventive stenciling trick using Dina's chipboard shapes.

Dina Wakley MEdia Chipboard Stencil Book by Megan Whisner Quinlan
- Materials
- Instructions
Instructions
Although chipboard shapes are super fun features to mixed media projects on their own, they can also be used in different ways in your art. Chipboard can be used as a stencil to create spectacular silhouettes in your projects. Follow along to find out how to create this fun book with chipboard shapes and acrylic sprays.

Step 1: Cut some Dina Wakley Media Watercolor sheets in half horizontally. You will now have two pages. Cut 3 or 4 sets.

Step 2: Trim the Sticky Back Canvas Tape down to 2” wide and cut it into strips as long as your page.

Step 3: Add the tape on the front and back seams of the book pages creating your signatures.

Step 4 : Go through all of the pages and, using a Ranger Mini Blending Tool and acrylic paint, stencil some shapes on to all of the pages to begin adding some texture and pattern. Just stencil randomly and try to leave white space as well.

Step 5: Using the acrylic sprays, spray a foundation layer on your pages, taking care to also leave some white space. Allow to dry.

Step 6: Using the chipboard shapes, place one onto your page and spray some contrasting color around the chipboard shape. Carefully lift up your shape, so as to retain the image below. Allow to dry. The shapes can be used in this way for quite sometime until you decide to use it in your projects, which is why the shapes are so amazing.

Step 7: Once your pages are dry, add some marks and doodles with paint pens. To help the image “stand out” a little more, you may want to trace around the shape in a White Opaque Pen.

Step 8: Using some Ultra Thick Gel Medium, add some Collage Tissue phrases onto to your pages to make them inspiring.

Step 9: Place all of ythe pages one on top of the other. Decide what page you want as your cover, and glue down a chipboard shape with Ultra Thick Gel Medium.

Step 10: Using a bookbinding needle (or even a large embroidery needle) and some waxed linen do a simple pamphlet stitch to attatch all of your pages through the Sticky Back Canvas spine. Embellish the outer spine with some fun colored ribbons and you will have a lovely book showcasing your chipboard silhouettes!


