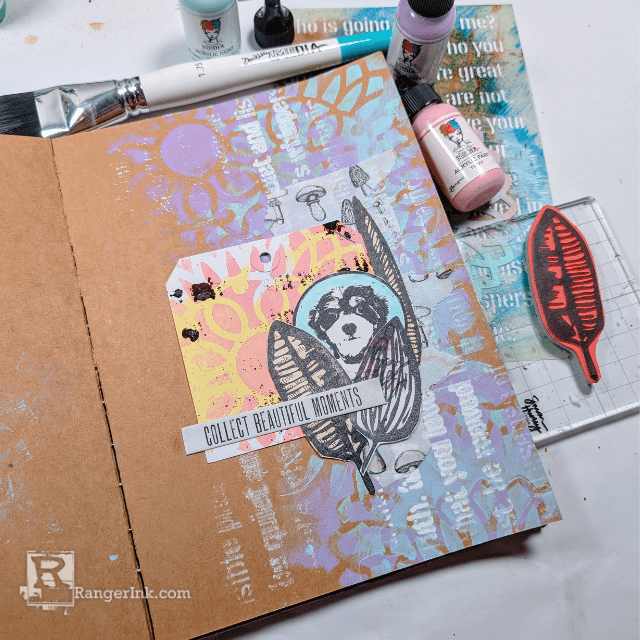
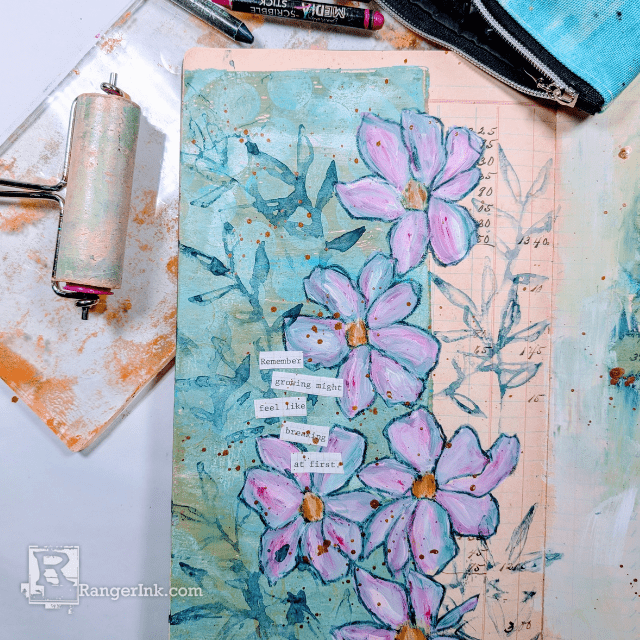
Megan Whisner Quinlan shows how to make a fun mixed media tag using Dina Wakley MEdia Gloss Sprays and Collage Tissue to leave as-is or incorporate into your art journal.

Be You Gloss Spray Tag by Megan Whisner Quinlan
- Materials
- Instructions
-
Dina Wakley MEdia White Tags: #10
Dina Wakley MEdia Gloss Sprays: Cheddar, Marine
Dina Wakley MEdia Chipboard Shapes: Words
Dina Wakley MEdia Collage Tissue: Vintage and Sketches, Backgrounds
Dina Wakley MEdia Cling Stamps: Scribbled Branches
Dina Wakley MEdia Acrylic Paint: Marine, Cheddar, Olive
Dina Wakley MEdia Stencil: Alpha Stencil & Masks
Dina Wakley MEdia Ultra Thick Gel Medium
Ranger Non-Stick Craft Sheet
Ranger Archival Ink: Jet Black
Tim Holtz idea-ology® Stickers: Small Talk
White Cardstock
Scissors
Instructions
Have you ever tried adding tags to your art journal pages? Sometimes it’s fun to spend time working small on a tag and then you will have a beautiful finished piece to keep as-is or add to your art journal pages for a quick spread. This project will show you how to make a fun tag using Dina Wakley MEdia Gloss Sprays on her white Collage Tissue for a fun negative image to add to your artwork.

Step 1: Select a white image from the Dina Wakley Collage Tissue (this one is from Vintage & Sketches). Spray tissue with at least 2 colors of Dina Wakley Gloss Spray, here Cheddar and Marine were used to create a good contrast. Let the sheet dry completely on a non-stick surface (waxed paper would be fine).

Step 2: Spray a Dina Wakley MEdia Chipboard Shape with the Gloss Spray, using similar colors for a cohesive effect. Allow chipboard to dry completely. Notice the marbleized effect on the chipboard, creating a “poured” look.

Step 3: Using the Dina Wakley MEdia Alpha Stencil, stencil letters randomly onto the surface of your tag with Dina Wakley MEdia Acrylic Paint, here Cheddar was chosen. Because it is the lighter of the two colors it will allow the image to pop when glued down.

Step 4: Lightly burnish the edges of your tag with the darker of your 2 colors to “sharpen” the tag’s overall look.

Step 5: Tear out some small pieces of Dina Wakley MEdia Collage Tissue from the backgrounds collection. Try a smaller print so as not to overpower your overall design.

Step 6: Apply the tissue at random around your tag with Dina Wakley MEdia Ultra Thick Gel Medium.

Step 7: Add some paint splatters around your tag in any color of your choosing that compliments your project. Allow splatters to dry.

Step 8: Stamp some branches from the Dina Wakley MEdia Scribbly Branches Cling Stamp Set onto white cardstock with Jet Black Archival Ink. Cut out and add some of the same colors to the image to go with your theme.

Step 9: Apply your image, chipboard, and cutout to your tag in a pleasing arrangement with the Ultra Thick Gel Medium.

Step 10: Add some text phrases from the Tim Holtz® idea-ology Small Talk book. You will now have a beautiful tag to keep or handy to add to a page when you want to create on the go!


