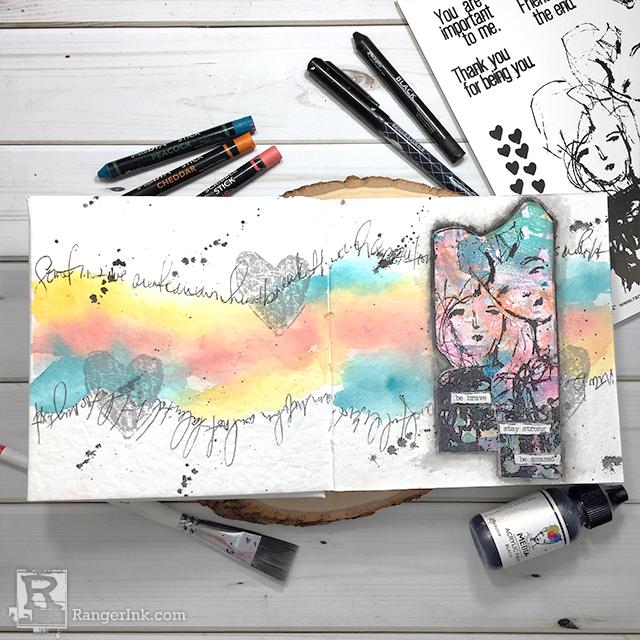
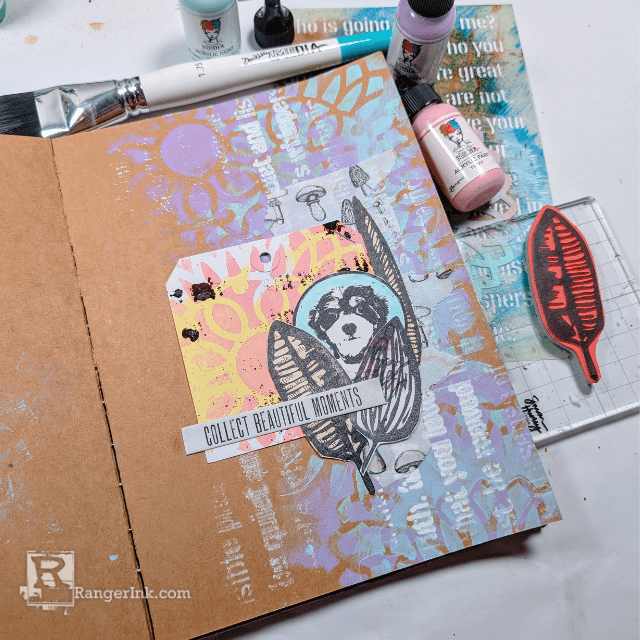
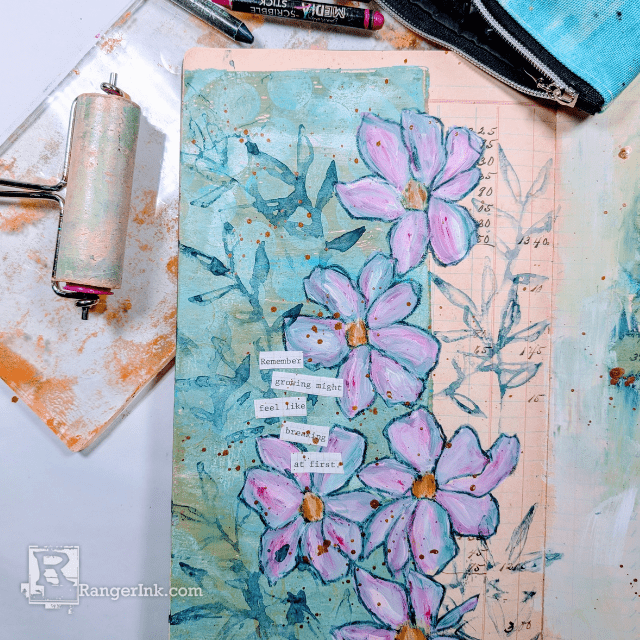
Carisa Zglobicki shares how she uses Dina Wakley Scribble Sticks in the Dina Wakley 6 x 6" White Journal to create a beautiful watercolor background embracing white space, stamping and collage to complete an art journal page.

Be Brave Watercolor Art Journal Page by Carisa Zglobicki
- Materials
- Instructions
- Dina Wakley MEdia 6" x6" White Journal
- Dina Wakley Media Scribble Stick Sets 1 & 2: Blushing, Cheddar, Peacock, Black
- Tim Holtz Distess® DIY Ink Pad
- Tim Holtz Distress® Archival Ink Reinkers: Hickory Smoke, Black Soot
- Dina Wakley MEdia Stamps: Friends to the End
- Dina Wakley MEdia Ultra Thick Gel Medium
- Dina Wakley MEdia Gel Medium
- Dina Wakley MEdia Brushes
- Dina Wakley MEdia Fude Ball Pen: Black
- Ranger Heat It™ Craft Tool
- Dina Wakley MEdia Brushes
- Ranger Fude Ball Pen: Black
- Ranger Heat It™ Craft Tool
- Tim Holtz® Kushgrip Snip Scissors
- Tim Holtz® idea-ology Small Talk Stickers
Instructions

Step 1: Begin with wetting the paper with clean water using the paintbrush concentrating on the middle of the two-page spread. Use the paintbrush to then pull pigment directly from the Scribble Sticks to add each color to the page in three different areas which will move the eye across the page. Start with lighter colors then move into the darker colors. It's ok to overlap colors. Let air dry or use a Heat Tool to dry before moving to the next step.

Step 2: Previously made tags and gel prints are great to have on hand for quick journal pages. Find one that matches the colors on the page or provides a nice contrast and stamp on it with Black Soot Archival Ink with the faces image from Friends to the End set. This is a great stamp to use over busy backgrounds and tags because of a lot of heavy black line art. Fussy cut around the image and set aside for Step 4.

Step 3: Using the heart shape stamp from Friends to the End, stamp across the page alternating above and below the color swash in three places. Then add journaling to the page following the color outline. Use exaggerated ascending and descending marks on your letters for a more abstract look. This is an easy way to distort writing that you don't want to be read later. At this point, add another layer of colors from the Scribble Sticks using the same technique in Step 1 just to deepen and add some dimension to the background if desired.

Step 4: Add the cut out stamped images to the right side of the page using Ultra Thick Gel Medium. The pages in the 6 x 6 journal are 100% cotton, cold press paper with a lot of texture. The Ultra Thick Gel Medium is perfect for adhering thick tags or heavy cardstock to these pages. Once dry outline the images with the Black Scribble Stick to create depth and make the images stand out more from the background.

Step 5:Leaving white space can sometimes be daunting. Adding a few splatters of watered down Black Heavy Body Acrylic paint can add contrast without overworking it. To complete the page, just add some stickers or words to the tags representing the mood or moment you wanted to capture by creating art. Use Gel Medium to secure them permanently to the tag and add an outline with a pen to blend it into the page.


Here are some close ups of the completed art journal page. This is a very simple page playing off the beautiful texture of the cotton watercolor pages in the 6 x 6 art journal. The Scribble Sticks blend and move so effortlessly on this paper. You can see the beautiful texture and dimension created with the different layers of color and how the premade tag adds a more pattern and interest to the page with the stamped images on top.
This process was filmed to show step by step how to use Scribble Sticks to create a beautiful watercolor background embracing white space, stamping and collage to complete an art journal page.
Thank you to Ranger again for inviting me back to the blog to share this tutorial with you using my favorite Ranger Ink products.


