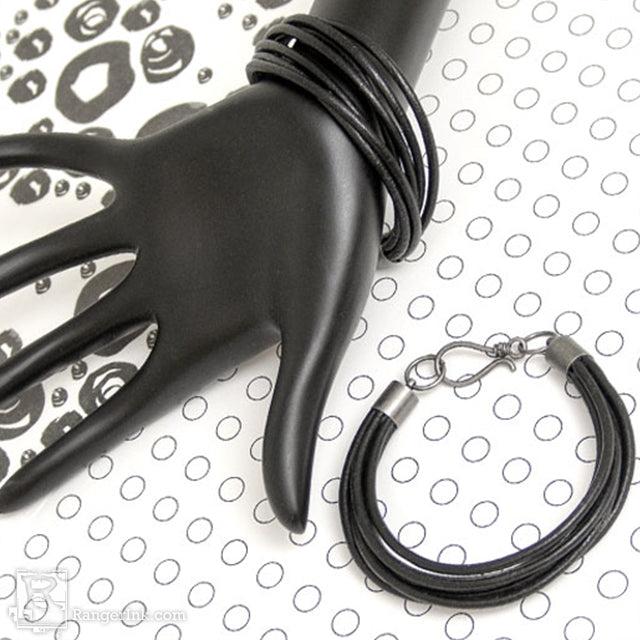
by Debbie Tlach

Banded Leather Bracelet by Debbie Tlach
- Materials
- Instructions
- ICE Resin® Leather Cord: Black 2.5mm (Seven 8.5” Pieces or size to fit wrist, minus finding size)
- ICE Resin® Leather Adhesive
- ICE Resin® Studio Sheets
- ICE Resin® Findings: 8 mm End Caps/Jump Rings – Antique Silver (Need 2 End Caps & 2 Jump Rings), S Hooks/Jump Rings – Antique Silver (need one S hook)
- 2 pairs of needle nosed jewelry pliers
- Scissors
- Baby Wipes
- Twist Tie (optional)
Instructions

Step 1: Open a jump ring and add an s-hook and an end cap then close.
Step 2: Open a jump ring add an end cap then close.
Step 3: Slip the s-hook around the jump ring attached to the end cap.
Step 4: Working over a craft sheet, fill one of the end caps 1/3 full with Leather Adhesive.
Step 5: Align the ends of one side of the lengths of cords together, keep them curved in the same direction. Push the aligned ends into the end cap with leather adhesive. Wipe off any excess Leather Adhesive with a baby wipe. Let dry.

Step 6: With scissors handy, wrap leather with findings attached around your wrist. Determine size needed (include the length that will be inserted in end cap.) Trim excess leather. (You can twist tie the cords together, temporarily if desired, to make them easier to handle.)
Step 7: Fill the empty end cap 1/3 full with Leather Adhesive. insert the remaining ends of the leather cords into the end cap. Wipe off any excess Leather Adhesive. Let dry. Enjoy!


