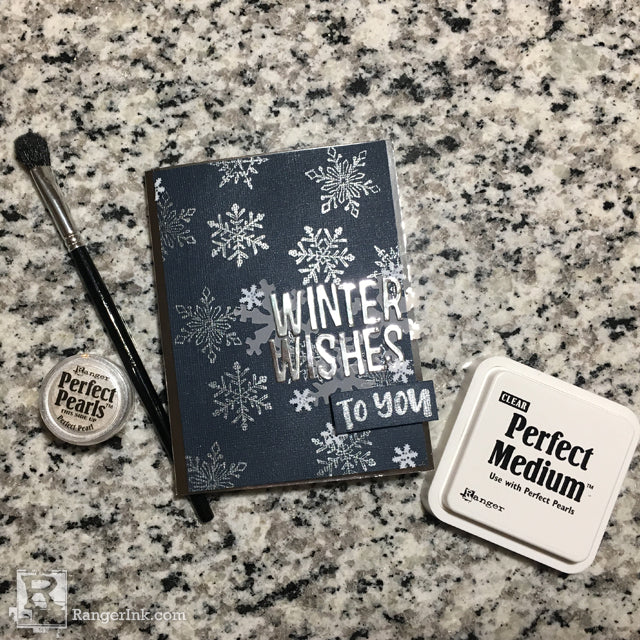
Hey y’all! Today’s tutorial uses Perfect Pearls to make a gorgeous Winter Wishes card. We haven’t had ANY snow here in Texas yet, matter of fact- it’s stayed in the 70’s so far! This card makes me dream of some cooler weather!

Winter Wishes Card by Kelli Cool
- Materials
- Instructions
- Perfect Pearls™ Pigment Powder : Perfect Pearl
- Perfect Medium™
- Letter It™ Stamp Sets : Birthday
- Ranger Mini Misters
- Letter It™ Acrylic Stamp Block
- Tim Holtz by Stampers Anonymous Wood Mounted Stamp: Scribble Snowflakes
- Tim Holtz Alterations by Sizzix Alphanumeric Thinlits Dies
- Tim Holtz Alterations by Sizzix Movers and Shapers Magnetic Die Set: Mini Snowflakes by Tim Holtz
- Navy Cardstock
- Silver Cardstock
- Low Adhesive Tape or Washi Tape
- Dry Sweeping Pad
Instructions

Step 1: Get your Ranger Perfect Medium Pad and wood stamp out. Ink up your stamp with Ranger Perfect Medium. Make sure to get full coverage on the stamp.

Step 2: Press your stamp down onto the cardstock (here, I used navy cardstock).

Step 3: Lift your stamp. The Perfect Medium will leave a watermark on the paper so you can see exactly where your Perfect Pearls will stick.

Step 4: Next, get out your brush and Perfect Pearls (here, I used Perfect Pearl). Tap the brush in the pearls. Just remember- these Perfect Pearls are like powdered eye shadows- sometimes a little goes a long way!

Step 5: Dab the brush on the cardstock.

Step 6: Move the pigment around in a circular pattern. You can see where the pigment starts to stick to the Perfect Medium. Reload your brush when you start to run out and move around your cardstock.

Step 7: Cover your entire cardstock with the Perfect Pearls. It’s ok that your cardstock looks completely covered in shimmery dust! We will get to that next.

Step 8: Gently swipe over your cardstock with a dry sweeping cloth. This will remove the excess pigment and really show off your stamped image!

Step 9: Now time for the sentiment. Place your letter dies on silver cardstock and tape over with some light tack tape- you could also use washi tape for this. This tape will just hold them in place. Run through your die cutting machine and place to the side.

Step 10: Next, place the snowflake dies on vellum and run through your die cutting machine. Place to the side.

Step 11: Now, get out your acrylic block and Letter It stamp set, for this I used the Birthday set.

Step 12: Ink up your stamp just like you did in Step 1.

Step 13: Repeat Steps 2 through 8.


Your Cart
- Choosing a selection results in a full page refresh.


