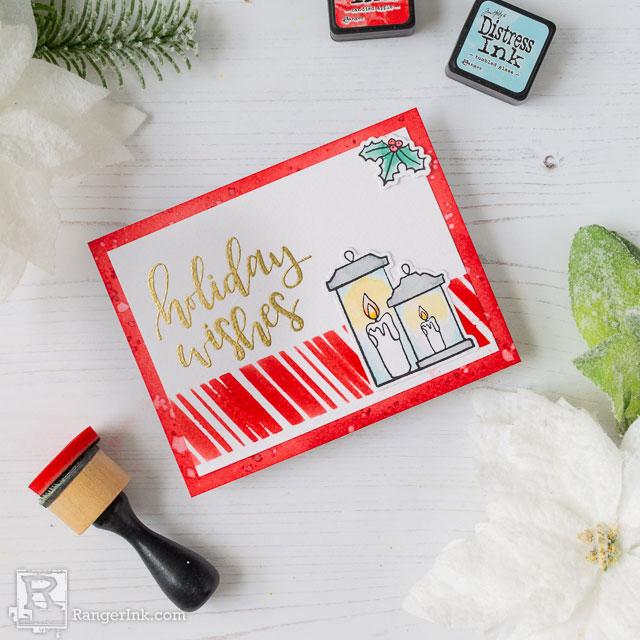
In this tutorial, Laura Volpes shows you how to make this striking yet easy holiday card with Wendy Vecchi stencil, stamp & die sets as the focal point.

Wendy Vecchi Easy Christmas Card by Laura Volpes
- Materials
- Instructions
Tim Holtz Distress® Watercolor Cardstock 8.5" x 11", 10pc
Ranger Mini Ink Blending Tool
Wendy Vecchi MAKE ART Perfect Stamp Positioner Set
Wendy Vecchi MAKE ART Perfect Stamp Block
Ranger Multi Medium: Matte
Ranger Artist Brushes
Ranger Heat It™ Craft Tool
Other:
Tim Holtz Distress® Holiday Mica Stain Set #1
Instructions

Step 1: Cut Tim Holtz Distress® Watercolor Cardstock to 4.25x5.5”. Ink blend the edges with Distress Ink in Candied Apple. Add droplets with water and with Distress Mica Mist in Peppermint Stick.

Step 2: Work on the sentiment. Cut some more Distress® Watercolor Cardstock to 3.75x5”. Stamp the greeting “Holiday Wishes” from the Letter It Christmas Stamp Set with Letter It Clear Embossing Ink. Emboss with Gold Embossing Powder.

Step 3: Stamp images from the Warm Wishes Stamp Set on Tim Holtz watercolor cardstock. Watercolor them with Distress Inks. Use Carved Pumpkin and Candied Apple for the candle flame, Weathered Wood for the base of the lanterns, and Peacock Feathers for the lantern's glass. Use Candied Apple and Pine Needles for the holly berries and leaves. Die cut with coordinating dies.

Step 4: Use the stencil from the Birthday Bash Stamp Set and Candied Apple Distress Ink to decorate the focal panel. Glue the lantern so that it overlaps with the band just created.

Step 5: Adhere the holly to the focal panel, and the focal panel to the card base.
Your Cart
- Choosing a selection results in a full page refresh.


