


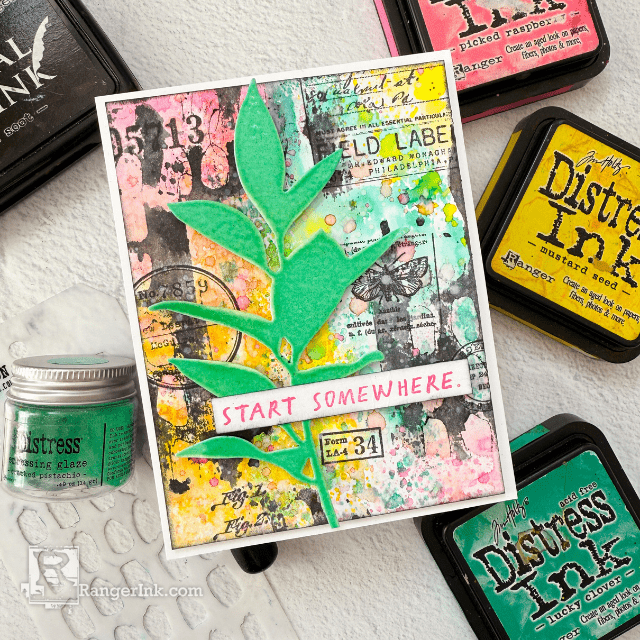
Check out this vibrant, lively spring card! Follow along as Cheiron Brandon creates a stunning Distress Ink Background, layered with stamping and stencil monoprinting for added depth and texture.
Free Shipping On All Orders Over $59.99
Check out this vibrant, lively spring card! Follow along as Cheiron Brandon creates a stunning Distress Ink Background, layered with stamping and stencil monoprinting for added depth and texture.
Tim Holtz Distress Watercolor Cardstock
Tim Holtz Distress Archival Ink Black Soot
Tim Holtz Distress Ink Pads: Mustard Seed, Lucky Clover, Picked Raspberry, Dried Marigold, Black Soot
Tim Holtz Distress Oxide Ink Pad Picked Raspberry
Ranger Heat It Craft Tool
Tim Holtz Distress Embossing Glaze Cracked Pistachio
Tim Holtz Distress Sprayer
Alterations by Sizzix Bigz Die - Large Stems
Tim Holtz The Field Notes Stamp Set
Tim Holtz Cling Mount Stamp Noteworthy
Other:
Tim Holtz Mini Layering Stencil Set #55 MST055
Hi there! It’s Cheiron Brandon and I am back with another fun tutorial using Tim Holtz Distress products. This month I am creating a fun spring floral card with a Distress Ink background combined with stamping and stencil monoprinting. Helpful Hint: make a full 8 x 11 inky paper and then cut it up into panels to create 4 cards. 

Step 1: Stamp images from the Field Notes set onto your Distress Watercolor Panel using Black Soot Distress Archival Ink. Let dry or dry with a heat tool.

Step 2: Now it’s time to add color to the panel. Apply your Distress Inks to a non-stick craft sheet. I started with two colors, Mustard Seed and Lucky Clover, so I can build my layers slowly and will add the next two after I create the first layer.

Step 3: Spray with water until you see them bead up.

Step 4: Press your paper into the ink and then create the first layer. Let dry or dry with heat tool.

Step 5: Continue building the layers, drying each time.

Step 6: Time to switch colors and add more layers. This time I used Picked Raspberry and Dried Marigold and added more ink, drying in between each layer.

Step 7: Finish adding your layers and let your panel dry.

Step 8: Now it’s time to monoprint with your stencil. Press your Black Soot Ink Pad onto your stencil and spritz with water.


Step 11: Using a tiny foam applicator, ink the edges of your panel with Black Soot Distress Ink.


Step 12: Cut out your die cut and cover it with Distress Embossing Ink by applying it directly to the paper. Pour Cracked Pistachio Distress Embossing Glaze over the die cut then emboss. Repeat process to get a thicker look.

Step 13: Add die cut to card using foam tape. Stamp sentiment onto a strip of cardstock using Picked Raspberry Distress Oxide Ink. Add to card.
I hope you enjoyed creating this springy mixed media card with me!
 My name is Cheiron Brandon. I live in a tiny house on a tiny farm in NJ. I work in the financial district by day and love to play with stamps, ink, and paint at night in my studio. You can find my art and online classes on my website Create with Cheiron, see my creative process on my YouTube Channel, and see my (almost) daily posts @cheiron on Instagram.
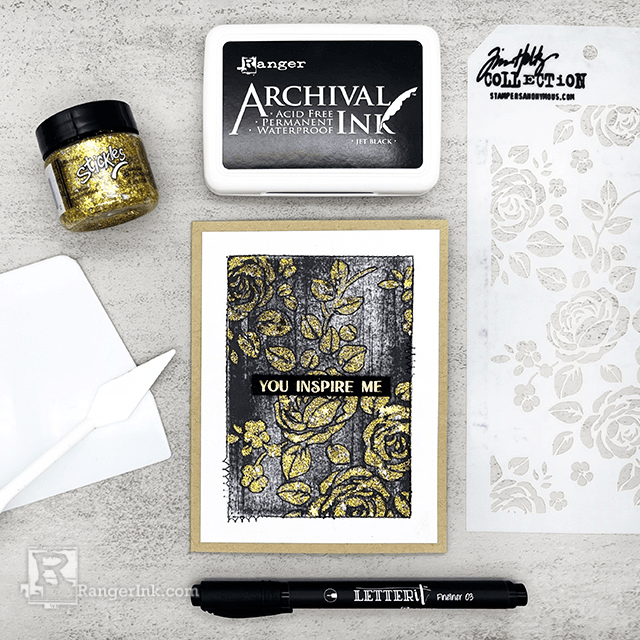
Add eye-catching texture and shimmer to your cards like Miriam Prantner did with this stunning floral design! In this tutorial,...
Read More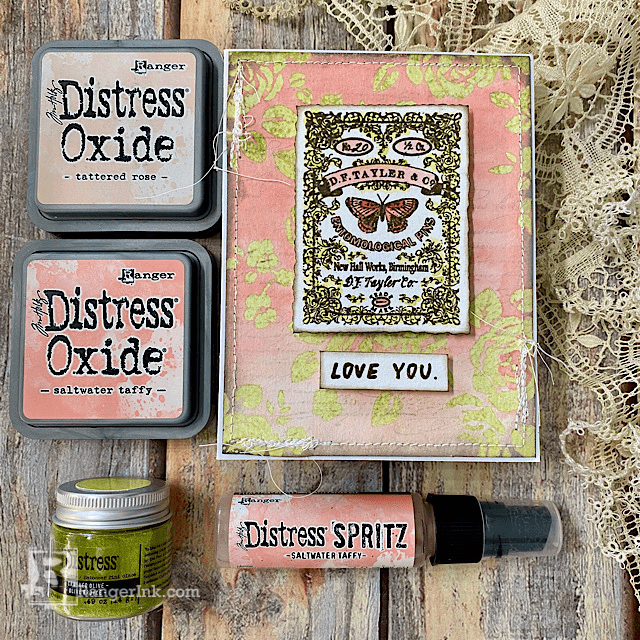
In this tutorial, Tami Bastiaans is sharing one of her go-to techniques — using Distress Embossing Glazes with the...
Read More