


Spring is on its way! In this card tutorial, Miriam Prantner shares two simple ways to add sparkle and texture to your projects using Stickles.
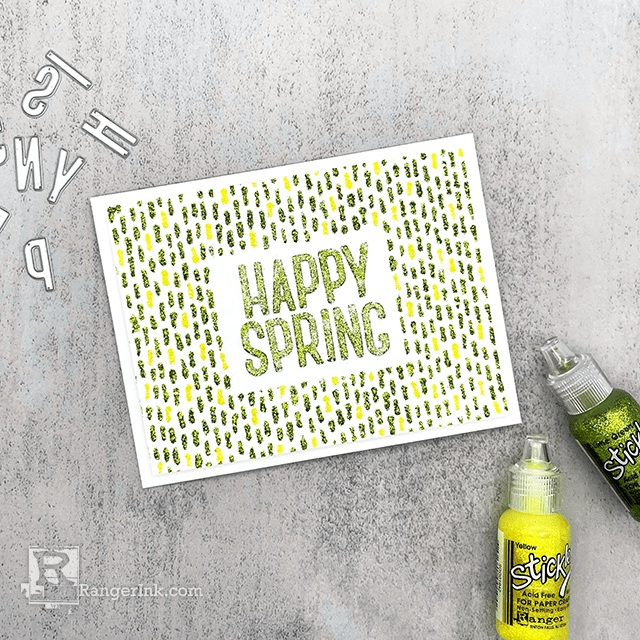
Stickles Spring Card by Miriam Prantner
- Materials
- Instructions
Other:
Masking Paper
White Adhesive Foam Sheet
Instructions
For today’s project, Stickles are the star. While often they often serve as an embellishment or accent, today we’re making them the main attraction.


Step 1: Apply Lime Green Stickles directly to a white adhesive foam sheet and spread using Simon Hurley Paste spatula. Rather than spreading with pressure as you might with a stencil, gently spread as you might cake frosting to get an even layer. Set aside to dry.

Step 2: Using the Tim Holtz Alterations by Sizzix Thinlits Die Set Vault Seasonal Sketch, estimate size of completed sentiment, and cut Masking Paper to approximately 1/2” longer in each direction. Place in the center of a Wendy Vecchi Perfect Cardstock White Panel.


Step 3: Apply Stickles, across the panel in lines approximately 1/4” in length. This does not need to be precise, the variation is what makes the design feel organic. The pattern primarily used Lime Green Stickles with some Yellow Stickles lines mixed in. Remove masking paper and set aside to dry.

Step 4: Die cut letters from dried foam sheet.

Step 5: Adhere letters to center of dried stickies panel. Adhere panel to Wendy Vecchi Perfect Cardstock White Card base.
 My name is Miriam Prantner, and I live in Arlington, Virginia with my husband, two daughters, and lemon beagle. I am a lifelong crafter of all genres, although these days I focus mostly on crochet and paper crafting. In addition to making pretty things, I design products (stamps/stencils/dies) for Simon Says Stamp, and also taught a class for Craftsy, Fresh Eyes on your Cardmaking Supplies. To see more of my work, check out my blog: mprantner.blogspot.com, and follow me on instagram @mprantner.
Related Posts

Simon Hurley create. Solar Spray Card by Cassie Trask
Shine bright with this shimmering floral card by Cassie Trask! In this tutorial, she uses the latest Simon Hurley create. Heartfelt...
Read More
Your Cart
- Choosing a selection results in a full page refresh.
