Hello Everyone! It’s Jenn Shurkus from shurkus.com. As always I am wicked exited to be sharing on the Ranger Blog!

Sparkly Textured Cards by Jenn Shurkus
- Materials
- Instructions
- Stickles™ Glitter Glue: Stardust, Cotton Candy, Lime, Raspberry Tart, Yellow, Orange Peel, Fruit Punch, Glam Pink, Xmas Red, Sea Spray, Enchanted, Aqua, Cool Mint
- Liquid Pearls™: Gold, Onyx Pearl, White Pearl
- Dina Wakley Media Palette Knife
- Tim Holtz Distress® Watercolor Cardstock
- Tim Holtz Distress® Oxide® Ink Pads: Hickory Smoke, Fossilized Amber
- Tim Holtz Distress® Ink Pads: Mermaid Lagoon, Scattered Straw
- Ranger Mini Blending Tool with Foam
- Ranger Texture Paste: Opaque, Transparent Matte
- Ranger Non-Stick Craft Sheet™
- Tim Holtz Stampers Anonymous Stencil: THS035 Wildflower, THS031 Blossom, THS036 Layered Scribbles, THS074 Trellis, THS080 Splash, THS077 Floral
- Tim Holtz Thinlits 660218: Handwritten Love, Thinlits 661177: Alphanumeric Marquee, Sizzix 662708: Cut Out Lower
- Tim Holtz Stamps CMS106: Papillon, CMS106: Perspective, CMS236: Crazy Talk, CMS221: Mesh & Linen
- Tim Holtz Tonic Scissors
Instructions
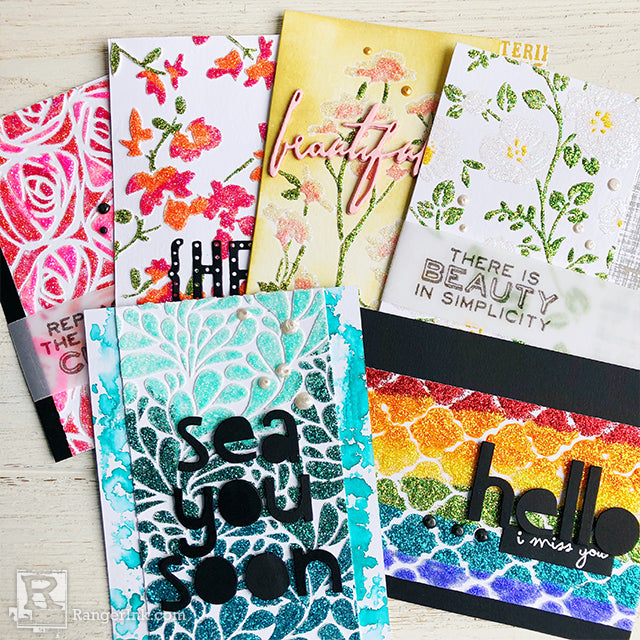
Today I am sharing with you a set of cards where the star of the show is the glittery goodness of Stickles. Do you have a lot of them in your stash? This is a fun and different way to use them!
Let’s get started with today’s tutorial!

Step 1: For these sparkly cards, it really doesn’t take a lot of supplies. I gathered some Distress Watercolor Cardstock, Texture Paste in Opaque and Transparent Matte, a variety of stencils and a palette knife.

Step 2: Take one of the stencils and using some wash tape, tape it over a sheet of Distress Watercolor Cardstock. Using a palette knife spread the texture paste through the stencil. Be generous and don’t scrape it too low.

Step 3: Repeat the above steps and do some with the Opaque Texture paste as well as the Transparent Matte. Use a variety of stencils so you will have a variety of backgrounds to work with. In this picture the Opaque is on the left and the Transparent Matte is on the right.
Note: I did discover working with the Opaque is much easier for this technique, because the paste dries thicker

Step 4: Let all your backgrounds air dry. Even in the humidity of New England, this doesn’t take too long 20-30 minutes.

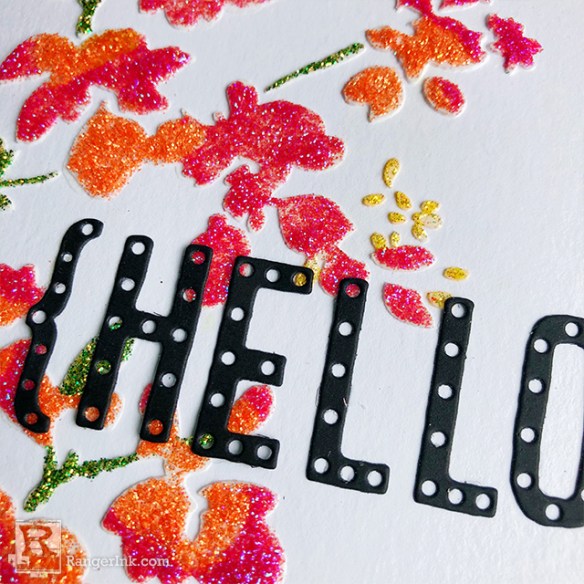
Step 5: Once your backgrounds are dry, pick one out to start with. Take the coordinating stencil and lay it over the design again. Start to fill in the design with Stickles, be generous with how much coverage you are getting. Once your design is all filled in with Stickles, take the stencil away and immediately clean it. Set your background aside to dry. I was creating these in early August when we were in a huge humid heat wave. I thought they would never dry, but leaving them overnight and when I woke up in the morning they were dry.

Step 6: Repeat the above steps on all of your backgrounds. Have fun using a variety of stickles colors.


