Tis the season to get creative! Dive into the holiday spirit with Lieschen Harshbarger as she crafts a very merry Christmas card using Simon Hurley create. stamps, dies, and inks.
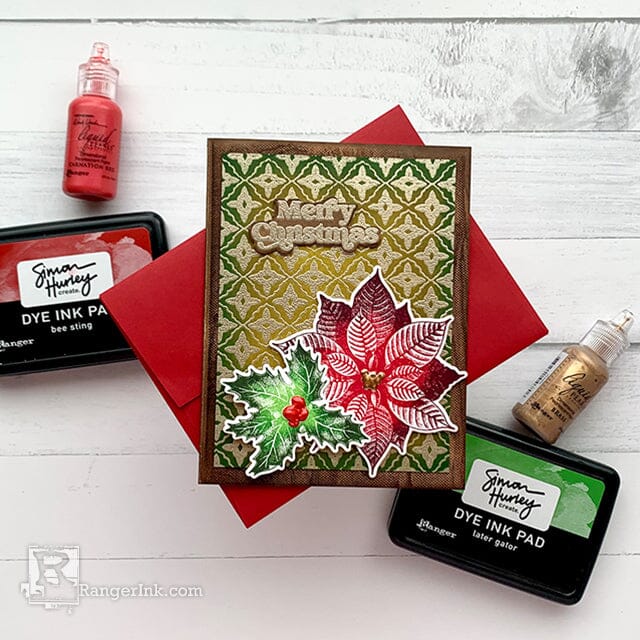
Simon Hurley create. Christmas Card by Lieschen Harshbarger
- Materials
- Instructions
Simon Hurley create. Background Stamp Moroccan Tile
Simon Hurley create. Background Stamp Woodgrain
Simon Hurley create. Dye Ink Pad Viper
Simon Hurley create. Dye Ink Pad Fake Plant
Simon Hurley create. Dye Ink Pad Shady
Simon Hurley create. Dye Ink Pad Cookie Dough
Simon Hurley create. Dye Ink Pad Weeping Willow
Simon Hurley create. Dye Ink Pad Love Struck
Simon Hurley create. Dye Ink Pad Game Over
Simon Hurley create. Dye Ink Pad Bee Sting
Simon Hurley create. Dye Ink Pad Grrr!
Simon Hurley create. Dye Ink Pad Later Gator
Simon Hurley create. Stark White Cardstock
Simon Hurley create. Acrylic Stamping Blocks
Liquid Pearls™ Brass
Wendy Vecchi MAKE ART Perfect Card Adhesive
Ranger Heat It™ Craft Tool
Ranger Silicone Mat
Ranger Mini Ink Blending Tool
Ranger Mini Ink Blending Tool Domed Replacement Foams
Emboss It™ Ink Pad Clear
Embossing Powder Platinum
Tim Holtz® Tools by Tonic Studios – Trimmer
Wendy Vecchi Liquid Pearls Carnation Red
Other:
Simon Hurley create. Spellbinders Hot Foil & Plate Set Joyful Christmas
Foam Adhesive
Die Cutting Machine
Scor board
Envelope
Painter's Tape
Hello crafty friends! Some of you may know that Christmas is my favorite time of the year! So, of course, I have started making some Christmas cards. Today’s card features stamps and dies from Simon Hurley. I hope you enjoy this tutorial as much I enjoyed making today’s card.

Step 1: I started by creating an A2 card base out of Stark White cardstock by trimming the 8½” x 11” cardstock at 5½”, then score it at 4¼”. Next, I used some painter’s tape to mask the score line to stamp the Woodgrain background onto the front of the card base. I used Weeping Willow and Cookie Dough inks to give it a more natural wood color.
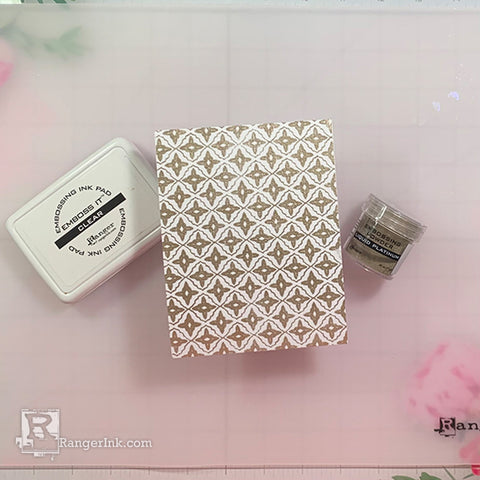
Step 2: I trimmed a front panel piece out of Stark White cardstock and heat embossed the Morracan background using Platinum embossing powder.
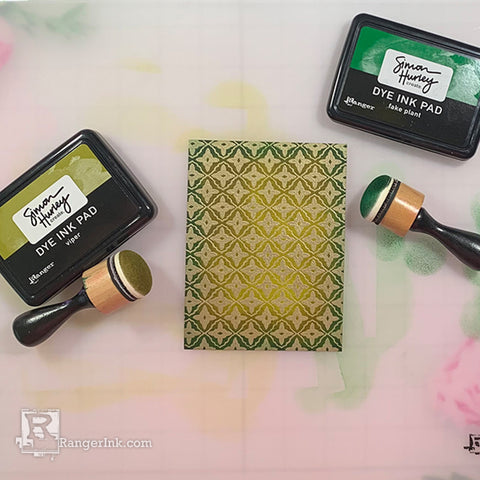
Step 3: Next, I used Viper and Fake Plant to ink the heat embossed background from step 2.
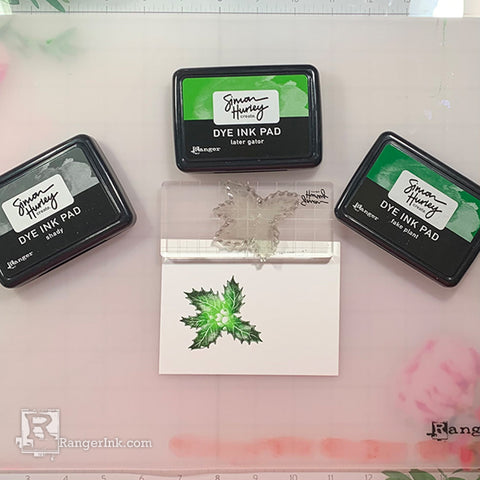
Step 4: On a separate piece of Stark White cardstock I stamped the holly image from the Halftone Holiday stamp set using first Later Gator ink and then Fake Plant and Shady around the edges to give the image more dimension.
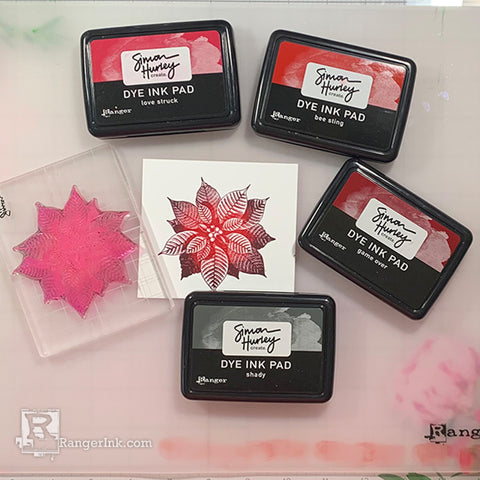
Step 5: On another piece of cardstock, I stamped the poinsettia image from the Halftone Holiday stamp set – using first Love Struck, then Bee Sting, followed by Game Over, and finally Shady around the edges to give the image more dimension.
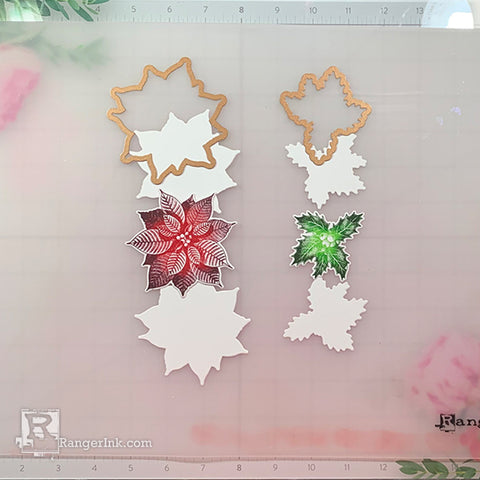
Step 6: Once the images where stamped, I used my die cutting machine to die cut the images. I die cut extras to add more dimension and save on foam adhesive.
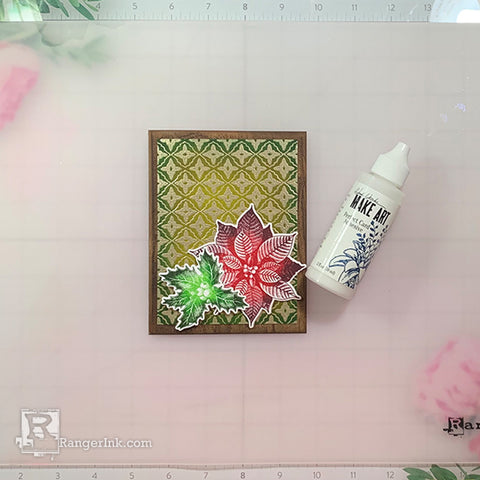
Step 7: I used MAKE ART Perfect Card Adhesive to glue the heat embossed front panel to the card base as well as the die cut pieces.
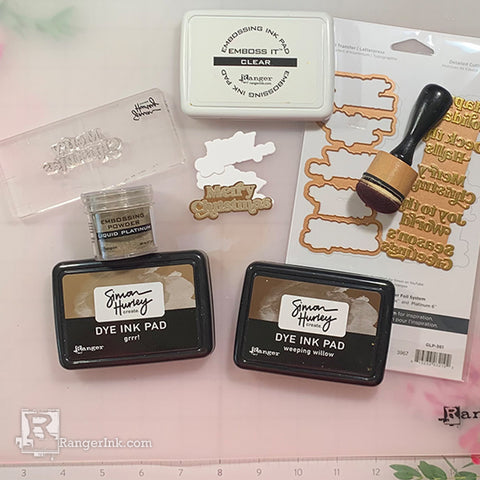
Step 8: I heat embossed one of the sentiments from the Halftone stamp set and used the dies from the hot foil and plate set Joyful Christmas to die cut the sentiment. Then, I glued it to the card base.

Step 9: To finish the card, I used liquid pearls on the poinsettia and holly images and paired the card to a matching envelope. Now the card is ready to be sent to a loved one this holiday season.
Your Cart
- Choosing a selection results in a full page refresh.


 Hi! My name is Lieschen Harshbarger. I’m married to my best friend and even though we don’t have children yet, our dog Sophie fills our hearts with lots of love and joy. By day, I work for the State of Texas, but during my evenings and weekends you’ll find me in my craft room – making cards and trying out new techniques with my crafty supplies. I enjoy being creative, but mostly I have enjoyed getting to know others and learning fun new things in this wonderful crafty industry! You can see more of my crafty projects on my blog
