By Annette Green
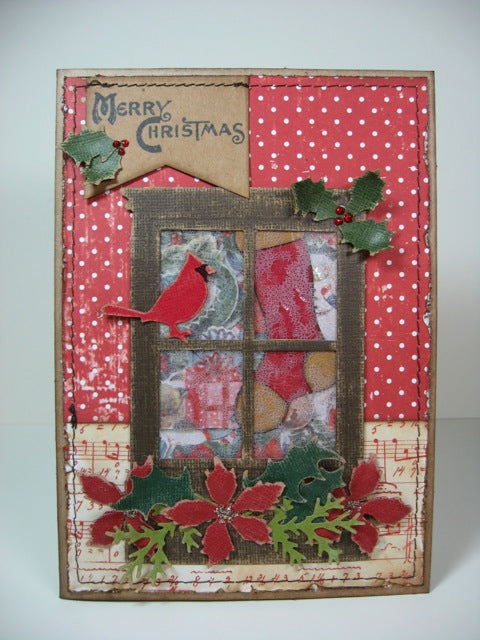
Shrink Plastic Christmas Window Card
- Materials
- Instructions
- Ranger Non-Stick Craft Sheet™
- Tim Holtz® Distress Ink Pads: Vintage Photo, Walnut Stain
- Ranger Ink Blending Tool & Foam
- Archival Ink™ #0 Pads: Jet Black
- Ranger Glossy Accents™
- Stickles™ Glitter Glue: Platinum, Christmas Red
- Tim Holtz Idea-ology-Merriment Paper Stash; 8 x 8 Seasonal Paper Stash; Sanding Grip
- Core-dinations Kraft Core cardstock
- Tim Holtz by Tonic Studios- Paper Distresser
- Tim Holtz Alterations by Sizzix Window & Window Box Die, Festive Greenery die, Movers & Shapers Mini Cardinal & Poinsettia die, Movers & Shapers Mini Stocking & Candy Cane die
- Stampers Anonymous Tim Holtz Collection Stamp Set: Mini Holidays, CMS066
- Sewing Machine
- Thread
Instructions
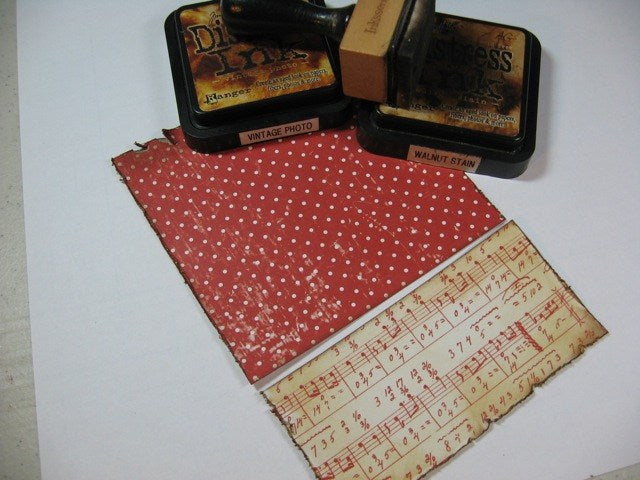
Step 1: Cut from Merriment paper stash: Red with polka dots – 4 3/4 x 4 1/2 inches. Music notes – 4 3/4 x 2 1/4 inches. Distress edges then ink distress with Vintage Photo and Walnut Stain Distress Inks.
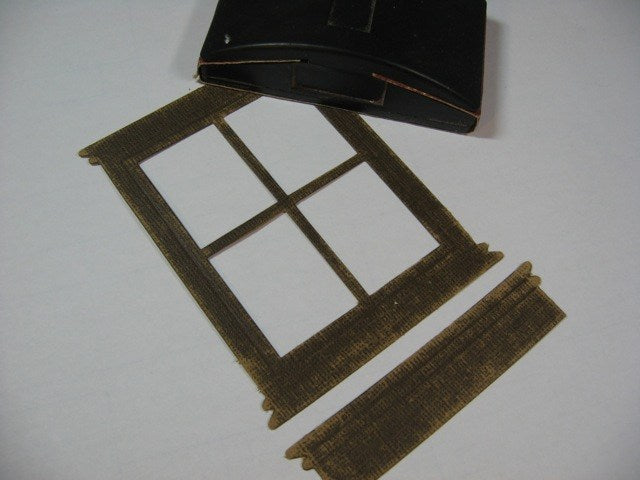
Step 2: Die cut the Window and Window Box from dark brown Kraft Core cardstock and sand distress the tops and edges of each.
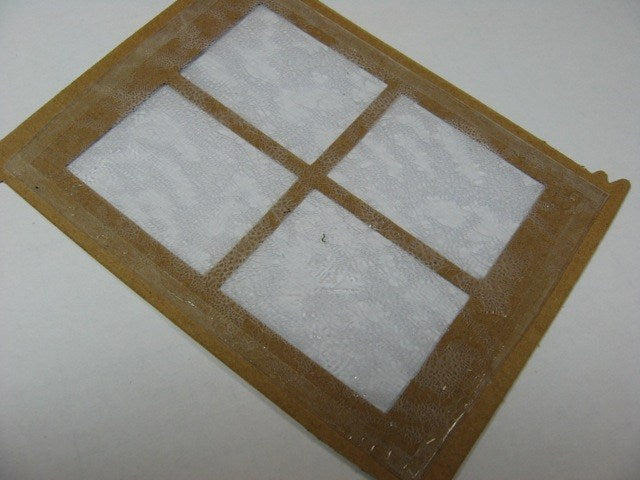
Step 3: Cut a piece of Ranger Clear Shrink Plastic 2 3/4 x 3 3/4 inches and spread an even layer of Ranger Glue N’ Seal on one side. Let dry completely.
Step 4: Apply a medium thick layer of Clear Rock Candy Crackle Paint to the same side of the shrink plastic. Set aside to dry and crack..
Step 5: Once the crackle has dried, adhere the piece to the back of the die-cut window.
Step 6: This is how it should look from the front side. A faux frosty glass appearance.
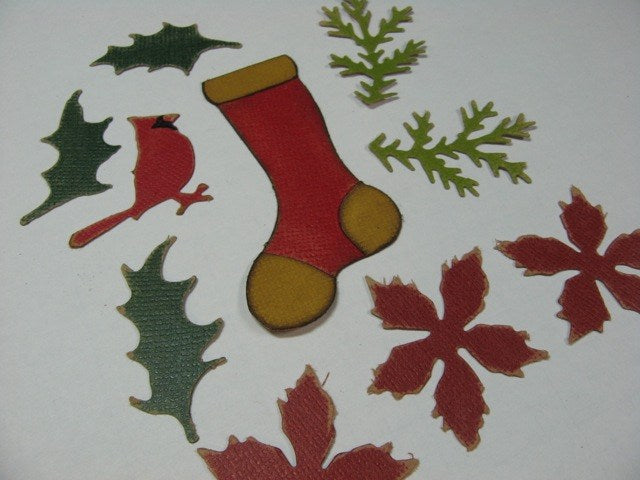
Step 7: Cut & assemble a mini stocking from gold and red Kraft Core cardstock inking edges with Walnut Stain Distress Ink. Cut a piece of Seasonal Paper Stash 2 3/4 x 3 3/4 inches for the inside of the window.
Step 8: Cut several other images from the Sizzix Alterations dies listed, sand and distress edges.
Step 9: Layer the Seasonal paper and stocking behind window opening as shown, adhering with Glossy Accents.
Step 10: Stamp BELIEVE with Jet Black Archival Ink onto Kraft cardstock. Stitch a line across the top with dark brown thread. Ink outer edges with Walnut Stain Distress Ink.
Step 11: Assemble and stitch the two base papers for the card with dark brown thread as shown and adhere to a Kraft card base measuring 5 x 7 inches. Assemble window, window box, and all other die-cut elements as shown.
Step 12: Add Platinum Stickles to centers of poinsettias.
Step 13: Add Christmas Red Stickles near small holly leaves.


