by Denise Lush

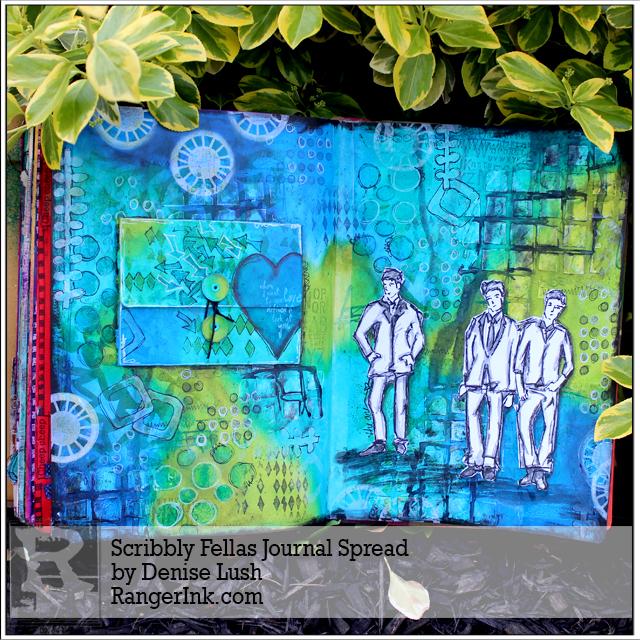
Scribbly Fellas Journal Spread by Denise Lush
- Materials
- Instructions
- Ranger Multi-Medium Matte
- Ranger Wonder Tape™ (Product)
- Dylusions Square Creative Journals
- Dylusions Large Creative Journal
- Tim Holtz® Waterbrush
- Ranger Ink Blending Tool & Foam
- Ranger Pigment Ink Pads: Glacier White
- Ranger Watercolor Paper
- Dina Wakley Media Stamps: Scribbly Fellas, Funky Journal Shapes
- Dylusions Paint Pens
- Dylusions Ink Sprays: Slate Grey, Dirty Martini, Calypso Teal, London Blue, Black Marble
- Dylusions Cling Mount Stamps: Basic Backgrounds, Inbetweenies
- Dylusions Journal Block
- Tim Holtz® Distress Crayons: Sets 1 & 2 - Peeled Paint, Chipped Sapphire, Peacock Feathers, Mermaid Lagoon
- Dylusions Paint: Dirty Martini, Calypso Teal, London Blue, Black Marble
- Dylusions Stencils: Large Square, Large Arrows, Circles, Suits Small (the heart mask), Small Arrows, Small Diamond Border
- Archival Ink™ #3 Jumbo Pads: Jet Black
- Ranger Non-Stick Craft Sheet™
- Tim Holtz by Tonic Studios Cush Grip Snips
- Circles Punches ¾” and 1/8” (or you can free hand), Twine, thread or ribbon (whatever you prefer), Ruler, 2 Eyelets, Eyelet Setter, Wax Paper
Instructions

Today I am trying something a little bit different for me. I am going masculine with this layout.
 Step 1: First I start off as I always do which is protecting my pages underneath with wax paper. Then I get my Jet Black Archival Ink to stamp some images from Dylusions Basic Backgrounds.
 Step 2: Next, I am grabbing my Dina Wakley Media White Gesso and a large Square stencil from Dylusions. I am randomly stenciling this all over the background.
 Step 3: I choose my paints, keeping masculine in mind. I know masculine doesn’t automatically mean blue, but I really liked how Dylusions London Blue, Calypso Teal and Dirty Martini looked together.
 Step 4: I want to grunge it up a little so I am going to try adding some Ranger Distress Crayons to it in Peeled Paint, Chipped Sapphire, Peacock Feathers and Mermaid Lagoon. Working it in mostly around the gesso stenciled area.
 Step 5: To grunge it up even more I am going to take some Dylusions Slate Grey Ink Spray. I drip it along the top of the page and tip my book upright allowing it to run down, adding sprays of water to help the process. Again I really tried to work it in among the gesso stenciled area.
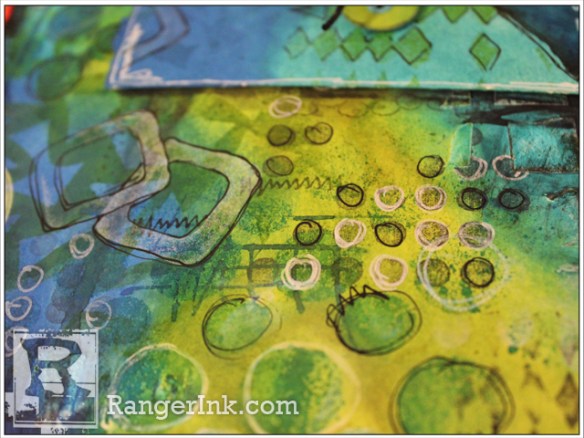
 Step 6: With the Dylusions White Linen Paint Pen I am going to trace some of the circles that were stamped.
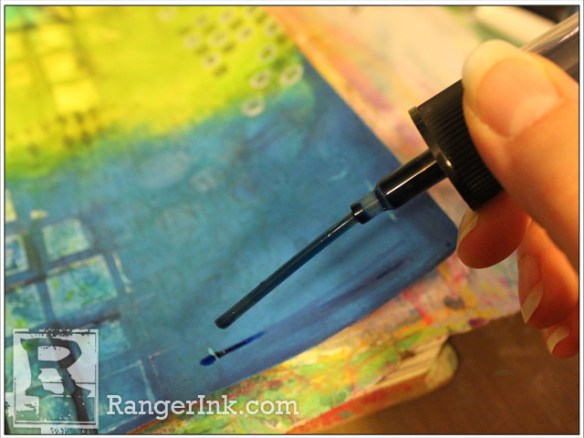
 Step 7: Next, I added some more layers to my pages using the following Dylusions Ink Sprays and Dylusions Stencils: Dirty Martini Ink Spray with Large Arrows stencil; Calypso Teal Ink Spray with Circles stencil. I also wanted to include some London Blue Ink Spray but not through a stencil. So I unscrewed the top and used the straw-like part to draw some lines on the page.
 Step 8: To add some more black and another layer I took the Jet Black Archival Ink and stamped two images from the Dylusions Inbetweenies stamp set.
 Step 9: I like the look of shading the edges of the pages. To create this look I am taking Black Marble Dylusions Paint and applying it to the edges of the page with the Ink Blending Tool and Foam Applicator.
 Step 10: On Ranger Watercolor Paper I am stamping the three men from Dina Wakley’s stamp set Scribbly Fellas with Ranger Jet Black Archival Ink. Then I loosely scribbled on them with some ink. I have the Tim Holtz water brushes filled with Dylusions Ink Sprays. I love coloring with these. I used the waterbrushes with Slate Grey and Black Marble.
 Step 11: I tore a page out of my small Dylusions Journal, making sure to tear from the middle of a signature so no other pages fell out. My plan is to use this as I place to write my journaling. It measures 5” X 8” and I folded it at 2 3/8” x 6 ¼”. The inside of this I painted with Dylusions Dirty Martini paint. I also used Dirty Martini Dylusions Ink Spray with the circles stencil. On the outside I used Dylusions Dirty Martini, Calypso Teal, and London Blue paint.

 Step 12: Before adding Dylusions Ink Spray on the outside of this sheet I fold it and add a mask from the Dylusions stencil set Suits Small.
 Step 13: I use Calypso Teal with the small Arrows stencil, then Dirty Martini with the small Diamond Border. I then filled in the masked heart area with London Blue and Calypso Teal, outlined with Black Marble.
 Step 14: Now to make a closure. I painted some paper torn from my Dylusion Journal and painted it with Dylusions Dirty Martini and Calypso Teal. Then punched two circles about ¾”. You don’t need a punch to do this, you can freehand draw them and cut them out yourself. I also punch a smaller circle in the middle of these circles.
 Step 15: On the folded card I measured 1 ¾ “down in the center and 1” up from the bottom in the center. I then punched a small hole in these spots. Take a piece of thread, twine, thin ribbon, whatever you choose. You will also need two small eyelets. I am sure you all remember how to do this from many years ago. In case you don’t or are new to all this I will try to explain the best I can. You will put an eyelet in the center of the punched circle. You will then sandwich the thread between this circle and the folded paper, making sure the eyelet goes through the hole in the folded paper as well. Now take your eyelet setter and set the eyelet. I am sure you can find further instructions with a video online if needed.
To close the folded paper/envelope you wrap the twine around the circles.

 Step 16: Inside I wrote some journaling about my thoughts on women and men and finding the one for you. It’s all a little personal and my thoughts. You can write whatever you wish. Or you can just do a quirky quote as I usually do.
 Step 17: To adhere this envelope of sorts to my journal page I used Ranger Wonder Tape (double sided tape).
 Step 18: Next, to adhere my stamped images of the Scribbly Fellas, I used Ranger Multi Medium Matte.
 Step 19: I wanted to add some more white to my pages to balance it out with the all the white from the stamped images of the Scribbly Fellas. I am taking Ranger Pigment Ink in Glacier White and adding some stamped images on my pages from Dina Wakley’s Funky Journal Shapes stamp set. Adding some Distress Crayons in Chipped Sapphire and Peacock Feathers around the white stamped images just to soften it up a little.
 Step 20: Using Slate Grey & Black Marble Dylusions Ink Spray in a waterbrush and creating shadows around the stamped Scribbly Fellas.
 Step 21: Here I just did some more doodling with my black Dylusions Paint Pen.
 And there you have it. My take on a masculine page.


