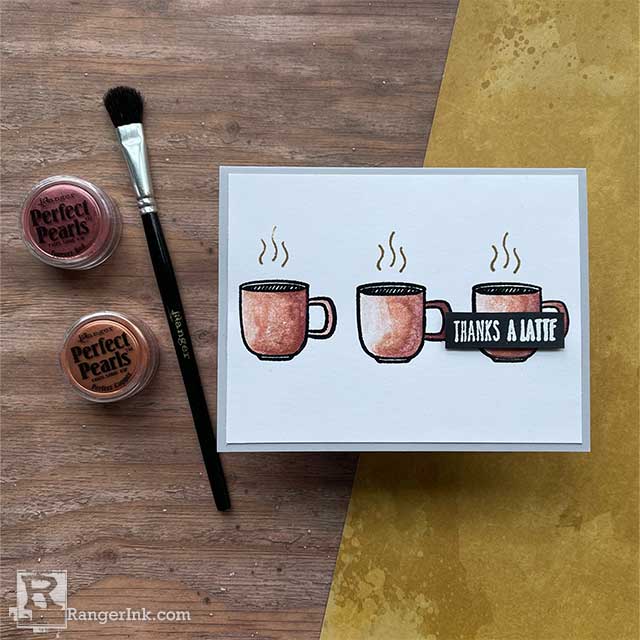
In this tutorial, Jess Francisco shows you how to use Perfect Pearls as a paint for a shimmery watercolor effect to make this charming thank you card.

Perfect Pearls™ Thank You Card by Jess Francisco
- Materials
- Instructions
Ranger Emboss It™ Ink Pad: Clear
Simon Hurley create. Stark White Cardstock
Ranger Heat It™ Craft Tool

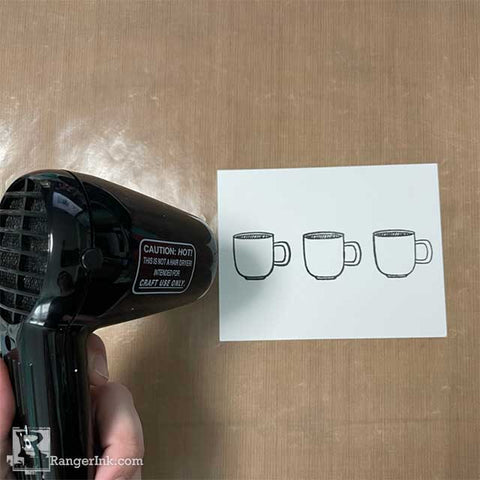
STEP 1: Treat a piece of White Cardstock with Anti-Static Powder and stamp the coffee cup image three times in a line in Embossing Ink. Pour Black Embossing Powder over the stamped image and tap off the excess. Use your Heat Tool to melt the powder.

STEP 2: Use the Perfect Pearl flat brush to pick up a small amount of the Perfect Copper Perfect Pearls and pounce it on your Craft Sheet. Dust off the brush and repeat for Forever Red. Spritz each of the piles of powder with the Distress Sprayer to create a liquid paint similar to watercolor.

STEP 3: Use a small paintbrush to pick up the Forever Red and apply the color along the right edge and bottom of the coffee cups. The embossed edges will keep the paint mixture inside the stamped lines. Pick up a little of the Perfect Copper on the brush and blend with the red. Experiment with how much water you add to get varying intensities of color.

STEP 4: Stamp the steam image above each coffee cup in Archival Coffee Ink.

STEP 5: Treat a piece of black cardstock with anti-static powder and stamp the sentiment in embossing ink. Pour White Embossing Powder over the stamped image and tap off the excess. Use your Heat Tool to melt the powder. Use a pair of sharp scissors to trim around the sentiment.

STEP 6: Mount the card panel on a grey landscape card base. Apply foam tape to the back of the sentiment strip. Remove the backing strips from the foam tape and attach the sentiment to the card panel.

Your card is finished and ready to send!
Your Cart
- Choosing a selection results in a full page refresh.


