by Taylor Huizenga

Pastel and Metallic Easter Eggs by Taylor Huizenga
Instructions

Step 1: To begin, coat your crafting egg with a layer of Dina Wakley Media White Gesso. By adding the layer of gesso, it helps create a smooth surface that the paint can adhere to evenly.

Step 2: Paint the egg a solid color of your choice, I chose Blushing mixed with White to create a more pastel pink. I gave the egg 2-3 coats of paint (depending on how light the color was). Allow the paint to dry before adding the next coat.

For the other two eggs, I used Lime and Turquoise, both mixed with White to create a pastel.

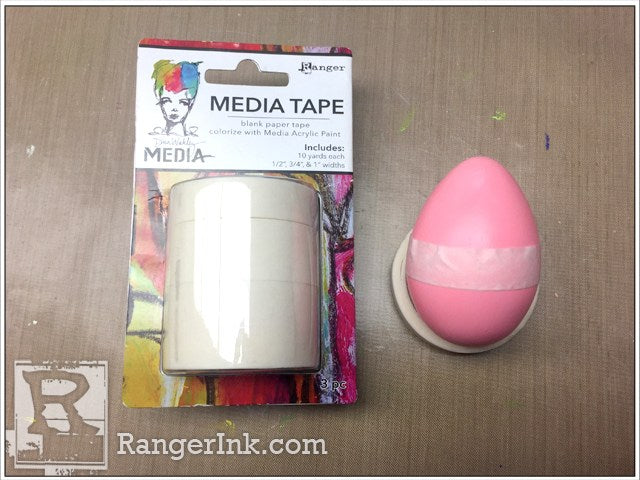
Step 3: Using the Dina Wakley Media Tape, I taped off the bottom of the egg, about 1/3 from the bottom. The tape will help keep a straight and even line when you move to the next step.

Step 4: Using a Dina Wakley Media Metallic paint, coat the bottom third of the egg. This is where the tape comes in handy, don’t worry about hitting the tape with the paint. It will not be staying on the final product. Give each metallic paint 2-3 coats, or until evenly coated.

Step 5: Once your metallic paint has been fully coated and dried completely, gently remove the Dina Wakley Media tape.

Step 6: Using the easy flow applicator tip, create polka dots on the top of the egg where the pastel color is still showing.

Step 7: When creating your polka dots, do one side of the egg, and then place in back into the egg crate that they came in to dry. Once the one side has dried completely, turnover and repeat on the other side.


