by Jen Cushman

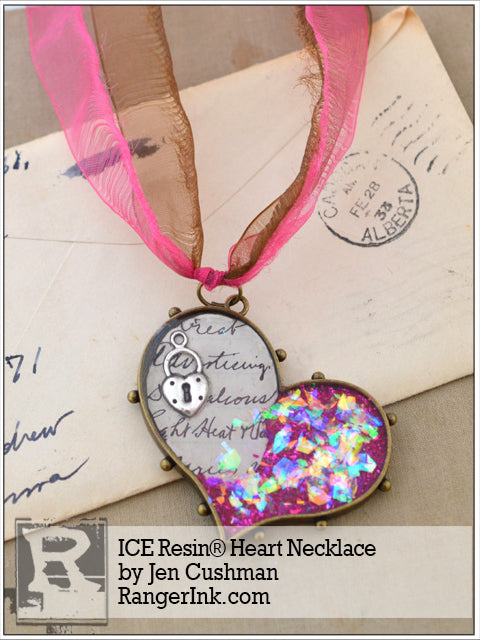
ICE Resin® Heart Necklace by Jen Cushman
- Materials
- Instructions
- ICE Resin® Brushes
- ICE Resin® Shattered Mica
- ICE Resin® German Glass Glitter
- ICE Resin® Paper Sealer
- ICE Resin®
- Ribbon
- Jewelry Pliers
- Jump Rings
Instructions
 Step 1: Cut out the left side of the heart from one of the papers and tear the inside edge. Seal both sides and the edges of the cut paper with the ICE Resin® Paper Sealer. Set aside and allow to dry completely.
 Step 2: Add any color of German Glass Glitter to the top right side of the heart. Top with a small amount of Shattered Opal Inclusions.
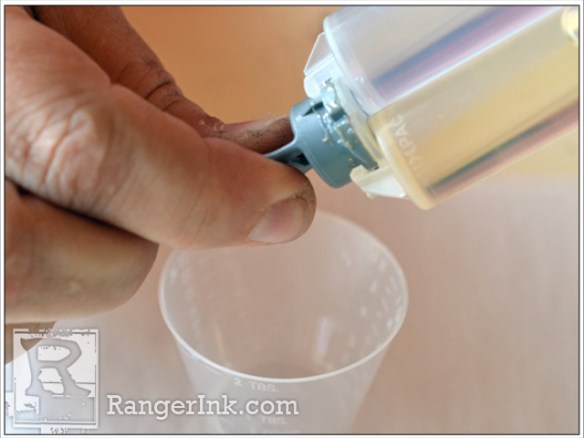
 Step 3: Twist the cap off of the ICE Resin® plunger.
 Step 4: Apply an equal amount of pressure with both thumbs on the plunger so both parts of the resin come out equally into the cup.

 Step 5: Use a craft stick and mix gently for 2 minutes. Make sure to scrape the sides and the bottom of the cup. Set aside for 5 minutes to let the bubbles dissipate.
 Step 6: Use your craft stick to carefully drop the ICE Resin® into the bezel.
 Step 7: Don’t be afraid to drop close to the edges of the bezel.
 Step 8: Carefully add in a charm to the left side of the heart. Drip in just enough resin so that you have a natural dome. Allow 8 to 12 hours to dry.
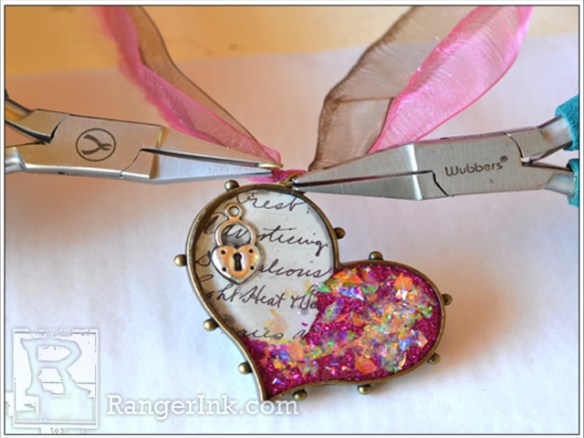
Step 9: Select 2 strips of ribbon. Place the ribbons side by side and tie a knot on each end. Thread a jump ring through the knots and attach at either side of a lobster clasp.
 Step 10: Find the center of the ribbon and attach another jump ring. Attach the bezel to the necklace with a jump ring.


