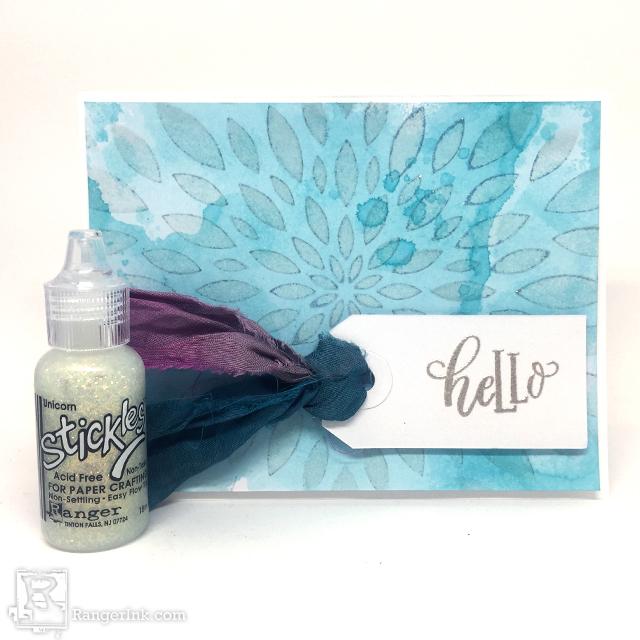
Hello Card by Kathy Paglia
- Materials
- Instructions
- Wendy Vecchi MAKE ART Perfect Cardstock: White Panels, White Card
- Wendy Vecchi MAKE ART Blendable Dye Ink: Garden Patina
- Wendy Vecchi MAKE ART Stay-tion
- Letter It™ Stamp: Friendship
- Letter It™ Embossing Ink
- Letter It™ Stencil: Flower Burst
- Letter It Surfaces: Assorted Tags
- Letter It™ Acrylic Block
- Letter It™ Adhesive Foam: Clear Foam, White Foam
- Ranger Embossing Powder: Bubbly
- Stickles™: Unicorn
- ICE Resin® Silk Sari Ribbon: Jewel
- Gel Plate
- Ranger Anti-Static Pouch
- Ranger Mini Ink Blending Tool & Foam
- Tim Holtz Distress® Sprayer
- Ranger Heat It Craft Tool
- Ranger Non-Stick Craft Sheet
- Scissors
- Paper Towels
- Wipes
- Plain Paper
Instructions

Step 1: Trim a piece of Wendy Vecchi MAKE ART Perfect Cardstock White Panel to 4” x 5.25” Gently stamp directly onto the Gel Plate with the Wendy Vecchi MAKE ART Blendable Dye Ink, applying ink to plate. Spray with water using the Tim Holtz Distress® Sprayer. Place the white panel over the inked area. Cover with a plain piece of paper to mop up the ink that is outside the panel. Lightly smooth over the paper with your open hands so the ink can<span> </span>transfer to the card panel. Lift plain sheet and discard. Lift card panel and see the ink has been transferred from the plate to the panel.

Step 2: Once dry, place inked card panel, Letter It™ Flower Burst stencil, and small craft sheet on top of the Wendy Vecchi MAKE ART Stay-tion and hold in place with the magnets. Squirt Unicorn Stickles™ onto the craft sheet and swirl Mini Ink Blending Tool and Foam into the Stickles. Apply Stickles to card through stencil by gently swirling Blending Tool over stencil. Set aside to dry.

Step 3: Pat the small white tag from the Letter It™ Assorted Tag pack with the Ranger Anti-Static pouch. Place the “hello” stamp from Letter It™ Friendship onto the Letter It™ Acrylic Block. Ink with Letter It™ Embossing Ink Pad and stamp image on the small white tag. Cover stamped image with Bubbly Ranger Embossing Powder. Heat embossed image with Heat It Craft Tool to melt powder.

Step 4: Cut a piece of ICE Resin® Silk Sari Ribbon. Attach Sari Ribbon by threading through the hold in the tag. Trim with scissors if needed.

Step 5: Apply Letter It™ Adhesive Clear Foam to the inked panel and apply to card front.

Step 6: Apply a layer of Letter It™ Adhesive White Foam to the tag and stick it to the card panel.
Your Cart
- Choosing a selection results in a full page refresh.


