


by Tim Holtz
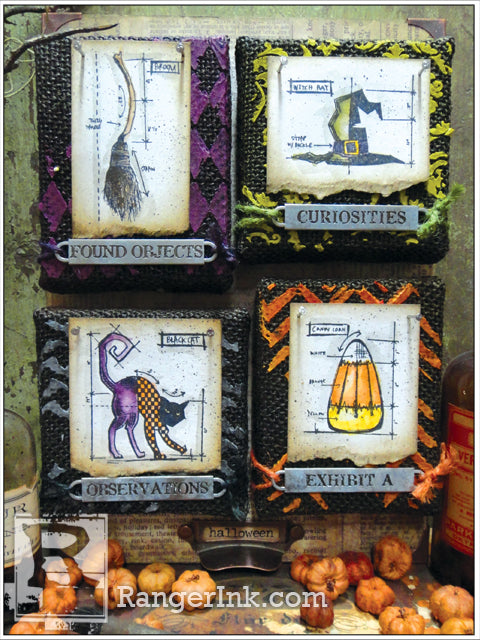
Halloween Burlap Panels by Tim Holtz
- Materials
- Instructions
- Tim Holtz® Mini Distress Ink Pads: Spiced Marmalade, Seedless Preserves, Crushed Olive, Black Soot
- Tim Holtz Distress® Watercolor Cardstock
- Tim Holtz® Distress Markers: Spiced Marmalade, Mustard Seed ,Crushed Olive, Peeled Paint, Seedless Preserves, Vintage Photo, Walnut Stain, Pumice Stone, Black Soot
- Tim Holtz Distress® Marker Spritzer
- Tim Holtz® Distress Spray Stain Black Soot
- Tim Holtz® Detailer Waterbrush
- Archival Ink™ Jet Black
- Ranger Mini Blending Tool
- Ranger Multi-Medium Matte
- Ranger Texture Paste
- Dina Wakley Media Palette Knife
- Ranger Non-Stick Craft Sheet™
- Idea-ology Mini Burlap Panels, Word Bands, Observations, Sanding Grip, Jute String, Label Pull, Mini Corners, Paper Stash, Lost & Found
- Stampers Anonymous Layering Stencils: THS016, THS026, THS046, THS047, Stamps: Mini Blueprints THMB019, Grid-Blocks
- Tonic Scissors
- Paint Brush, Wood Panel, Mini Nails, Hammer
Instructions


Step 1: Spray Mini Burlap Panels with Black Soot Distress Spray Stain – let dry.

Step 2: Place Layering Stencil over burlap and apply Texture Paste in random areas using Palette Knife.

Step 3: Repeat for all panels using various patterns – let dry.

Step 4: Ink Texture Paste with various colors of Distress Ink using Mini Ink Blending Tool.

Step 5: Stamp Mini Blueprint Images on to Distress Watercolor Cardstock using Archival Ink.
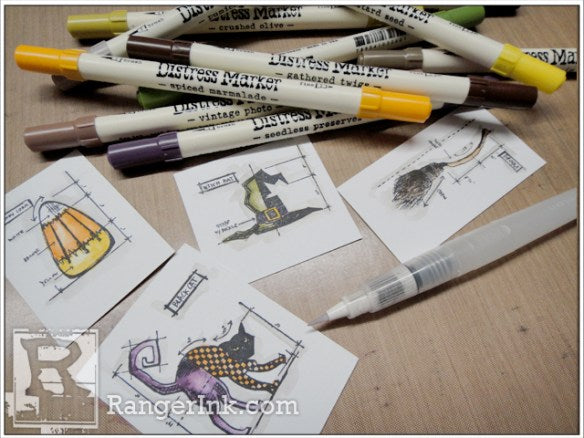
Step 6: Color images with various colors of Distress Markers and blend using a Distress Detailer Waterbrush – let dry.

Step 7: Tear off bottom edge of cardstock and ink with Distress Ink using Mini Ink Blending Tool.

Step 8: Lightly spritz over images with Black Soot Distress Marker using Distress Marker Spritzer.

Step 9: Adhere images to burlap using Multi-Medium – let dry.

Step 10: Attach two nails through top of images for effect.
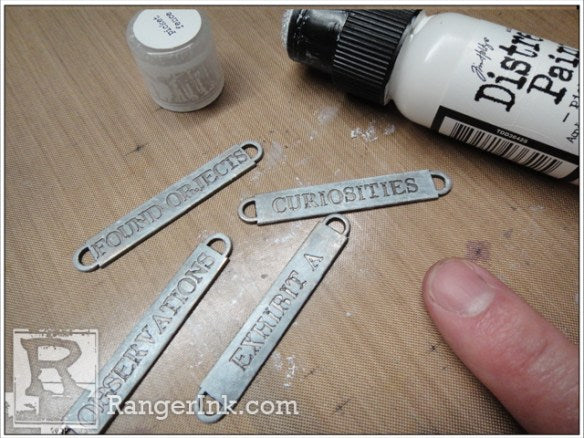
Step 11: Paint Word Bands with your finger and rub away excess for a worn effect.

Step 12: Cut various colors of Jute String.

Step 13: Tie Word Band on burlap with Jute String and trim excess.

Step 14: Cover Wood Panel with decorative paper using Multi-Medium, let dry.

Step 15: Ink edges with covered panel with Distress Ink using Mini Ink Blending Tool.

Step 16: Adhere burlap panels to wood panel using Multi-Medium. Embellish wood panel with Label Pull and Mini Corners.
Related Posts
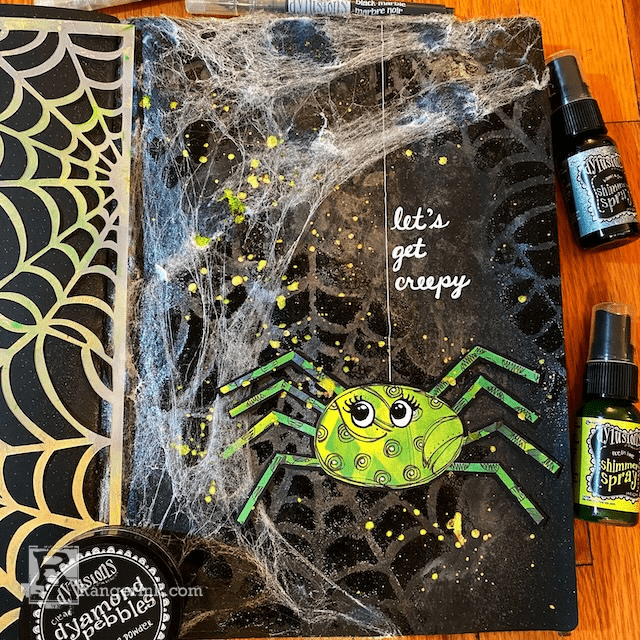
Dylusions Dyamond Let's Get Creepy Journal Page by Jess Peters
Get into the spooky spirit with this creepy-cute spiderweb journal page by Jess Peters! In this tutorial,...
Read More
Halloween Treat Bags by Lauren Bergold
Halloween is creeping closer, and what better way to celebrate than with these frightfully fun treat bags?...
Read More