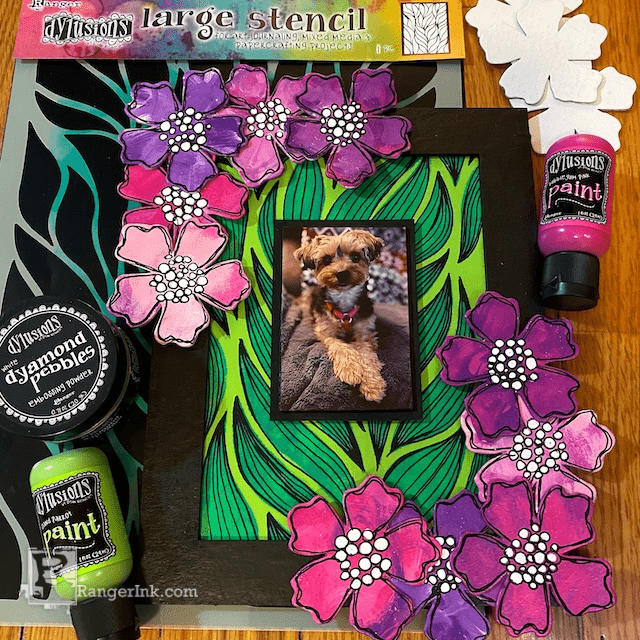
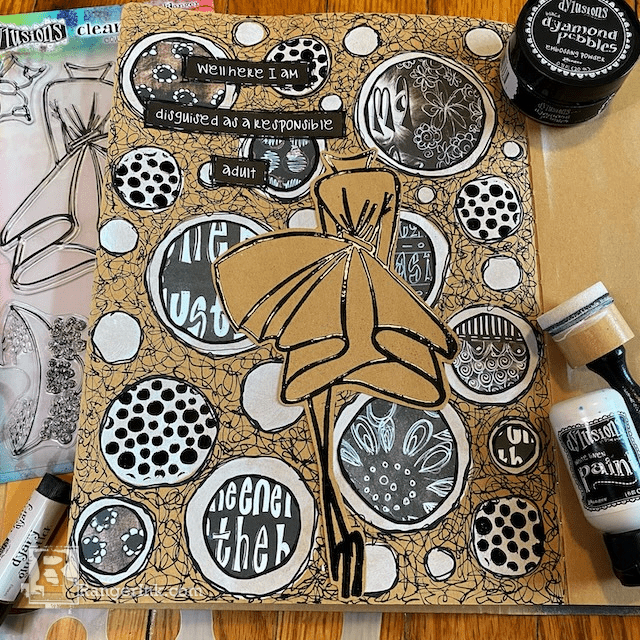
Get ready to shine with shimmering mixed media tags! Jess Peters shows us how to create vibrant, textured backgrounds using the new Dylusions Dyamond Pebbles & Dusts, paired with fun collage sheets and quirky new Bigger Back Chat stickers.

Dyamond Embossed Journal Tags by Jess Peters
- Materials
- Instructions
Ranger Silicone Mat
Ranger Heat It™ Craft Tool
Dylusions Collage Sheets #3
Dylusions Bigger Back Chat White - Set 4
Dylusions Stampers Anonymous Cling Mount Stamp - Get Your Rocks On Dylusions Creative Dyary Mini Glue Stick - 3pk
Dylusions Paint Pens Black & White
Ranger Mini Ink Blending Tool
Dylusions Mini Archival Ink Kit #1
Dylusions Dyamond Dusts: Cherry Pie, Squeezed Orange, Polished Jade, Calypso Teal, Laidback Lilac
Dylusions Dyamond Pebbles Clear
Dylusions Dyamond Medium Pad
Dylusions Brush Set - 5pc
Hello crafty friends! There’s just something special about receiving a handmade piece of art. For this project I’ll show you how easy it is to create shimmering mixed media tags for your friends and family using the newest Dylusions Dyamond products. Happy gifting!

Step 1: Place one of your black Dylusions Journaling Tags onto the 12”x16” Ranger Silicone Mat. Using the dotted stamp from the Dylusions Stampers Anonymous Cling Mount Set - Get Your Rocks On, stamp your tag with the Dyamond Medium Pad. Leave some of your tag blank.

Step 2: Shake a generous amount of Clear Dyamond Pebbles Embossing Powder over the stamped tag and lightly tap off the excess. Use the Ranger Heat It Craft Tool to emboss.

Step 3: Mix a bit of Dylusions Dyamond Dust in Cherry Pie with a few drops of water and paint over your embossed circles. They will act as a resist to the Dyamond Dust paint and give you a textured look!

Step 4: Continue to paint down the length of your tag in rainbow order using Dyamond Dusts in Squeezed Orange, Polished Jade, Calypso Teal, and Laidback Lilac.

Step 5: Cut out the image of a woman holding a mirror from set #3 of Dylusions Collage Sheets. Find the quote that reads “Exfoliating with the tears of my haters” from Dylusions Bigger Back Chat White - set #4 and cut that out as well.

Step 6: Glue the quote and image to your tag using a Dylusions Dyary Glue Stick. Trim the left edge of your image to line up with your tag.

Step 7: With the White Linen Paint Pen add some details by drawing a border around your quote and some dots to bring all the elements together.

Step 8: Ink the edges of your tag using Dylusions Mini Archival Ink in Black Marble and your Mini Ink Blending Tool. Tie a scrap piece of ribbon to your tag if desired.

Step 9: Repeat steps 1-8 switching out stamp shapes, quotes, and collage images to create personalized tags for all your special someones!


 Hello friends! My name is Jess and I live in New Jersey where I was born and raised. I discovered the world of art journaling and mixed media about two years ago and I’ve been obsessed ever since! I love bright bold color and I’m a sucker for all things that glitter and shine. I’m also inspired by music and song lyrics and often include them in my layouts. If you’d like to check out more of my art and process pictures, you can find me on Instagram @journalwithjessiep.
