Explore the vibrant hues of Distress Watercolor Pencils with this simple yet stunning spring card crafted by Cheiron Brandon in this tutorial.

Distress Watercolor Pencils Spring Card by Cheiron Brandon
- Materials
- Instructions
Tim Holtz Distress® Black Heavystock
Tim Holtz Distress® Watercolor Pencils
Ranger Artist Brushes
Tim Holtz Distress® Texture Paste Opaque
Tim Holtz Distress Palette Knife
Tim Holtz Distress® Archival Ink - Black Soot
Tim Holtz Alterations by Sizzix Vault Scribbly Butterfly Die Set
Tim Holtz Stampers Anonymous Layering Stencil Sticks
Tim Holtz Cling Mount Stamp Note Quotes
Ranger Heat It™ Craft Tool
Hi there crafty friends! It’s Cheiron Brandon here and I am back with a new project just in time for spring. Today I am pulling out some colors from the newest Distress Watercolor Pencil sets and pairing them with the Vault Scribbly butterflies from Tim Holtz and Sizzix for a clean and simple springy card.
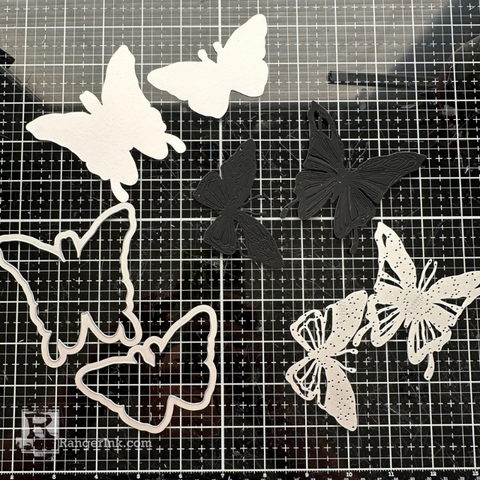
Step 1: Cut Vault Scribbly Butterflies from Distress Watercolor Cardstock and Distress Black Heavystock.

Step 2: Gather up your Distress Watercolor Pencils. I used Saltwater Taffy, Victorian Velvet, and Wilted Violet for the first butterfly and for the second Broken China, Squeezed Lemonade and Evergreen Bough.
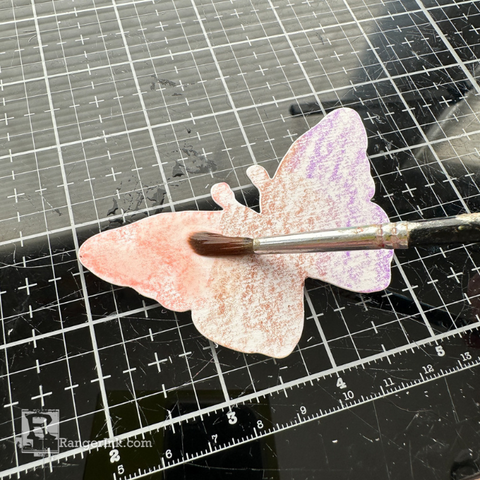
Step 3: Scribble your waterolor pencils over the die cuts. The more your scribble, the more pigment will be added to your paper!
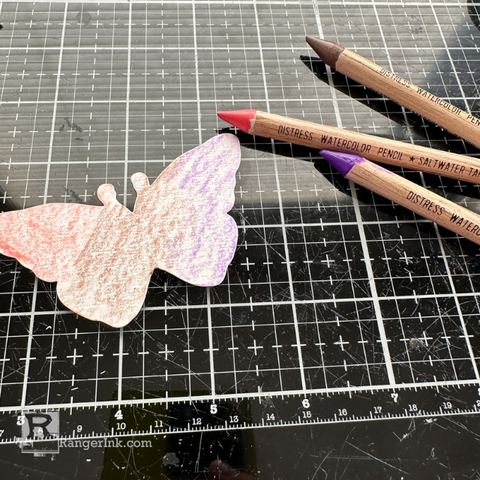
Step 4: Use a brush and water to move the pigment over the die cut, dry with a heat tool.
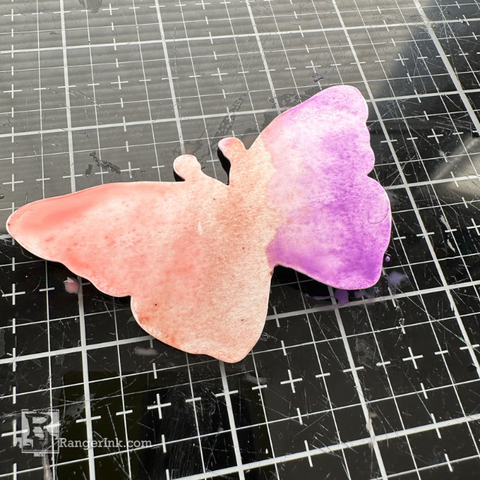
Step 5: Repeat the scribbling and blending with the brush until you achieve the intensity that you want, dry with heat tool.

Step 6: Take your butterflies and stamp from Note Quotes and plan where you would like it to go on the page.

Step 7: Stamp the Note Quotes using Black Soot Distress Archival Ink.
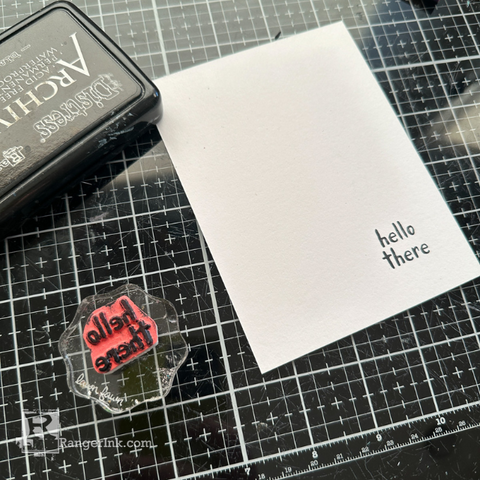
Step 8: Using a palette knife, add Distress Texture Paste through the Sticks stencil being careful to avoid the sentiment.
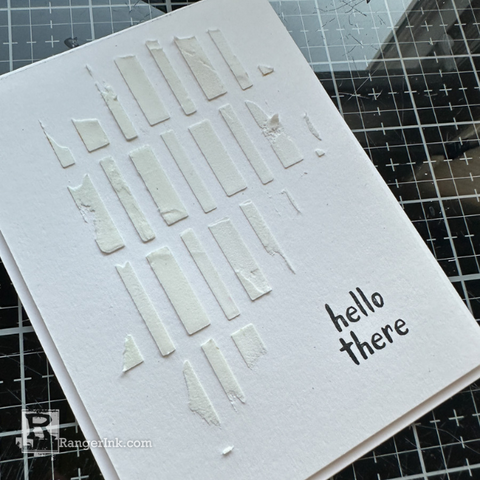
Step 9: Remove stencil and let the paste dry.
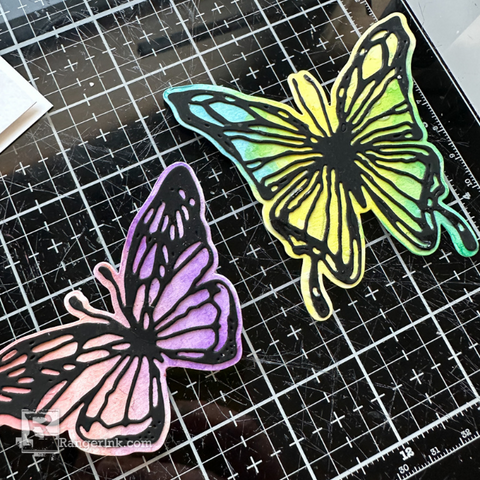
Step 10: Adhere the black butterflies to your painted pieces. Let dry.

Step 11: Bend the butterflies slightly so they are popped up when you adhere them to your card.
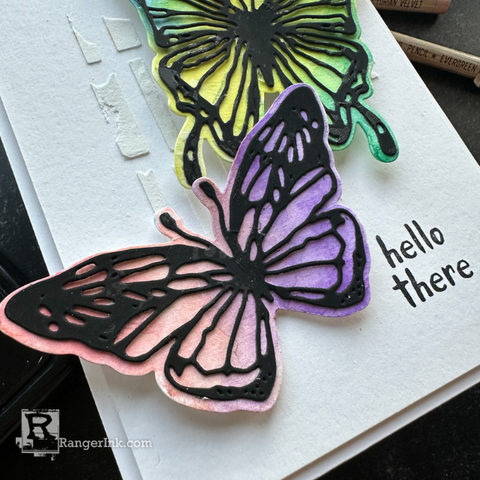
Step 12: Adhere butterflies to card using foam tape.
I hope you enjoyed creating this simple card with me today and using your Distress Watercolor Pencils to get deep pigmented color on your die cuts!
Your Cart
- Choosing a selection results in a full page refresh.


