Set a stylish and rustic tone for your Thanksgiving feast with these beautiful Distress Thanksgiving Leaves Place Cards by Cheiron Brandon. Explore her creative process and techniques using Tim Holtz Stamps, Distress Spray Stains, and more in this tutorial.
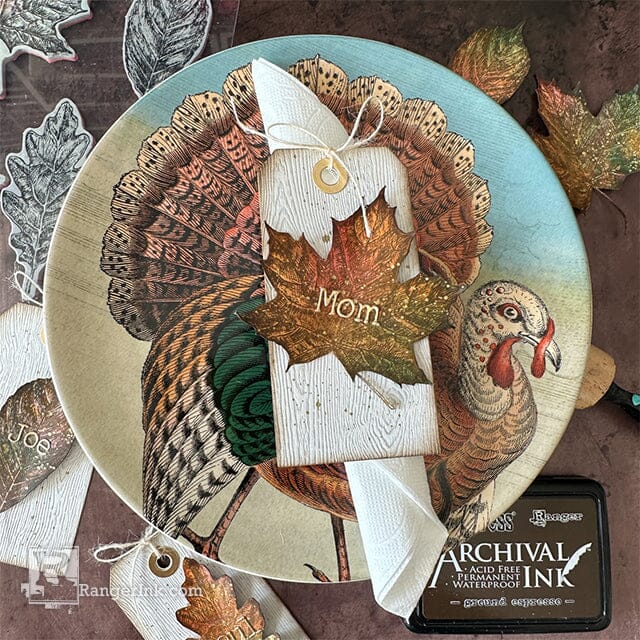
Distress Thanksgiving Leaves Place Cards by Cheiron Brandon
- Materials
- Instructions
Tim Holtz Distress® Archival Ink™ 4-pack: Ground Espresso
Tim Holtz Distress® Spray Stain Wild Honey
Tim Holtz Distress® Spray Stain Kitsch Flamingo
Tim Holtz Distress® Spray Stain Evergreen Bough
Tim Holtz Distress® Spray Stain Brushed Corduroy
Tim Holtz Distress® Foundry Wax Kit #1: Gilded
Ranger Mini Ink Blending Tool
Tim Holtz Distress® Sprayer
Ranger Heat It™ Craft Tool
Tim Holtz Stampers Anonymous Stamp Sketchy Leaves
Tim Holtz Idea-ology Kraft Stock Metallics Classics
Tim Holtz Distress® Woodgrain Cardstock
Other:
#8 Tag Die
Tim Holtz Sizzix Alphanumeric Tiny Type Lower Thinlits Die Set
Hello there crafty friends! It’s Cheiron Brandon and I am here with another tutorial for you. This month, I am using my favorite stamp set of the season, Sketchy Leaves in some fun colors to match my fall table - of course you can use any colors you like! I am using Distress Archival Ink to stamp my leaves, then coloring them in with Distress Spray Stains to get quick and beautiful color, adding some Gold Accents and personalizing each one.
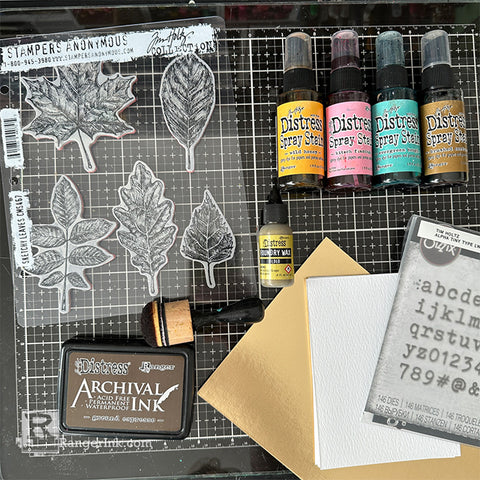
Step 1: Gather your supplies. You will need Sketchy Leaves, Archival Distress Ink in Vintage Photo Distress Spray Stains and Gilded Foundry Wax as well as metallic cardstock and some letter dies.
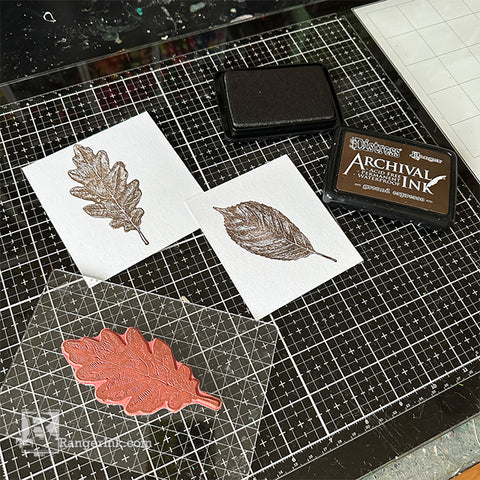
Step 2: Begin by stamping the leaves using Distress Archival Ink onto Distress Watercolor Cardstock. I always stamp on the smooth side of the cardstock.
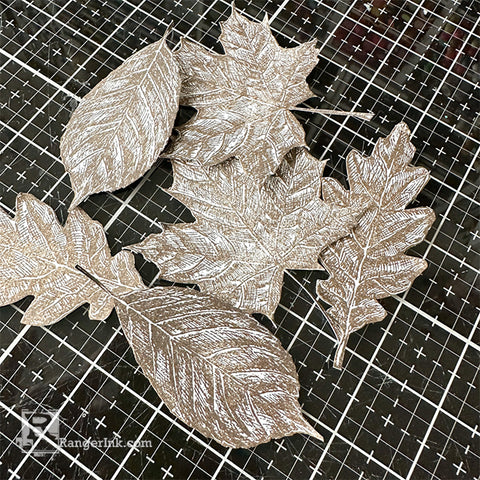
Step 3: Cut the leaves out carefully using a small pair of scissors.
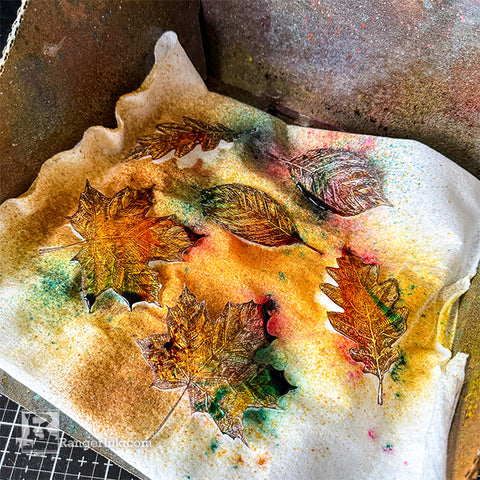
Step 4: Inside of a splat box spray your leaves with a mist of water using a Distress Sprayer and then Distress Spray Stains. I used Wild Honey, Kitsch Flamingo, Evergreen Bough, and Brushed Corduroy.
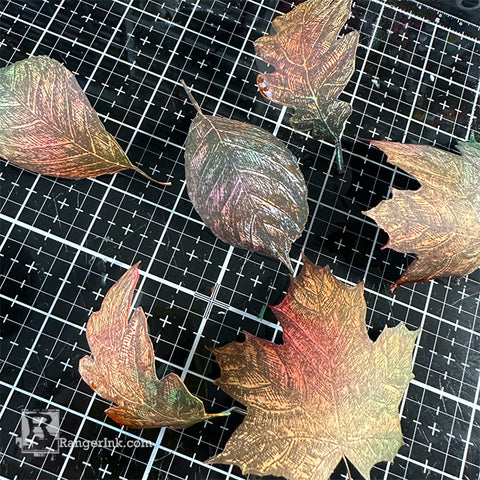
Step 5: Let the leaves dry or dry with a heat tool.
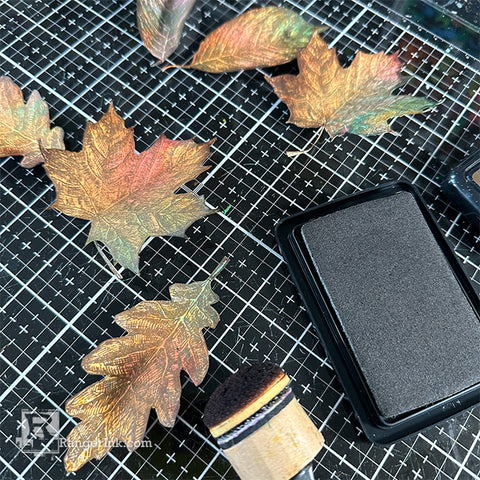
Step 6: Use a foam blending tool to ink the edges of the leaves.
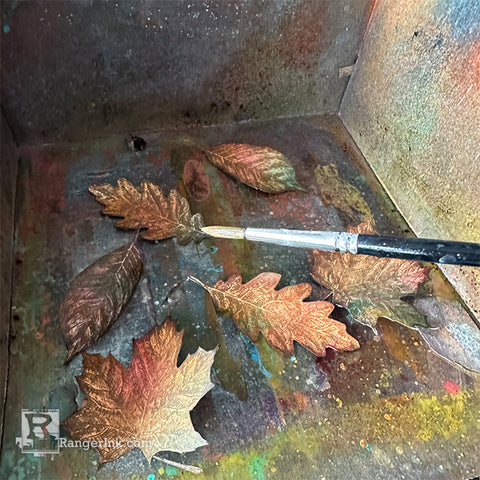
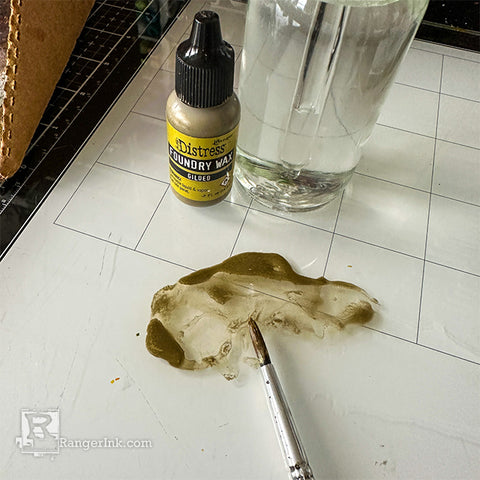
Step 7: Inside of splat box splatter the leaves with Gilded Foundry Wax. To do this, mix a few drops of the Foundry Wax with some Isopropyl Alcohol and use a brush to splatter. Tip: keep a brush just to use for this technique.
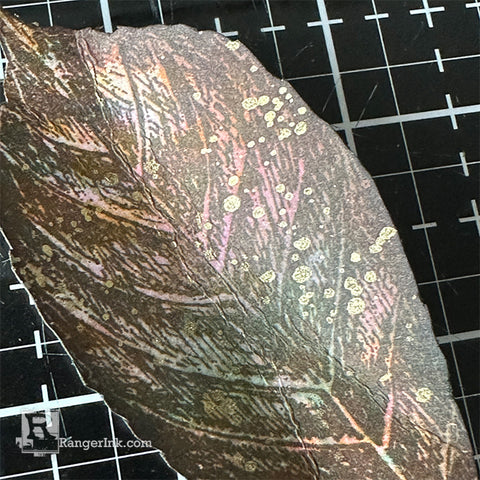
Step 8: Heat the leaves with an embossing gun to make the Foundry Wax permanent and see it really shine.

Step 9: Die cut your letters to create names out of Metallic Kraft Stock. To make it easy adhere your cardstock to some adhesive sheets beforehand.

Step 10: Arrange the letters on the leaves.
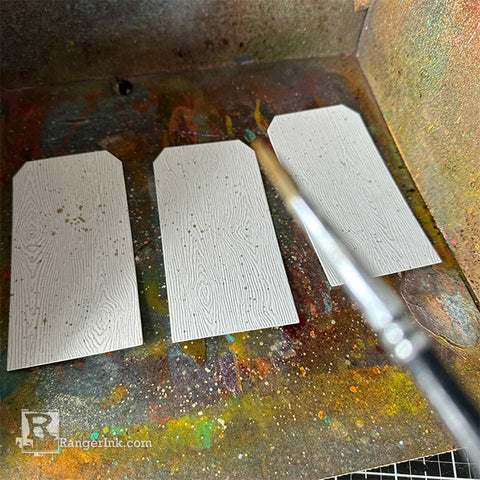
Step 11: Cut tags from Woodgrain cardstock and splatter with Foundry Wax. Heat just like in Step 8.
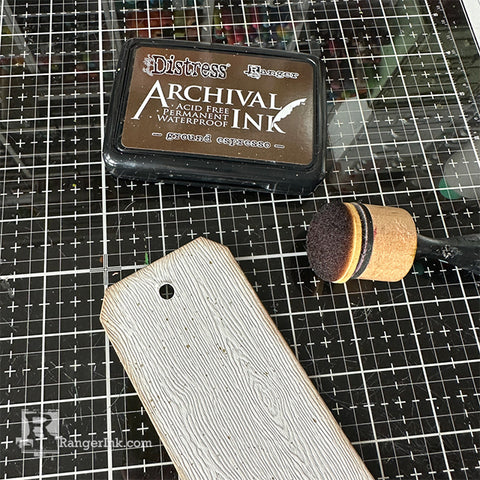
Step 12: Ink the edges of the tags with Distress Archival Ink.
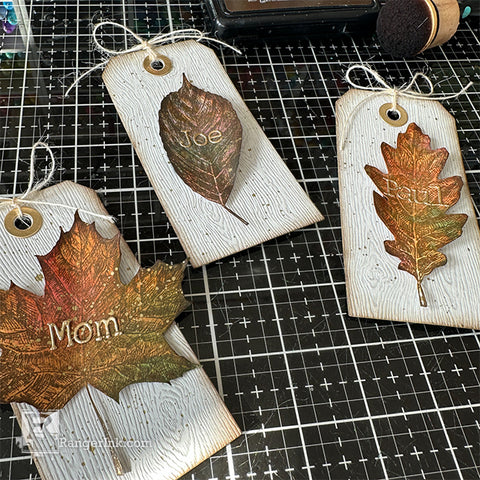
Step 13: Adhere leaves to tags and tie with twine at the top.


