By Marjie Kemper

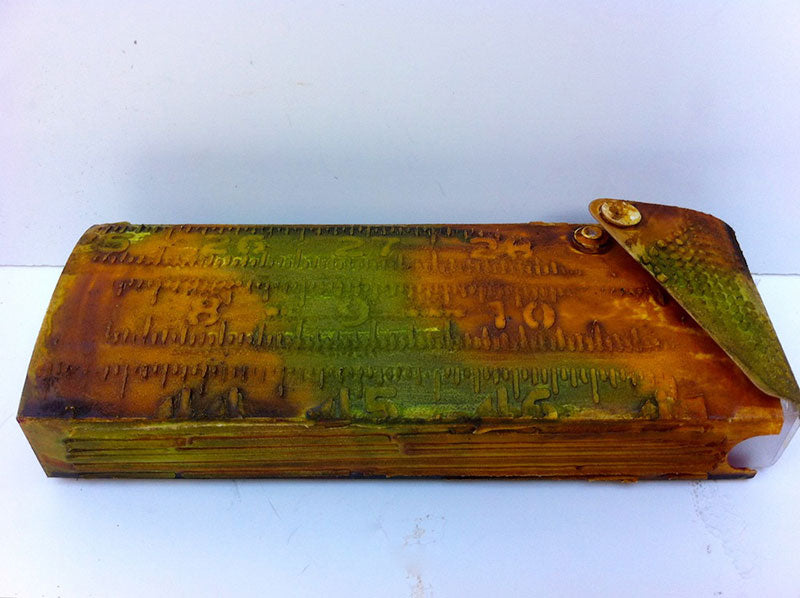
Custom Color Wash Pencil Case
- Materials
- Instructions
- Tim Holtz® Distress Ink Pads: Vintage Photo
- Ranger Non-Stick Craft Sheet™
- Ranger Craft Scraper
- Tim Holtz Collection by Stampers Anonymous: Measured and Stripes Stencils
- Tim Holtz Idea-ology: Sanding Block
- Studio 490 by Stampers Anonymous Embossing Paste (White)
- Plastic Pencil Case
Instructions
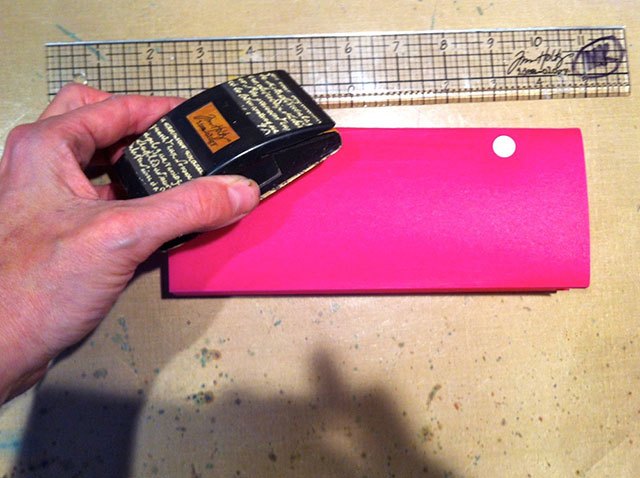
Step 1. Remove the inner box. Sand the plastic case lightly, creating a slightly rough surface to give the Gesso something to grip.

Step 2. Apply a thick coat of Gesso on all four sides. Let dry, and repeat.

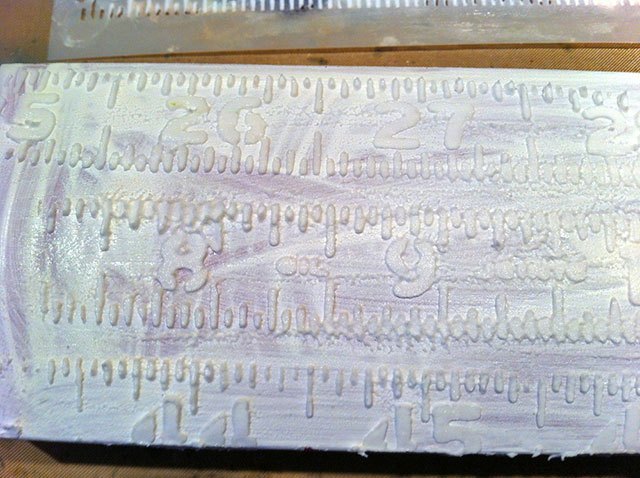
Step 3. Spread embossing paste over the Measured stencil (box top) and Stripes stencil (box sides) using the Craft Scraper. Use a cotton swab to wipe the wet paste off the box closure area. Let dry.

The paste dries quickly. While it’s wet, you can use your finger or the Scraper to tap down any areas that are too high, and to wipe off any excess on the edges. If you make a mistake you can scrape it all off with your Craft Scraper and reapply.

Before washing that ‘dirty’ stencil, scrape it off on a blank tag or art journal page. Now you have a bit of texture ready for your next project and you didn’t waste any paste.

Step 4. Repeat the gesso/paste applications to the box flap/closure. Let dry.

Step 5. Spray the dry paste with Color Wash Sprays. Let dry.

Step 6. Repeat the process until you have the desired effect. I sprayed the Butterscotch Color Wash 3 times and the Lettuce just twice.

Let dry overnight and enjoy your custom pencil case!


