Sharen AK Harris
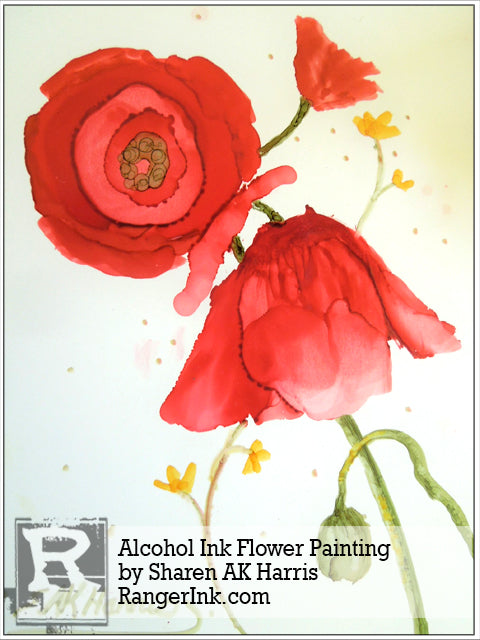
Alcohol Ink Flower Painting by Sharen AK Harris
- Materials
- Instructions
Instructions
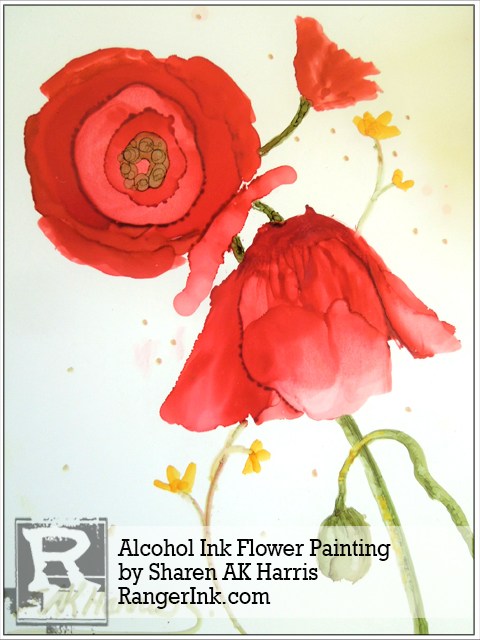
My name is Sharen AK Harris, I’m a master alcohol ink artist. I live in Tucson, AZ where the sky is big and blue and the colors glow like Alcohol Ink and stimulate thoughts of paintings to come.
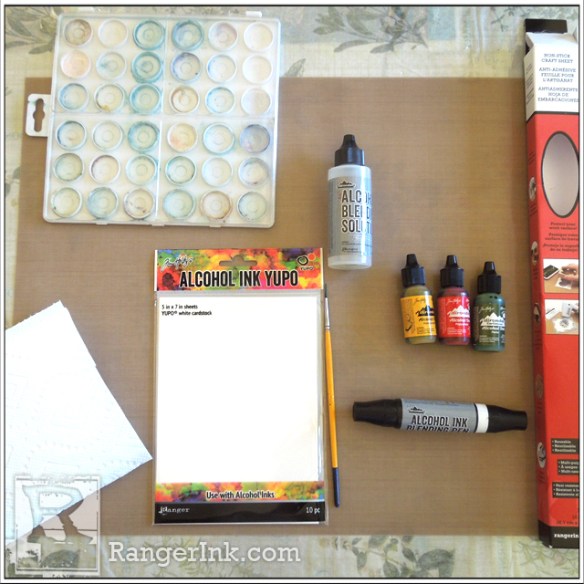
I’m so excited to show you how to do fine art flowers with Alcohol Ink. I know you will be so surprised how easy and great your painting will come out. It is truly addicting and so much fun to do. You and your friends will be amazed with your beautiful work.
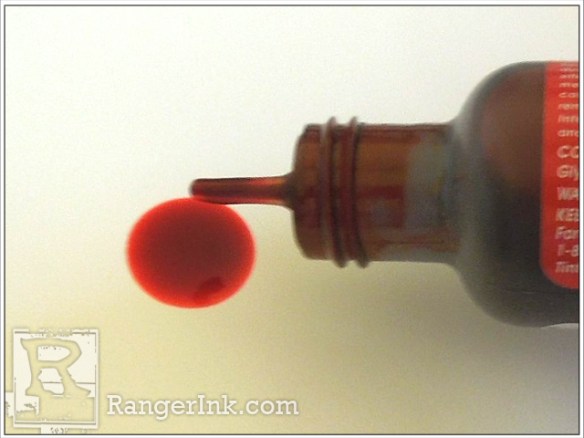
Step 1: Pour a two drops of Poppiefield on the Yupo paper.
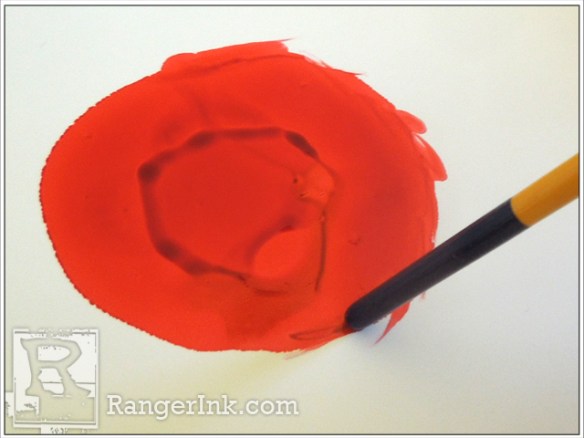
Step 2: Take the back of your brush to direct the ink. You may add more ink as you need to make the desired size.
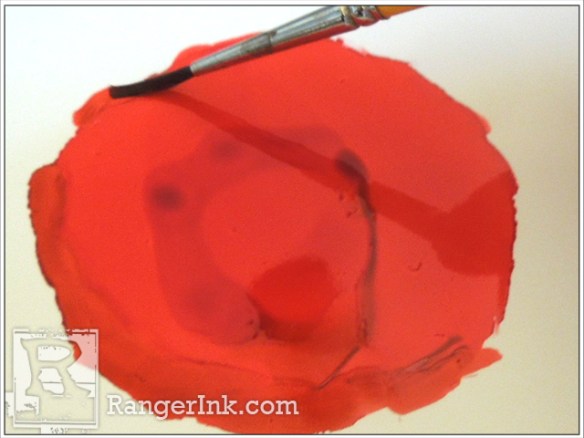
Step 3: Using your liner brush with a little Poppyfield ink make the edges uneven, like a poppy. You will repeat this step for the other poppies but change the direction of the other 2 poppies as shown below. You can add extra petals for interest.
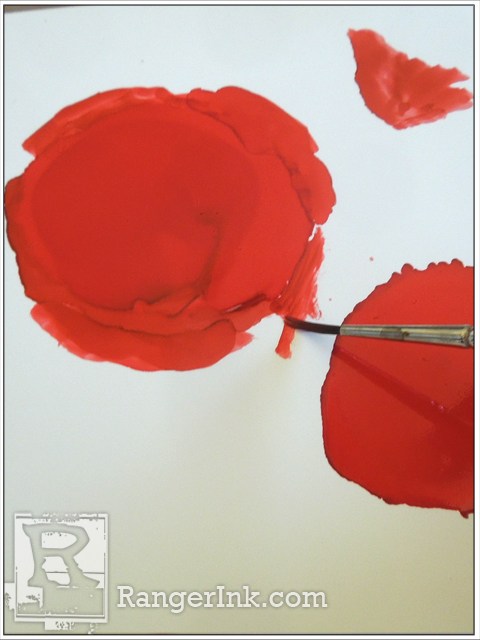
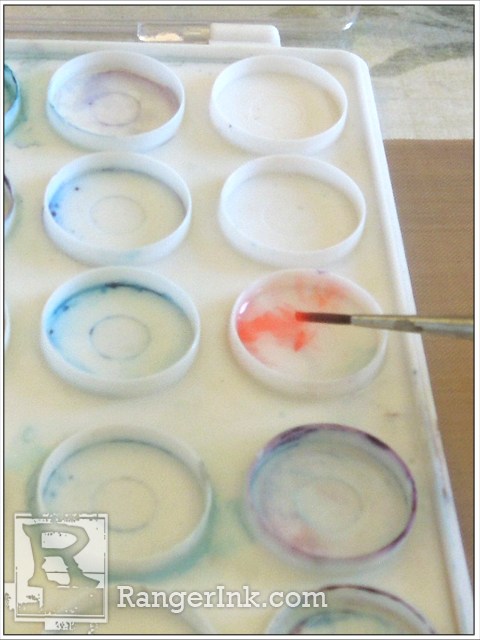
Step 4: I put Ranger Alcohol Blending Solution in one of the wells and put a good amount of fluid on my brush. It doesn’t matter if there is some red leaking off.
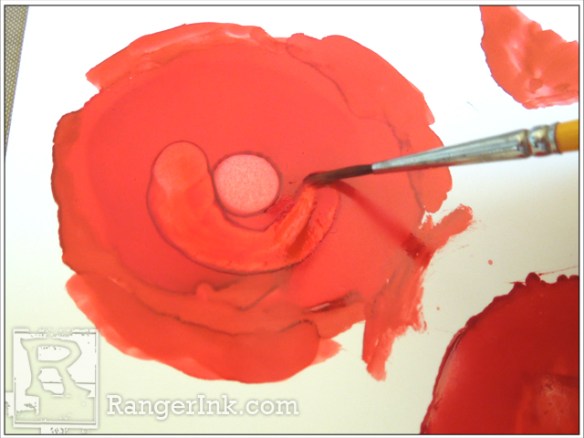
Step 5: Put a drop from your brush where the center of your flower is. Then get a little more solution but not as loaded. Tap off a bit on the paper towel so your brush is just damp. Make a circle around the inner circle about ¼ inch away from the center, as shown in the example.
The ink will move and do all kinds of magic. You never know exactly how it will turn out, but you can manipulate the ink. Since the ink does have a mind of its own you get a wonderful spontaneous look that is beautiful and realistic. We so often try to make things perfect and things come out stiff and unnatural. With this art form, and the nature of the ink, it helps keep us loose and free like the ink.
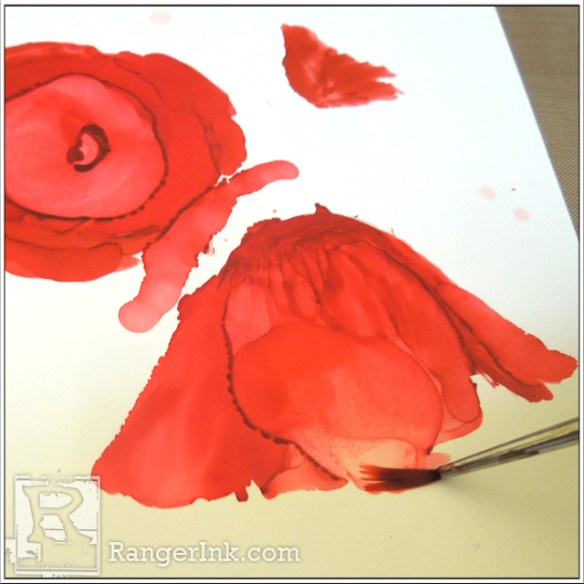
Step 6: For the lower right poppy, I dampen down the liner brush again and start from the front outer edge and pulling to the back. This will lighten up the edge of the petals as shown in the example.
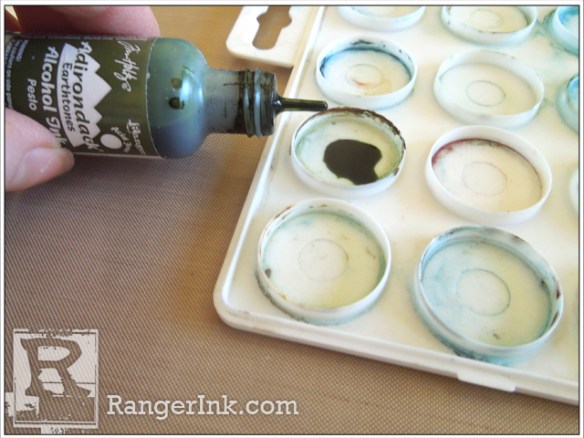
Add some Pesto ink to another well on the palette. With your liner brush, dip into the ink and put a couple of brush loads into another well. Swirl your brush into it until it thickens up a bit. It won’t take long.
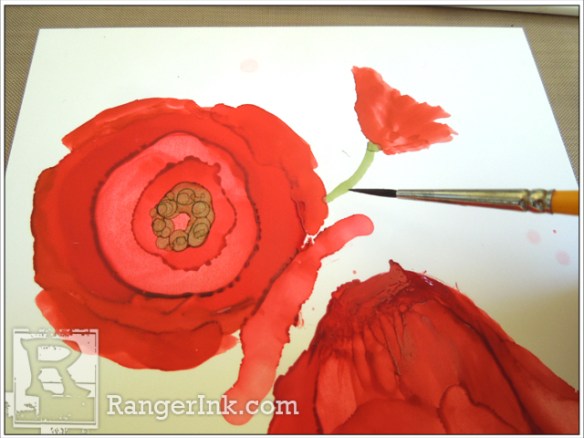
Step 7: With the tip of your liner brush just barely touch the brush to the surface. It will begin to break into little circles. Isn’t that so neat how that happens. You can also use the same brush to start pulling stems at this time.
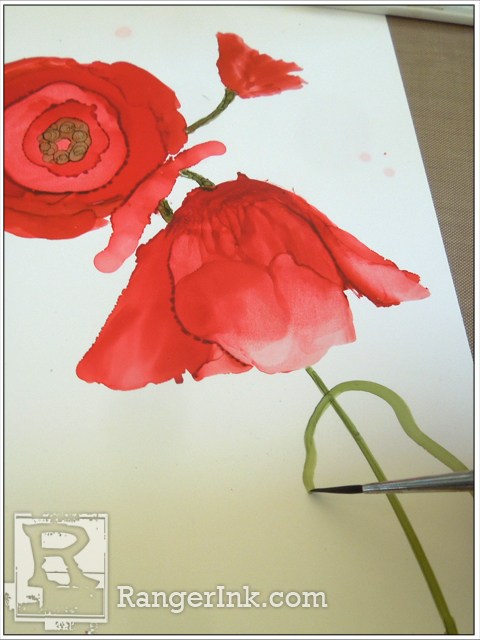
You can darken parts of the stem closest to the flowers. That is where the shadows are. They can be tapped on with a thicker dryer Pesto.

Add a bud and some extra stems for additional flowers at this time. Make a squigly line for the stem of the bud. I paint the bud with my liner brush. The bud is only an oval and it isn’t perfect. Nothing in nature is perfect and that’s what makes it look realistic.
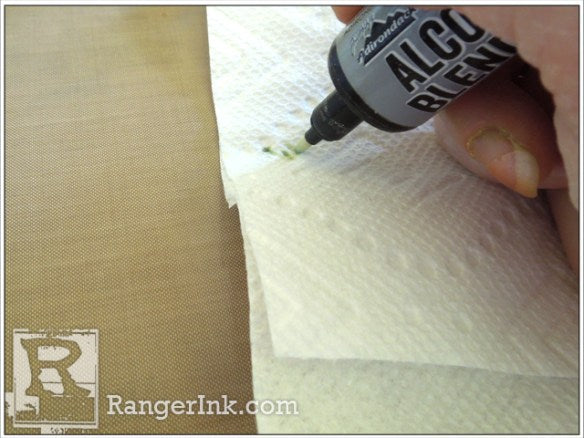
Step 8: This is a good time to clean your liner brush. All you have to do is dip it into the Blending Solution and wipe it out on a paper towel until it comes out clean.
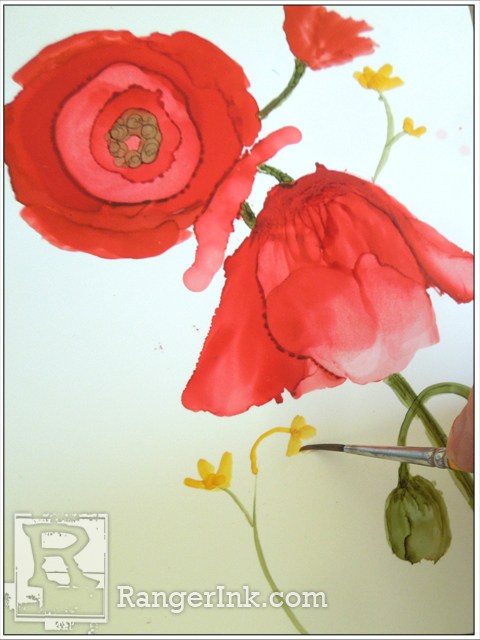
Step 9: Fill another well with a few drops of Honeycomb ink. Using your liner brush just make 4 or 5 strokes for a little yellow flower along the pesto stem.
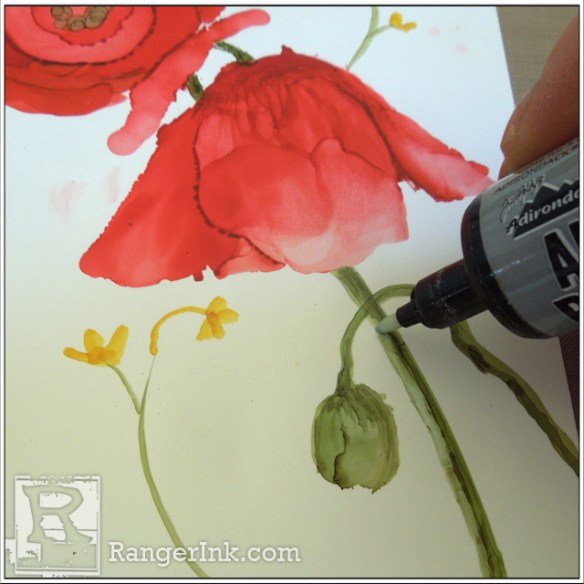
Step 10: Using the sharp point side of the Alcohol Ink Blending Pen, lift paint off of the side you want lighter.
With this pen you can clean up any little areas you like. You can move the paint nicely with this pen to help blend your lights into the dark. Try tapping the tip into the color to break some of the color up. I also use the pen as a painting tool for fine lines. Just put it into some dry ink and draw the stem on. This is a wonderful tool I cannot live without. Below are many examples of these techniques.
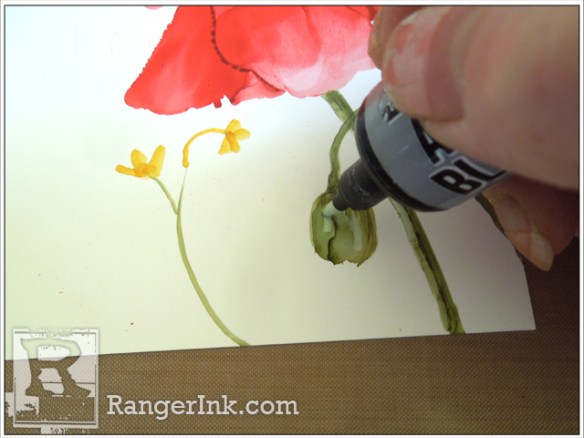
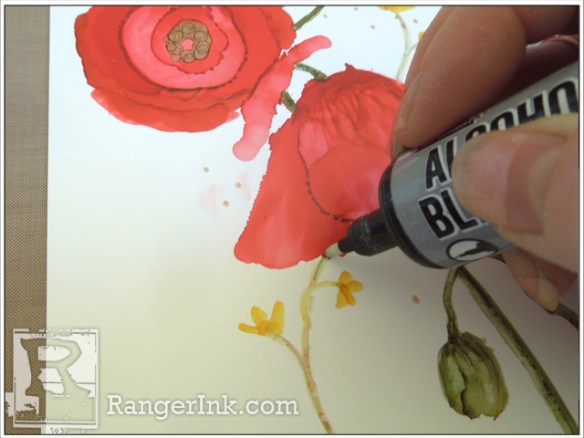
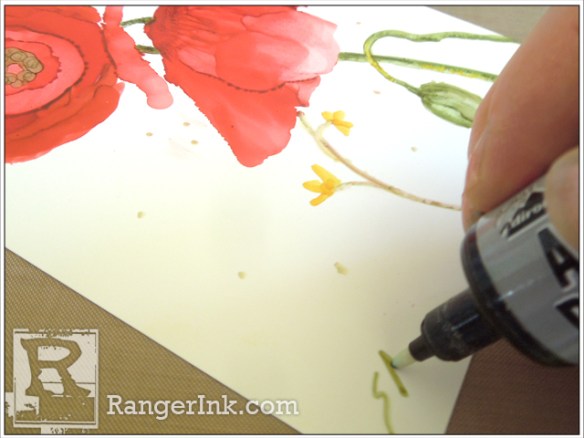
I love the pen especially for signing my work with the color I have been using in the painting.
With the dirty pen put some small dots around the painting for interest. Clean the color off just by wiping the tip off on a paper towel. Walla, you’re done with your beautiful masterpiece! I hope you will enjoy doing this beautiful poppy project.


