by Aida Haron

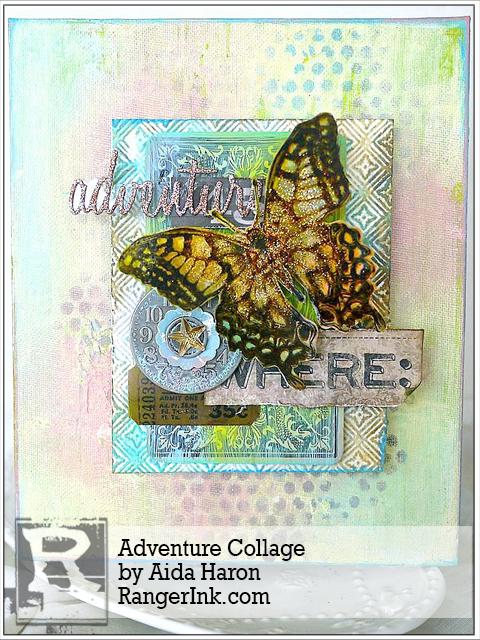
Adventure Collage by Aida Haron
- Materials
- Instructions
- Ranger Non-Stick Craft Sheet™
- Tim Holtz Distress® Sprayer
- Dina Wakley Media Palette Knife
- Ranger Mini Blending Tool
- Tim Holtz Distress® Glitter Dust
- Archival Ink™ #0 Pads: Jet Black, Coffee
- Tim Holtz Distress® Clear Embossing Ink
- Tim Holtz® Distress Ink Pads: Tumbled Glass, Twisted Citron, Shaded Lilac, Spun Sugar, Ground Espresso
- Ranger Glossy Accents™
- Ranger Watercolor Paper
- Tim Holtz by Stamper’s Anonymous – Monarch Tim Holtz Stencils : Bubble Tim Holtz idea-ology: Pocket Cards, Mirrored Stars, Metal Timepieces
- Tim Holtz Alterations by Sizzix – Holiday Words Script Die Big Shot, Glitter cardstock 6 x 8 canvas board
Instructions

Hello everyone, it’s Aida here. I hope your Christmas was fun, filled with much joy and you are ready to greet the New Year! Today I have a tutorial of a layered collage mounted on a 6 x 8 canvas. The technique I used on the Butterfly image is easy to replicate and you can use it again with other stamped images.
 Step 1: Stamp the Monarch Butterfly on Mixed Media Cardstock and heat emboss using clear embossing powder. Embossing strengthens the image and minimizes damage by the wet mediums.
 Step 2: I used Distress Paint Broken China, Twisted Citron, Victorian Velvet to color the Monarch.
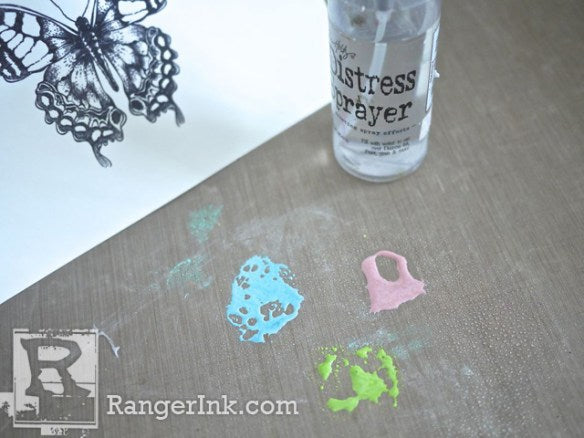
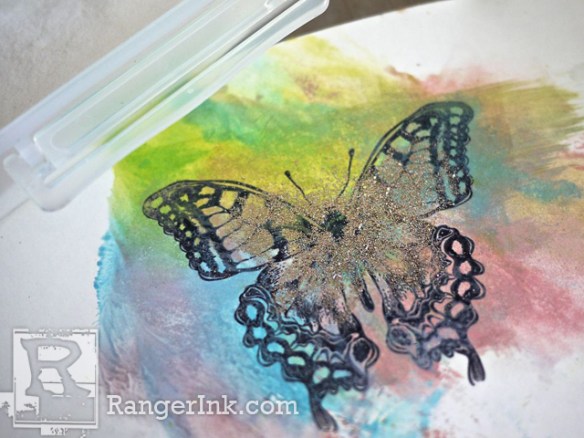
 Step 3: Daub the paint onto a Craft Sheet and spritz with water. Drag the Monarch image on the paint.
 Step 4: With wet wipes, gently rub away the paint on the embossed outlines of the Monarch. Use a Heat Tool to completely dry the paper.
 Step 5: The next step is to daub a small amount of Glossy Accent to the center portion of the Monarch, sprinkle Vintage Platinum Glitter on it and tap away the excess.
 Step 6: Daub the Monarch with clear embossing ink and pour UTEE over the image, then use a Heat Tool to gently melt the UTEE. Repeat this for a total of 2 layers. This will make sure the Glitter is embedded into the UTEE.
 Step 7: Trim the Monarch.
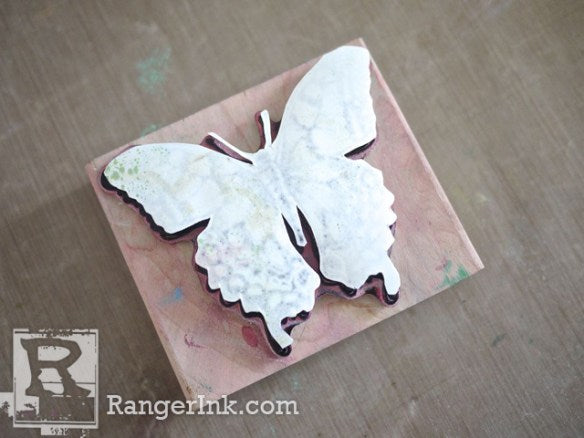
 Step 8: Ink the stamp with Archival Coffee.
 Step 9: Invert the Monarch carefully onto the stamp, and press gently. As Archival ink is oil based and will stamp on slick surfaces, it will dry permanent on the UTEE surface.
 Step 10: Here you can see how the Coffee ink makes the design pop, with the interesting layer of glitter behind the ink. You can use Black ink again, but I love how the Coffee color is more subtle and softens the Monarch.
 Step 11: Now let’s work on the background elements. I took Tim Holtz Found Relatives card and used the design on the back. Paint it lightly with Tumbled Glass and Twisted Citron allowing the design to show through.
 Step 12: Next, using the Sizzix Big Shot and a Texture Fades folder, emboss a piece of Watercolor Paper. Add color using Distress Inks by pressing the inks to the Craft Sheet, spraying with water and swiping the paper with the colors. Dry with a Heat Tool.
 Step 13: I had a 6 x 8 canvas leftover from a project which was never finished and decided to use that. As you can see, there are words already stenciled on it which was great as it added another unintentional layer to the background. Paint the canvas with Distress Paint Twisted Citron.
 Step 14: Use a palette knife to spread white Gesso. You will get a pale lime green showing through.
 Step 15: Use the Bubble stencil with an Ink Blending Tool to pick up the Distress Paint Hickory Smoke, randomly pounce the color on the canvas.
 Step 16: Die cut the title with the Adventure Words Script Thinlits die. I used Glitter cardstock and pounced a little Antiqued Bronze to dull the *newness* of the glitter.
 Step 17: Adjust the colors on the canvas as you like. Now all you need to do is to layer the elements with embellishments you have in your supply.
Thank you for spending these few minutes with me and I hope this tutorial has given you ideas to create on your own.
Your Cart
- Choosing a selection results in a full page refresh.


