


Looking to add more depth to your cardmaking? Miriam Prantner shows how simple heat embossing can transform a card, when layered. Learn her step-by-step process for creating richly textured, dimensional designs with this easy embossing technique.
Creating Dimensional Cards with Layered Embossing by Miriam Prantner
- Materials
- Instructions
Other:
Embossing Powder Bubbly
Masking Tape
Instructions
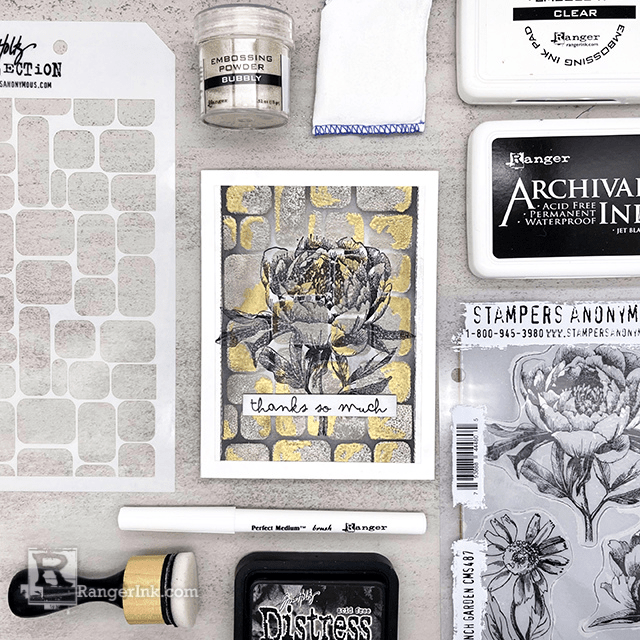
For today’s project, I’ve created a unique background/image by heat embossing in layers. This provides depth and texture, without adding bulk.


Step 1: Treat Wendy Vecchi Perfect Cardstock White Panel with Anti-Static Pouch. Place Labels Layering Stencil over panel, and using Tim Holtz Blending Tool, apply Emboss It Clear Ink through stencil. Remove stencil, apply Bubbly embossing powder, and emboss with heat gun.

Step 2: Using Perfect Medium Pen, color random portions of embossed pattern, apply Princess Gold Embossing Powder and emboss with heat gun.


Step 3: Place embossed panel in stamping platform. Stamp floral image using Archival Black Ink, apply Super Fine Detail Clear Embossing Powder and emboss with heat gun.

Step 4: Mask off embossed panel, apply Black Soot Distress Ink with Tim Holtz Blending Tool.

Step 5: Trim panel down and adhere to Wendy Vecchi Perfect Cardstock White Card, add machine stitching to left and right sides of the panel. Adhere sentiment from Tim Holtz Stampers Anonymous Silhouette Birds Stamp & Stencil Mixed Media set.
 My name is Miriam Prantner, and I live in Arlington, Virginia with my husband, two daughters, and lemon beagle. I am a lifelong crafter of all genres, although these days I focus mostly on crochet and paper crafting. In addition to making pretty things, I design products (stamps/stencils/dies) for Simon Says Stamp, and also taught a class for Craftsy, Fresh Eyes on your Cardmaking Supplies. To see more of my work, check out my blog: mprantner.blogspot.com, and follow me on instagram @mprantner.
Related Posts
Simon Hurley create. Neon Lunar Paste Wild Card by Cassie Trask
Go wild with your creativity! Cassie Trask used the newest Simon Hurley create. Wild About You Stamp, Lush...
Read More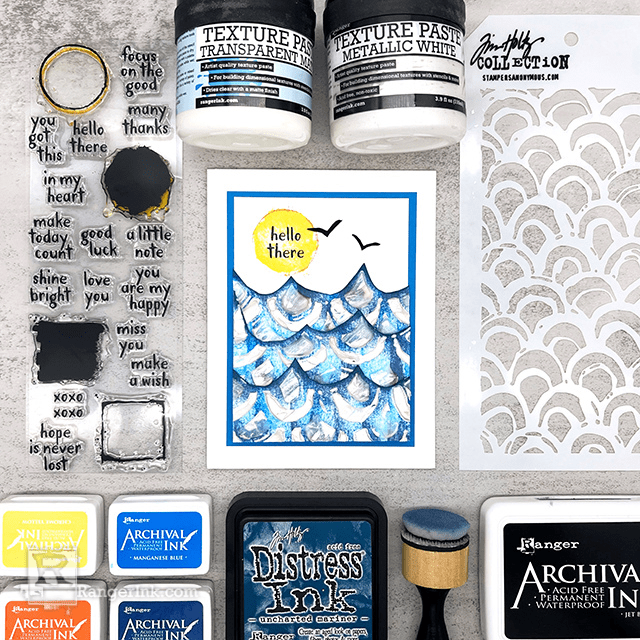
Ranger Texture Paste Hello Card by Miriam Prantner
Add dimension and shine to your handmade cards like Miriam Prantner. She used Ranger Metallic White and Transparent Matte...
Read More