


You don’t have to be an expert to create something stunning with Tim Holtz Alcohol Neons, just ask Tami Bastiaans! While Alcohol Inks aren’t her usual go-to, she experimented with the new Neons, Mixatives, Inks, and a few different surfaces to craft this breathtaking ocean card. From the soft foamy waves to the vibrant depths of blue, every layer adds to the calming scene.
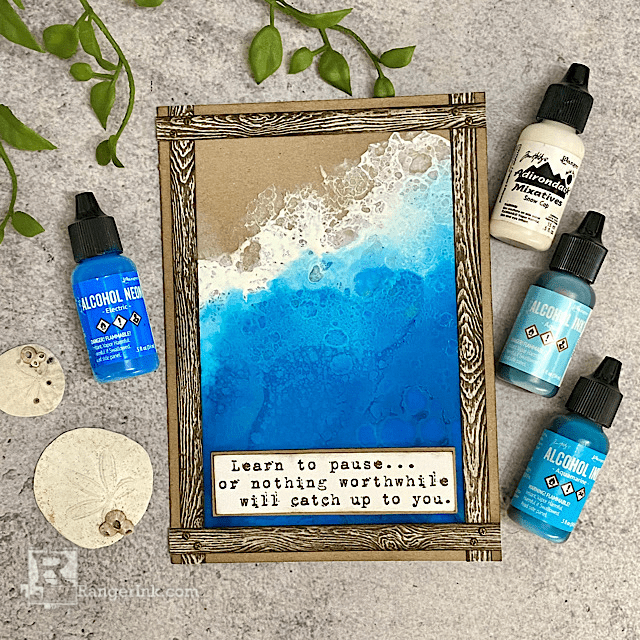
Tim Holtz Alcohol Neons Ocean Card by Tami Bastiaans
- Materials
- Instructions
Tim Holtz Alcohol Neon Electric
Tim Holtz Alcohol Ink Mixative Snow Cap
Tim Holtz Alcohol Inks: Aqua, Aquamarine
Tim Holtz Alcohol Ink Blending Solution
Tim Holtz Alcohol Ink Dura-Lar Clear
Tim Holtz Distress Kraft Heavystock
Tim Holtz Distress Woodgrain Cardstock
Tim Holtz Distress White Heavystock
Tim Holtz Distress Spray Stain Lost Shadow
Tim Holtz Distress Ink Pads: Pumice Stone, Scorched Timber
Tim Holtz Distress Archival Ink - Ground Espresso
Tim Holtz Stampers Anonymous Cling Mount Stamp Just Thoughts CMS078
Other:
Isopropyl Alcohol
Instructions
Hello Makers! Today I have a card to share with you using the new Alcohol Neons. I have to admit that I am not confident when it comes to making with any of the Alcohol products. So if I could make today’s card, you can too! I chose to do this technique with the Alcohol Neons because of their pigment quality. I didn’t want my ocean to be translucent, and pairing Alcohol Inks with Alcohol Neons and Snow Cap Mixative gave me just the look I was going for. I’m inviting you to come along, and let’s get making!

Step 1: Gather all the supplies.

Step 2: On a piece of clear Dura Lar, sprinkle a generous amount of Alcohol Blending Solution.

Step 3: Drop Snowcap Mixative along the top of Dura Lar on an angle from the upper right corner down to the middle left so it looks like the edge of a wave. Then below the Snowcap add Electric Neon on the bottom two-thirds of the Dura Lar and add Aqua in the middle and Aquamarine along the bottom.

Step 4: Use the Alcohol Blower to blow the Snowcap ink up and let it thin and fan out like waves do on the sand. Then blow some of the snow cap down into the inks to mix with the Neon and the inks. Continue to blow the inks up toward the Snowcap and off each edge to make it look like waves coming in to shore. When you achieve the look you want, allow it to dry.

Step 5: Fill a Distress Sprayer with some Isopropyl Alcohol. Spray the alcohol in drops onto the ocean scape. This will cause the drops of alcohol to react with the Alcohol products and make the waves look a little bit foamy.

Step 6: Here you can see how the drops of Isopropyl Alcohol reacted with the inks and how it looks more realistic like a sea shore.

Step 7: On a piece of Distress Woodgrain Cardstock, spray some Lost Shadow Distress Stain. Dry. Then rub a Pumice Stone Distress Ink pad over the raised wood grain and dry.

Step 8: Cut and score a piece of Distress Kraft Heavystock into a 5x7 card base. Trim the Dura Lar Ocean scene to 4 5/8 x 6 5/8. Apply adhesive along the outer edges of the Dura Lar, then attach to the front of the card base. Trim the Woodgrain to 3/8” strips, ink the edges with Scorched Timber Distress Ink and attach across the edges of the Dura Lar forming a wood frame and covering the adhesive under the Dura Lar.

Step 9: Trim the wood strips hanging off the edges of the card, then ink the edges of the card base.

Step 10: Stamp a sentiment like the one from Just Thoughts, in Ground Espresso Archival onto a small piece of Distress Heavystock, trim it close and attach to a very thin Kraft mat. Attach to the bottom of the card.
Poke holes in the corners of the woodgrain frame and attach some tiny brads or fasteners if desired.

Thank you so much for following along with the tutorial today. I hope you found it inspiring and achievable, especially if you are an Alcohol product novice like I am. Have fun experimenting!
 Tami is a school teacher by trade, but has been crafting in some way or another most of her life. She started scrapbooking 25 years ago as a hobby outside of work. A few years later she discovered the world of Tim Holtz Distress, which led to a whole new love of stamping, die cutting, and Idea-ology. Check out Tami on her Plays Well with Paper social media sites - Instagram, YouTube, and Blog.
Related Posts
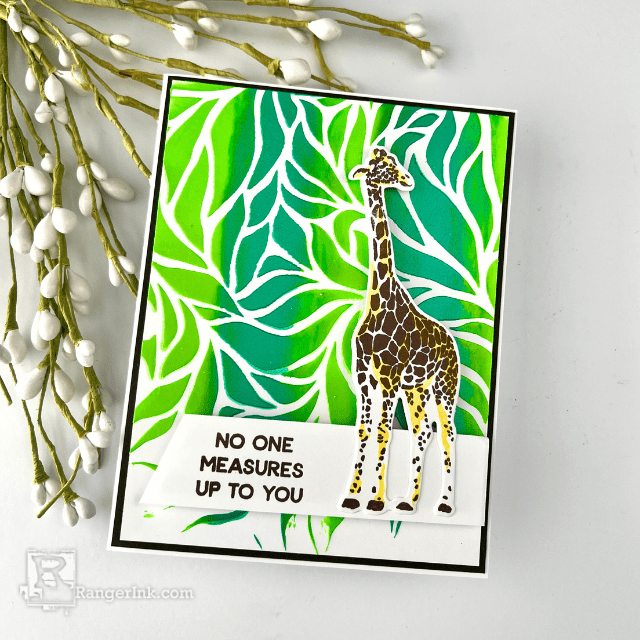
Simon Hurley create. Neon Lunar Paste Wild Card by Cassie Trask
Go wild with your creativity! Cassie Trask used the newest Simon Hurley create. Wild About You Stamp, Lush...
Read More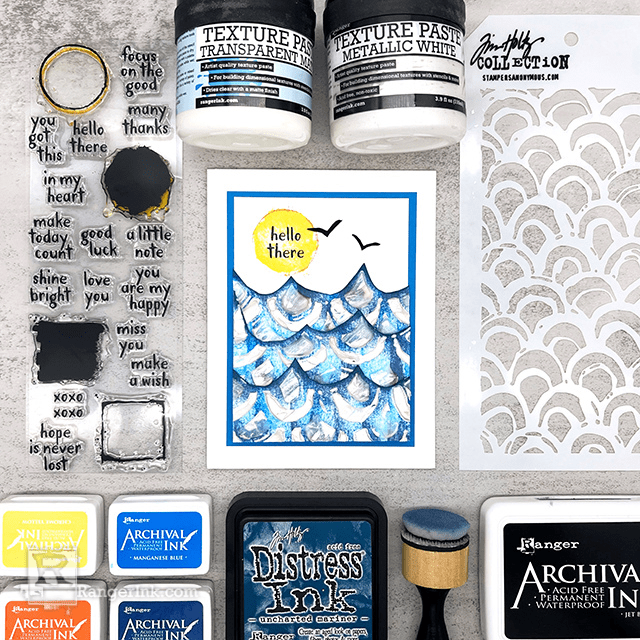
Ranger Texture Paste Hello Card by Miriam Prantner
Add dimension and shine to your handmade cards like Miriam Prantner. She used Ranger Metallic White and Transparent Matte...
Read More